june 2-2.jpg
Posts tagged zerowaste bathroom
Earth Week Tips: Part II
apr1-1.jpg

Earth Week Tips: Low-waste Bathroom

Part II: Sustainable Bathroom

Now that we’ve covered the kitchen, let’s move onto health and beauty. What do you think of when you consider sustainability in the bathroom? Where do you create the most waste and how can we tackle those issues? I get that in the bathroom in particular, we have to consider hygiene and cleanliness, but let me reassure you that these swaps are hygienic, practical, and sustainable!

Zero Waste Swaps: Bathroom

Bar Soap

The first and easiest swap in the bathroom is to swap to bar soap. It’s a cheap, plastic free option that is also easily accessible. You can find great natural bar soaps that are not only good for your skin and healthy for your body, but are actually better for the environment. Bar soap can often be found packaged in cardboard boxes which can be recycled or even package free, which is awesome!

Things I recommend:

Shampoo & Conditioner Bars/Refillable Shampoo & Conditioner

Shampoo and conditioner bars might take longer to adjust to and find the right bars for your hair type and to find one to your liking. These are used essentially the same way as traditional bar soap. You lather up the soap in your hands with some water and then you apply it to your hair normally and rinse it out. 

If shampoo and conditioner bars aren’t for you, you can opt for bulk refillable shampoo and conditioner.

Things I recommend:

earth month-11.jpg

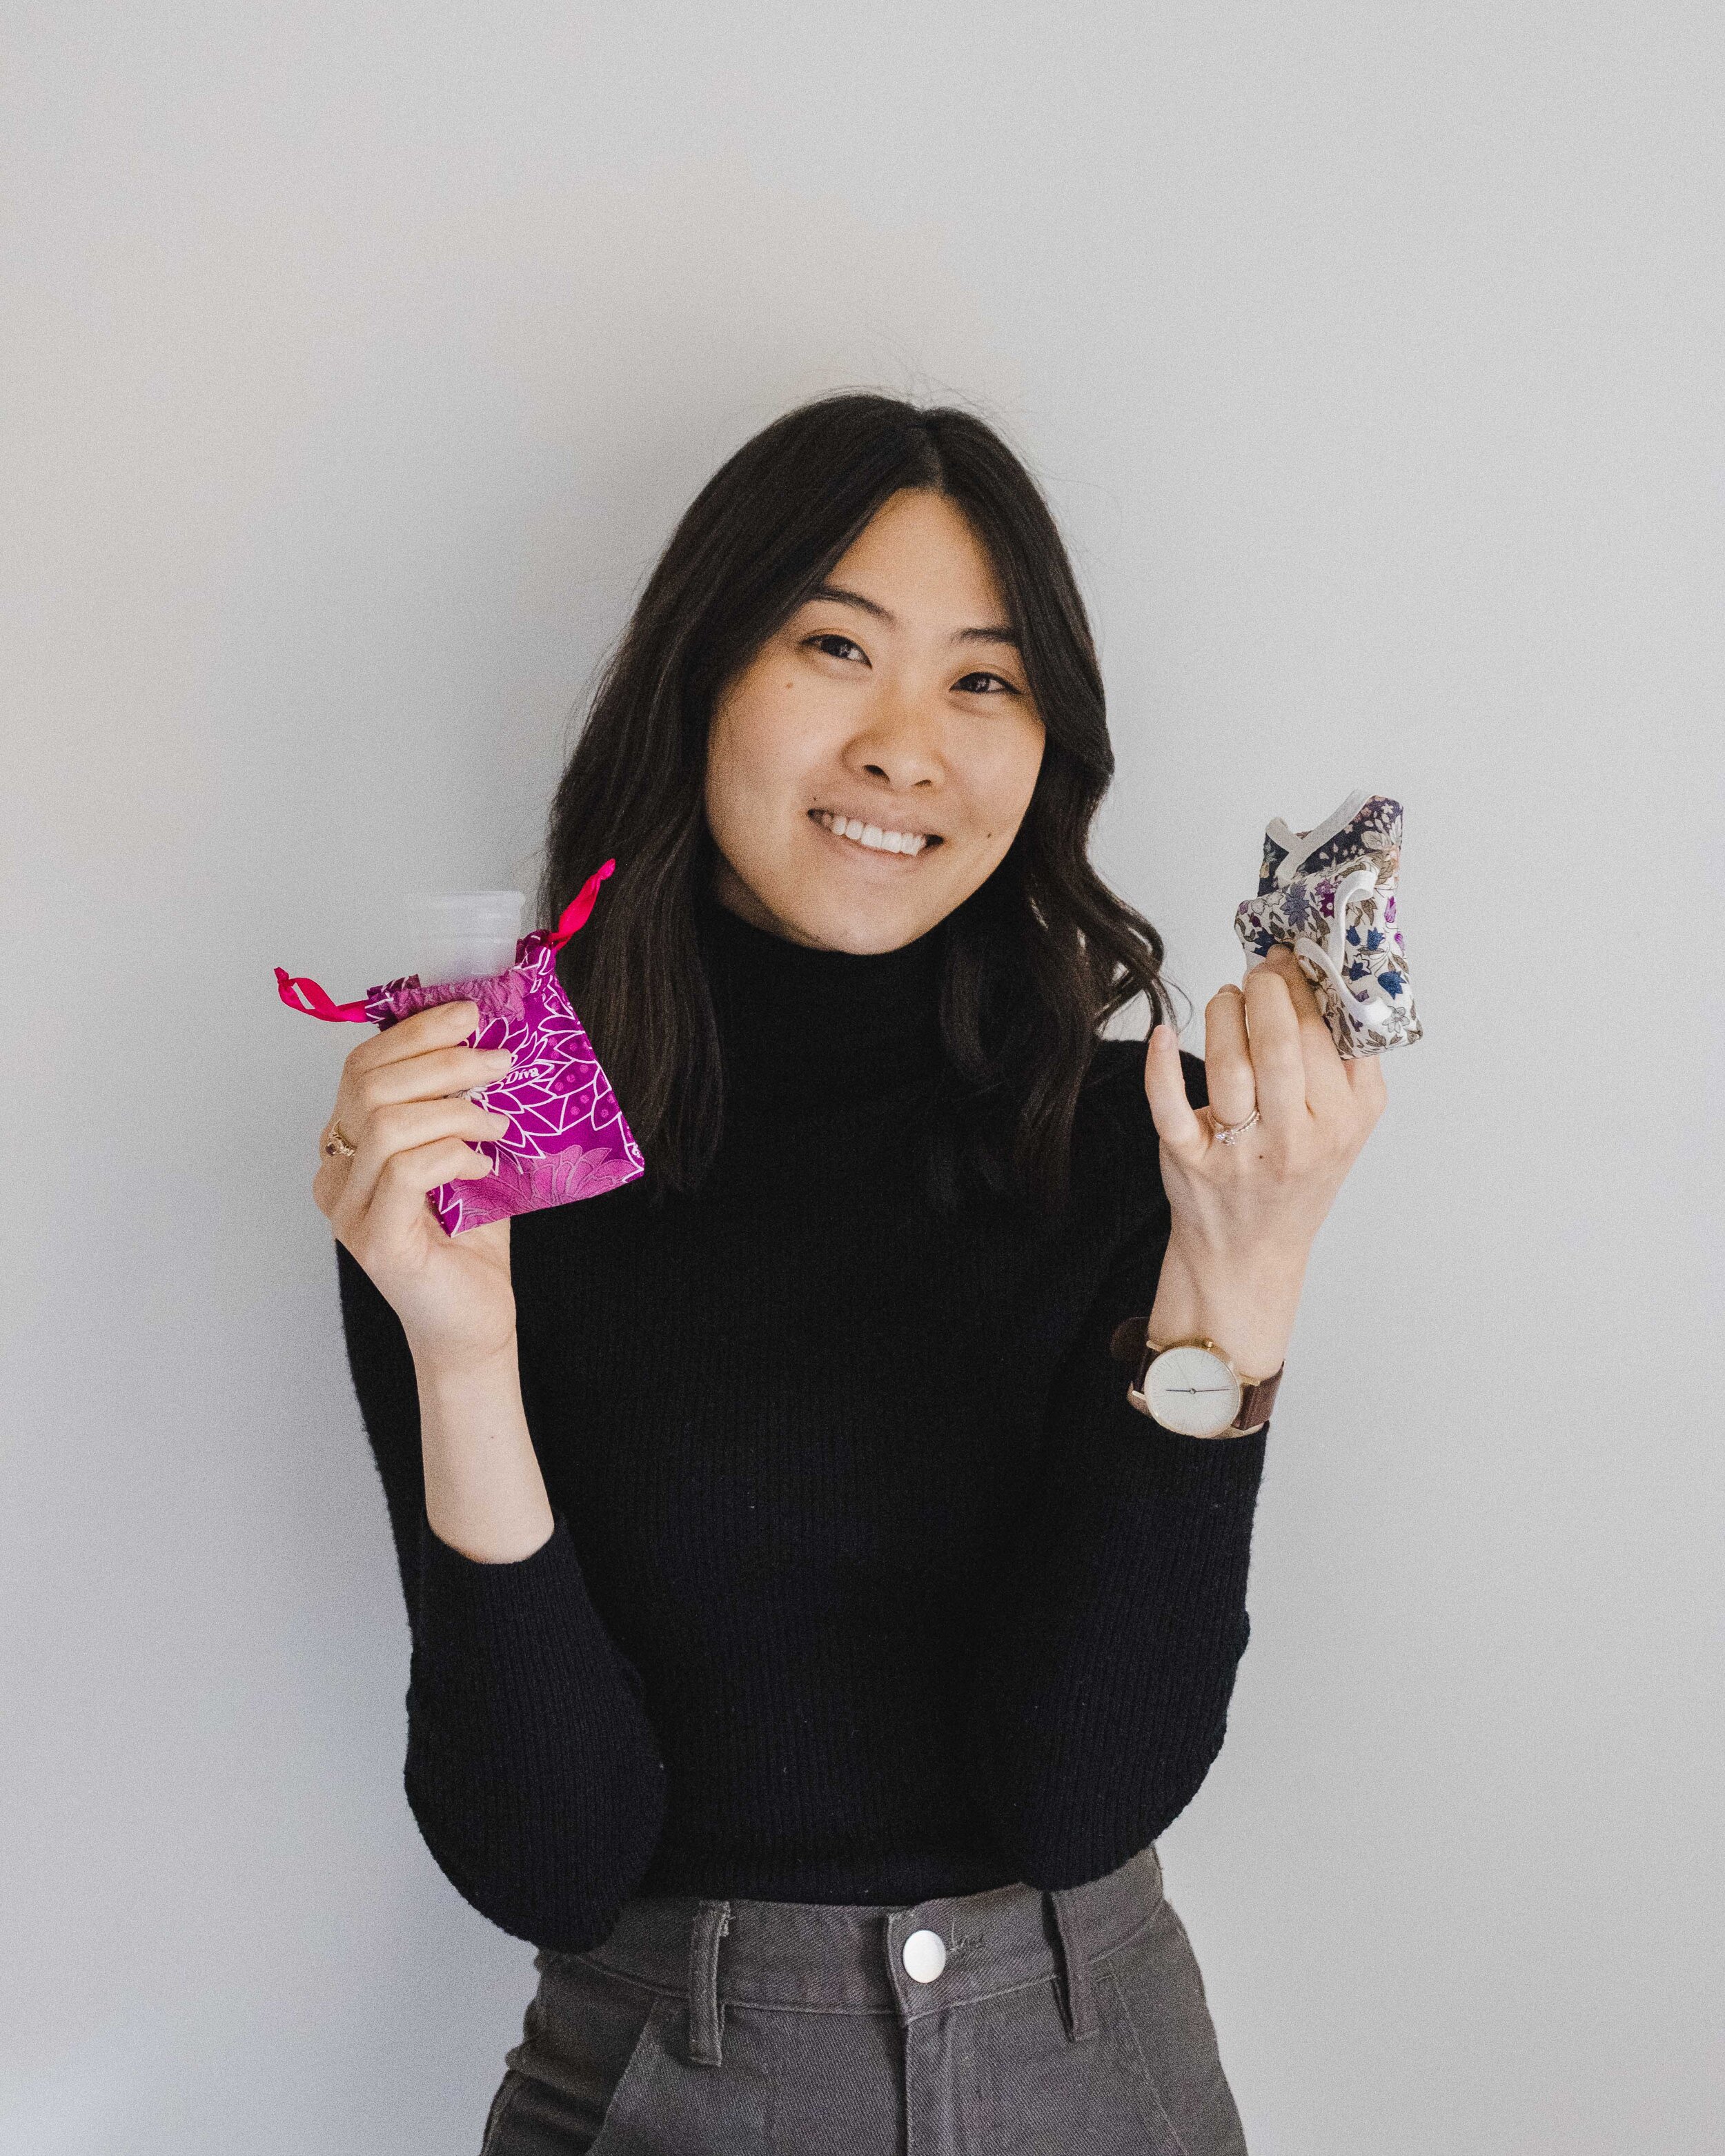
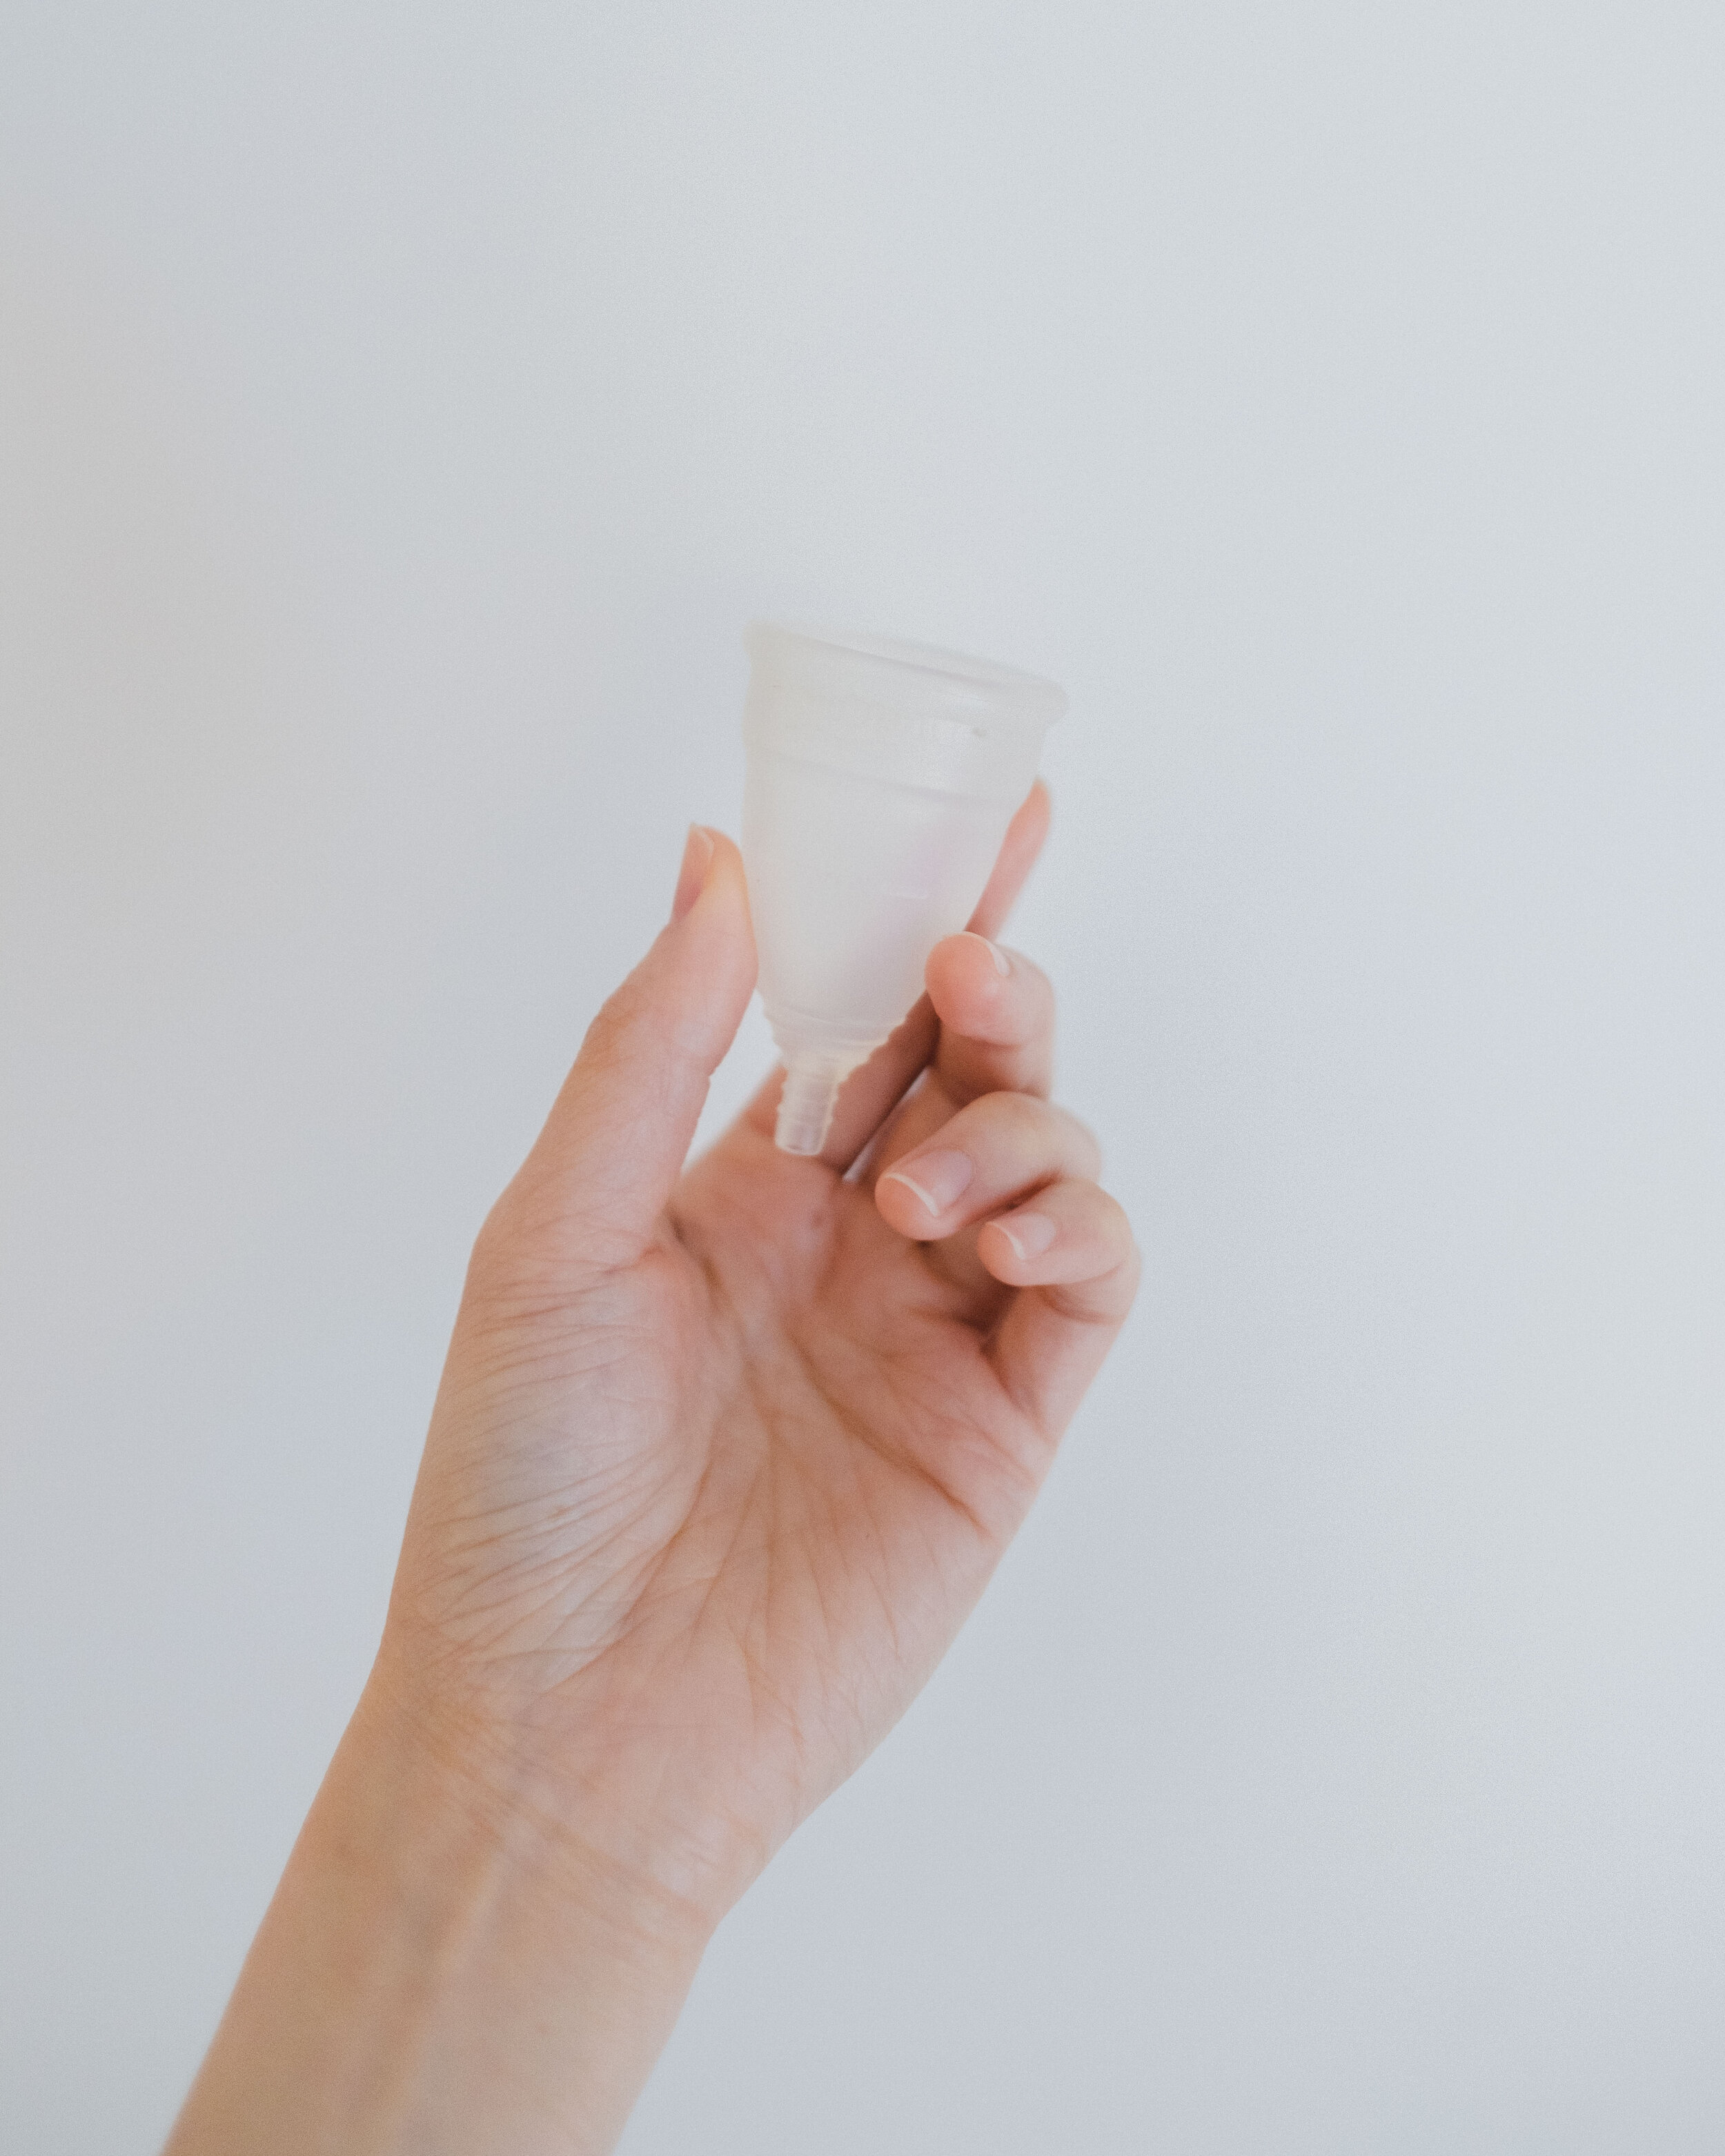
Menstrual Cup/Other Natural or Reusable Period Products

This was another challenging swap for me that took a little while for me to get used to. But honestly once you get the hang of it, it reduces SO MUCH WASTE. The cup is a swap for all disposable period products. If you want to learn more about my menstrual cup journey, you can see the two links below:

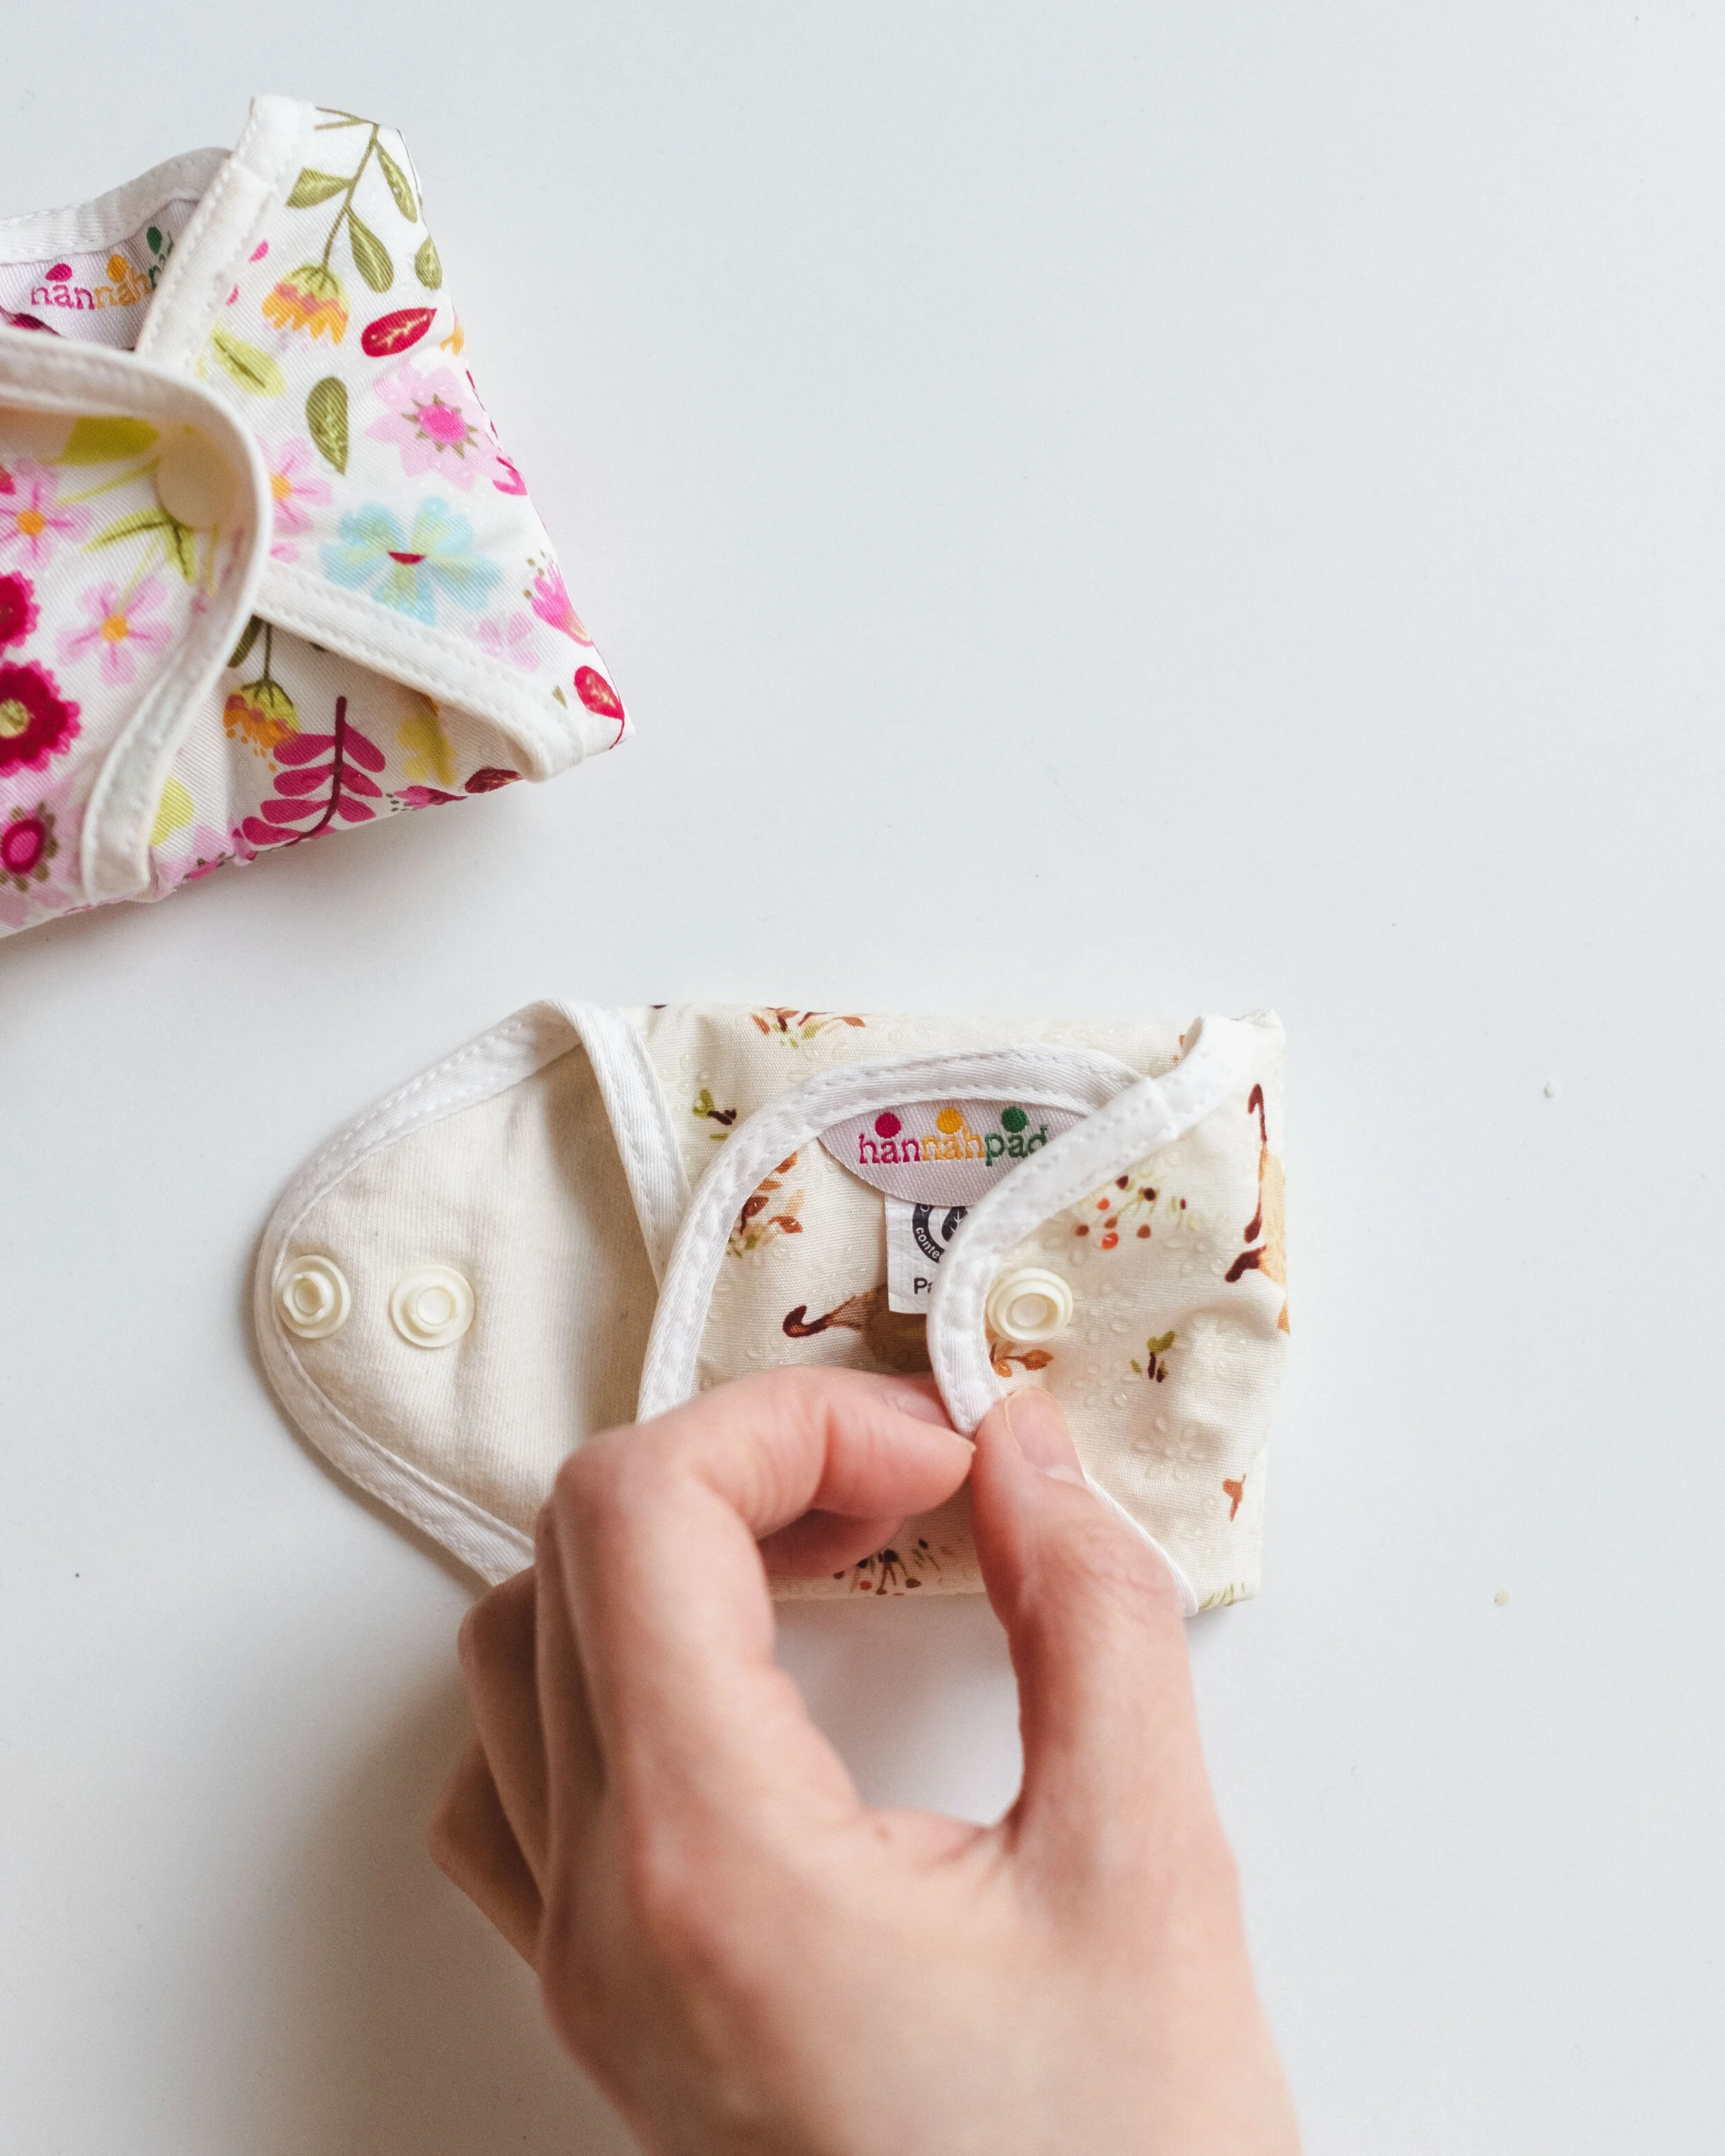
I also get that the cup is not for everyone and that’s okay! Maybe you could try period underwear, or organic/natural products, or reusable pads. There are other options out there for you!

Things I use:

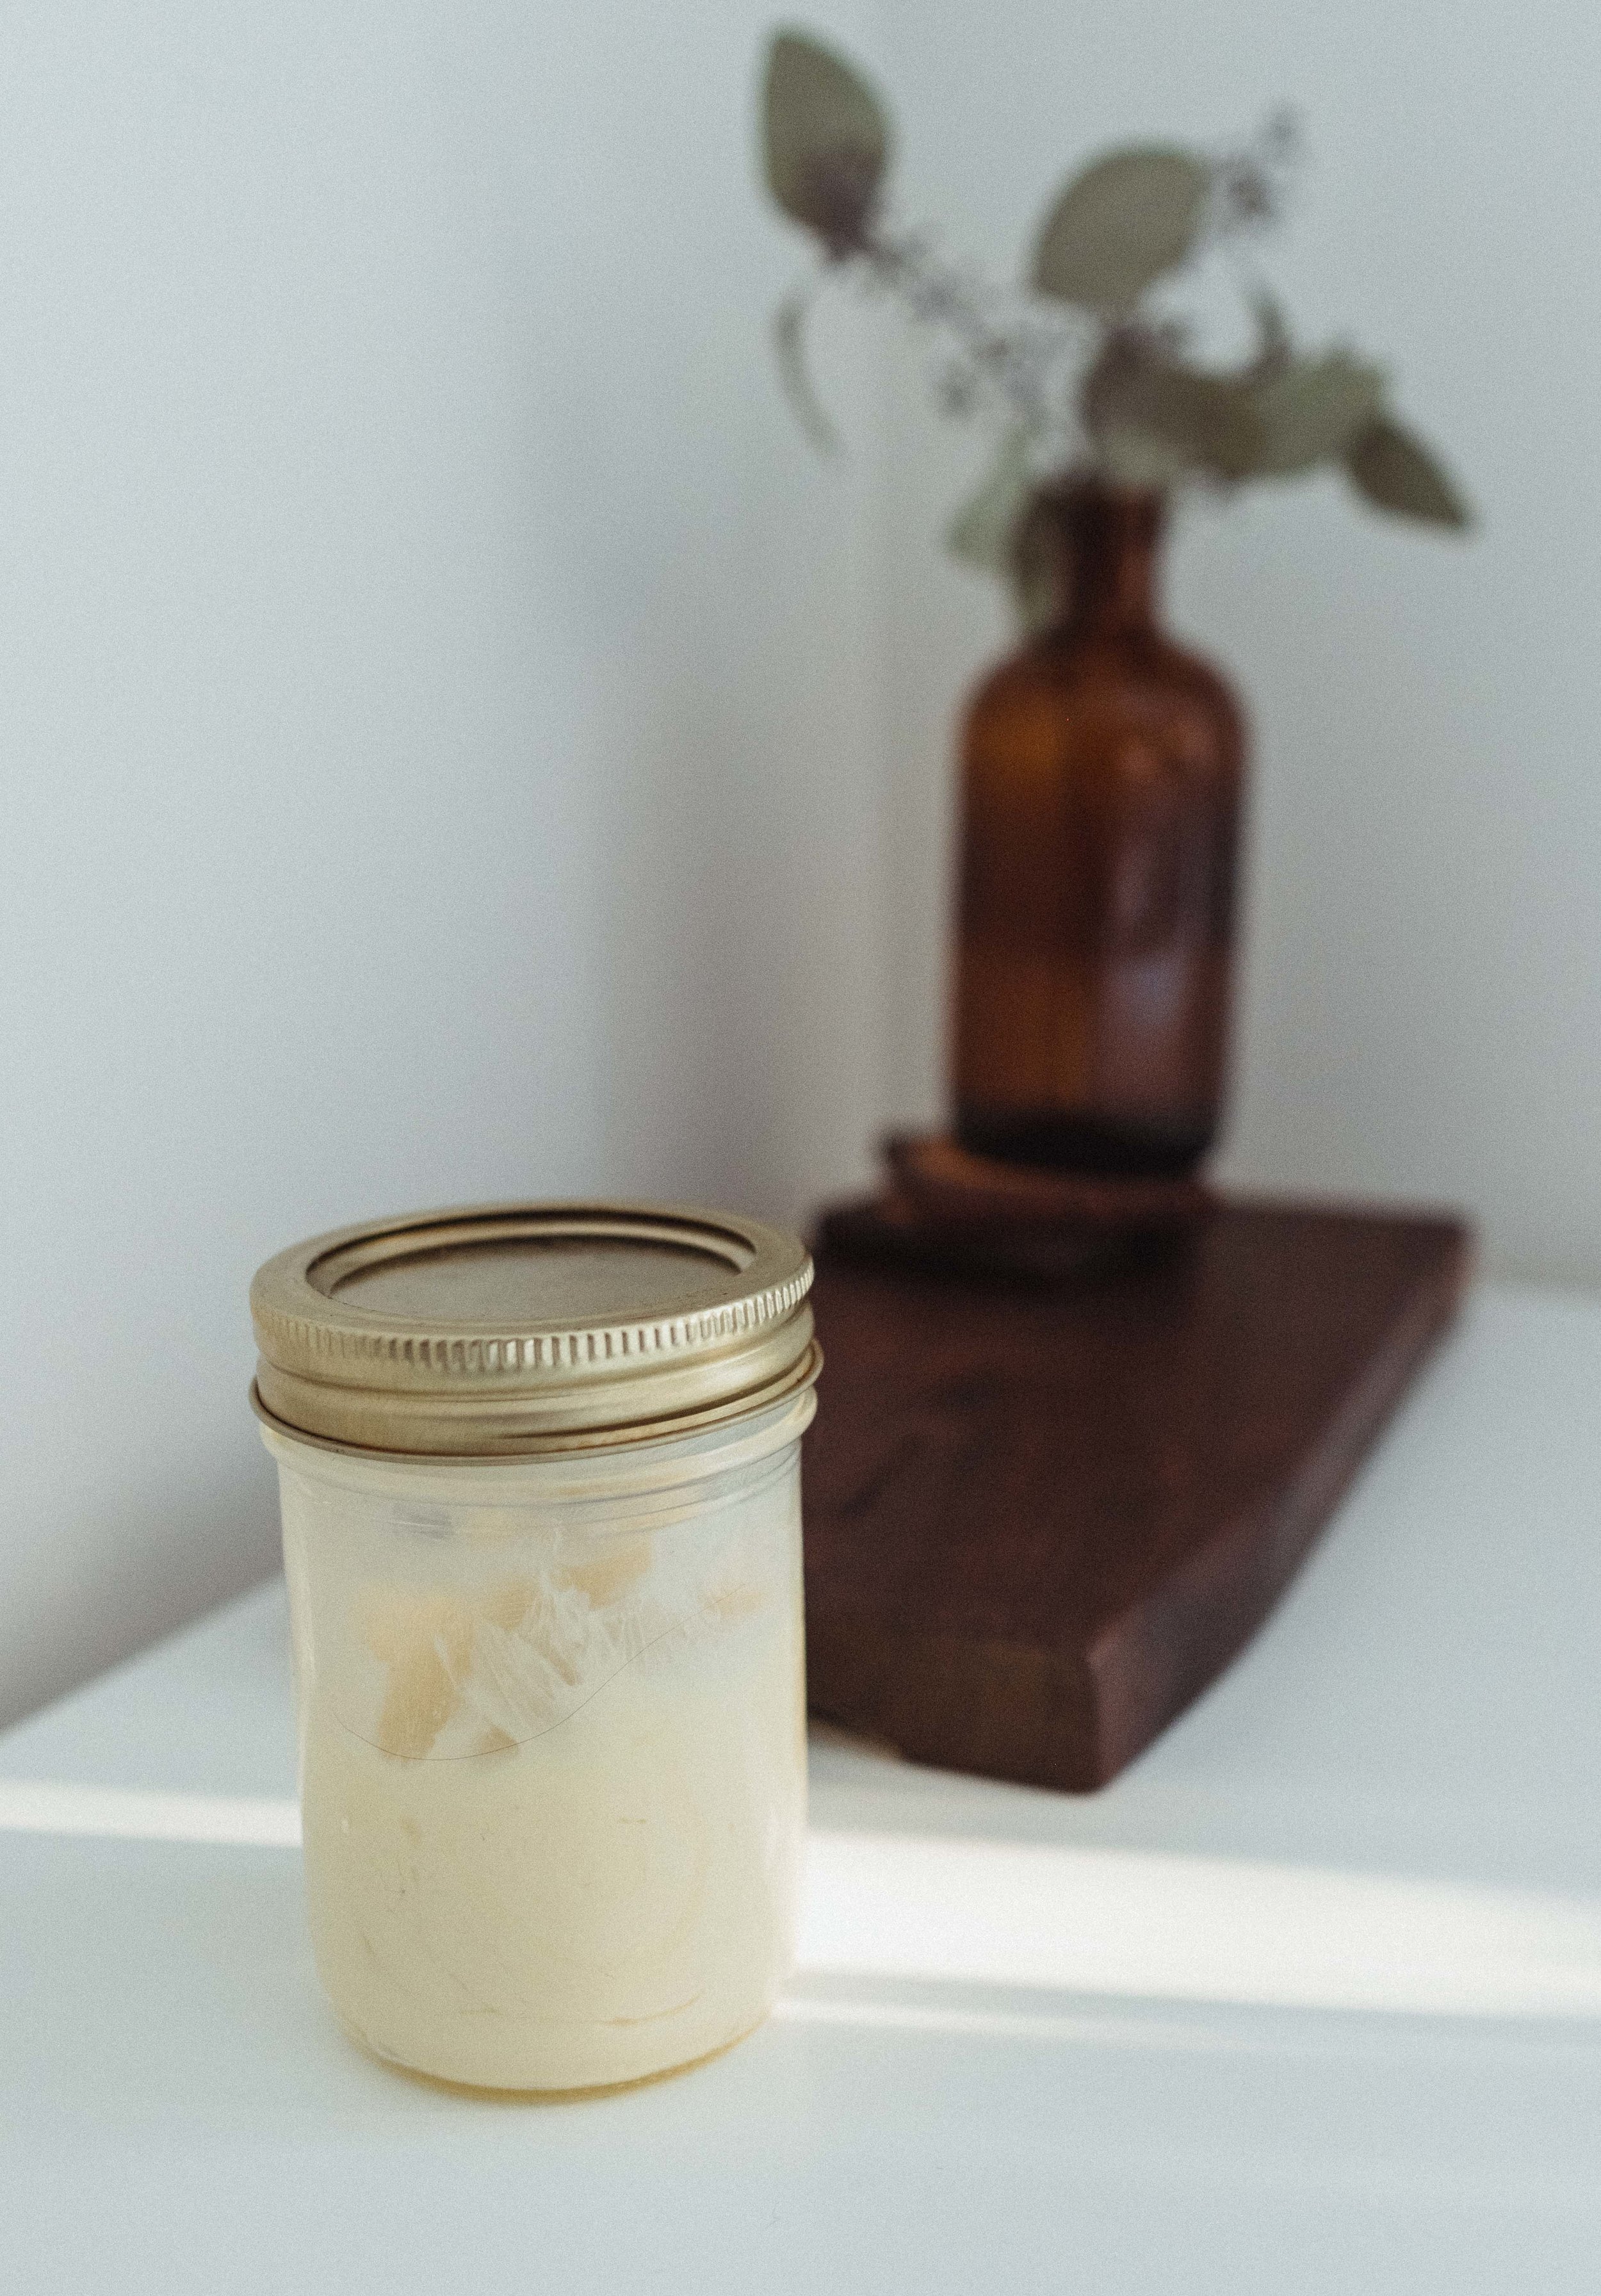
Reusable Cotton Rounds

This is a relatively new swap for me because instead of continuing to use cotton rounds, I just cut them out completely. I just didn’t find that I needed to use them that often because I apply toner with my hands and I also usually use an oil makeup remover. However, I wanted to try out this DIY and also have a few on hand for when I did want to use cotton rounds.

There are reusable cotton rounds out there that you can purchase if you don’t want to make your own. But you can actually repurpose an old t-shirt and sew your own reusable cotton rounds! Reusable cotton rounds and used like normal cotton rounds and then I keep them in this small delicates bag and toss them in to the laundry when I have a load to do. So simple, and so effective!
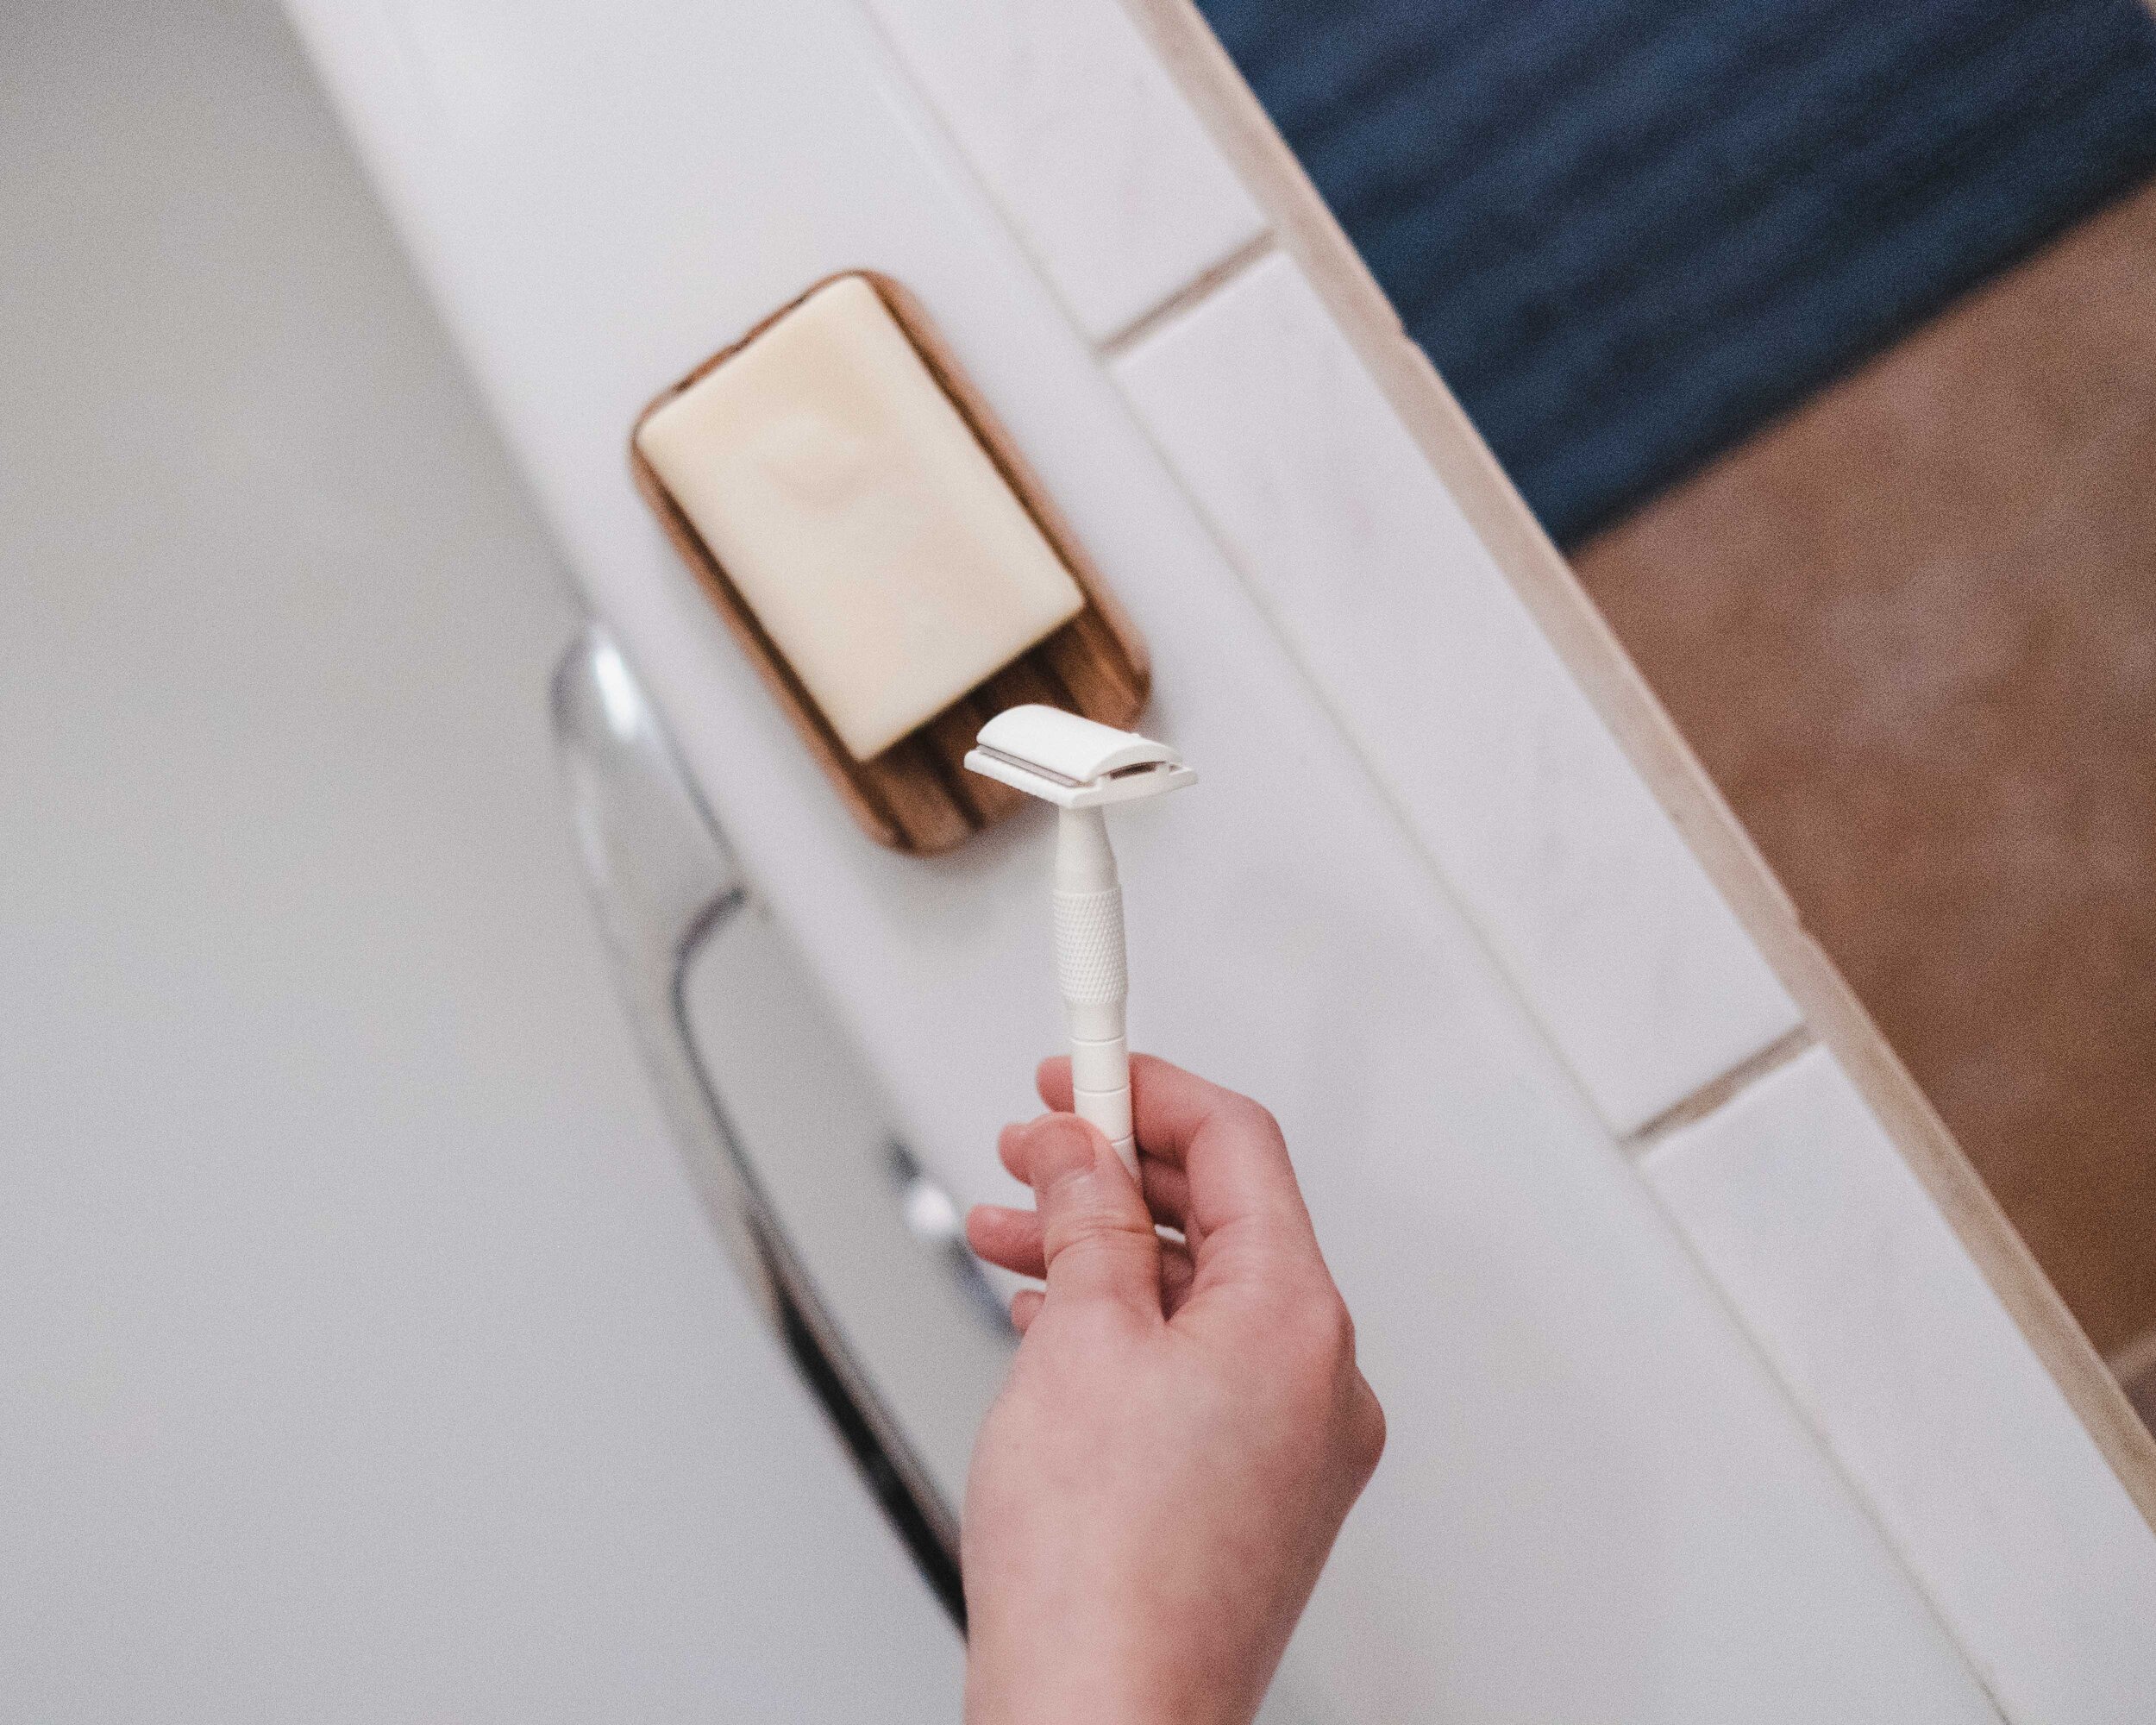
Safety Razor

I only recently switched to a safety razor because to be honest, I was scared of the blades. However after switching, I realized it’s actually quite simple to use and it is a lot more space and cost efficient. There is a tiny bit of a learning curve to get used to the process and feel of handling a safety razor, but once that’s covered, you’re good to go! A sustainable swap to disposable razors!

Things I recommend:

earth month-10.jpg

Sustainable habits in the bathroom

And now for some general tips! Here are just a few ideas to keep in mind to be more intentionally sustainable in the area of the bathroom and health and beauty.

  • Take shorter showers!

    • This one is so easy and everyone can take part in this. Simply shorten your showers to save water and energy.

  • Don’t wash your hair as often

    • Related to my first point, try not washing your hair everyday. Not only is it better for your hair, it’s also better for the environment. This will help you out with point number one!

  • one in, one out

    • With beauty and self-care products, it can be tempting to hoard products to try. I’m definitely guilty of this and am working on sticking to this “one in, one out” rule. Finish your products before you swap them. If a product really sucks, try to find a different use for it to use it up or maybe you have a friend or family member that likes that product. For example, I’m sure I’m not the only one who has tried a shampoo or conditioner that just does not work. Instead of tossing it out, use it as a shave cream. Try to think creatively to make the most of products you do have.

I hope that these simple tips have encouraged you to make some changes in your bathroom and hair and beauty routines. This is definitely not an exhaustive list of sustainable tips, if you have more, I’d love to keep learning and know what you do to live a more sustainable lifestyle!


This post is not sponsored but may contain some gifted items and affiliate links. If you decide to shop through the links above, I may make a small commission that helps support this blog and my Instagram. I only share products and brands I love and support. All opinions are my own. Thank you for supporting Candice Tay!

 
How-to: Have a Zero Waste Period
jan 6 - 12-13.jpg

How-to: Have a Low Waste Period

So you want to reduce your waste in your period routine but don’t know where to start? Trust me, I’ve been there before and I can’t wait to share with you my current zero waste period routine, how I got there, and my thoughts on some of the swaps I made. It’s not a perfect routine by any means, it’s just what I’m currently doing and my personal first experience with menstrual cups and reusable pads.

Pre Low-waste Routine

Before we get into the current state of my routine, I thought it’d be interesting to show the progression of how I got to where I am now and also share my pre-zero waste routine. Growing up I had always used pads and not tampons unless I absolutely had to. I personally felt the most comfortable with pads and it’s how I had always gone about my routine. Pretty simple — BUT the more I dove into learning more about sustainability and trying to change habits here and there, I was determined to change some of my period products because I started to see how much waste I was creating each month in this one area of my life. For me it made the most sense to take the plunge and go straight to a menstrual cup instead of a low waste tampon or reusable pad. So if you’re thinking if it will be hard to switch to a cup if you’ve never used or rarely used tampons, you can definitely do it!

jan 6 - 12-12.jpg

The Early Stage

Stage one of making my swap to a menstrual cup began with finding a cup. The most accessible one to me and the one that I had heard the most about at the time was the Diva Cup. After some convincing from friends and some more reading online, I went and purchased the Diva Cup from my local drug store. I still had some disposable products that I wanted to finish up before diving into the world of cups so I spent the next few cycles finishing up some of those products, but I also saved a few for “just in case” or if the cup didn’t work out for me. If you are wanting to immediately explore menstrual cups but have a lot of extra disposable products, I would consider using them up first or also finding an appropriate local charity to donate them.

The Trial Stage

The next thing I did was to start using the cup, but I started by only using it at home or on the weekends. When my time of the month came I slowly tried the cup for short periods of time from the the comfort of my home and on weekends where I knew I would have quick and easy access to a private bathroom. Insertion did take a bit of practice and was a bit difficult at first, but I did a bit of googling/youtube-ing and found what works best for me. As my period came each month, I slowly attempted to wear the cup for longer periods of time. I also had a bunch of disposable liners leftover that I was still finishing up at this time, so I used them in addition to the cup as extra protection. After 2 to 3 cycles, I finally got the hang of the cup and also finished up all my disposable products, including the liners. Unfortunately the cup that I have still leaks a little so I now have reusable cloth liners that I use with my cup on heavier days. I’m still troubleshooting this part of using a menstrual cup, but it could also be that this particular cup is not the best fit for my body, so I would highly recommend taking this quiz to narrow down some cups for you before purchasing.

Current Routine

With the help of reusable pads and a menstrual cup, I have now gotten my routine to be completely zero waste. Here is my current routine! On my heavier days, usually day 1 and 2, I use a menstrual cup and a reusable liner as back up protection. On lighter days, I wear just a cup with leakproof underwear or just a pair of leakproof underwear. At night, I prefer to sleep with a reusable pad which I clean in the morning. It took a few cycles to get to where I am now, but it’s such a great feeling to know that my period does not produce any disposable waste! Although it’s not the perfect routine yet, I’m quite pleased with where it’s at and would love any and all tips for cup leakage. I’ll share more about the specific products I use and my experiences with them below.


My Product Line-up

The Diva Cup

I am currently using the Diva Cup - Model 1, which for me was easily accessible at my local drug store. I love that it is chemical free, relatively simple to get the hang of, and it’s made in Canada. Of course as I mentioned above, I’m still figuring out if it’s the best cup for me because I do experience a bit of leakage, but I wanted to get the most out of this cup, so I will continue to use it until I find a solution to my leaks or find a better fitting cup.

Hannah Pads

For reusable pads, I use Hannah Pads! Hannah Pads are unbleached and undyed, made with certified organic cotton. The snaps on the pads are recyclable and the pads also have little silicone feet on the pad to prevent it from slipping around during wear. They are biodegradable and can be thrown in the compost at the end of its life with the snaps removed and thrown in the recycling. I also use probiotic soap to wash the pads and I’ve found that the soap has really helped clean the pads and easily lift stains.

zerowasteperiod-2.jpg

Knixwear

Finally for leakproof underwear, I like the leakproof boyshort from Knixwear. They’re great for light days and are quite comfortable to wear throughout the day. It’s made to absorb up to 3 tsp of liquid and protect against leaks. The only con for me is that I’ve found that the smallest size runs a teeny bit large for me and they don’t offer anything smaller than a size S. However, the sizing does go up to a XXL. If you’re on the petite side, you may want to try a different brand for a better fit. There is also THINX, which I’m sure many of you have heard of, but I actually have not tried any of their products yet. I did notice that their size range is a bit more comprehensive.

That’s a wrap on my journey so far in exploring zero waste periods. I hope it gave you some insight as to how I slowly transitioned to a zero waste period routine. It definitely wasn’t over night and did take a few cycles to get it to a point that I’m happy with. This post was more of a little peek into my own personal story, but I do want to tackle more specific and practical questions as well to help you on your way (perhaps in a video format so it’s easier to explain), so if you have any particular questions for me, please leave them below!


This post is not sponsored and does not contain affiliate links, but does contain some gifted items.

Current Low-waste Bathroom Lineup
zerowaste bathroom

Current Low-waste Bathroom Lineup

shower edition

I’m excited to say that my current bathroom lineup is the most eco-conscious and low waste it’s ever been. Let me tell you, my hair and bath products were definitely not always low waste. In fact, for most of my life, I was worried mostly about whether the product worked and whether it smelled good or not. I did not care if it wasn’t natural, if it had a ton of packaging, or whether I’d be able to finish the product. When I started on this lifestyle change I looked at different areas of my life that I found to be the most wasteful and started to take small steps from there. In terms of beauty and hair products, I have never been the type that had a billion products nor do I wear a ton of makeup. I like my getting ready routine to be simple and fuss-free. The simplest first step I took towards having a more low waste bathroom lineup was to stop buying or stocking up on products and to just finish what I was currently using. After I finished all the products, I slowly began to move in a more low waste direction. Starting with body wash.

bathroomlineup-2.jpg

1. soap and body wash

This is one of the simplest changes that honestly anyone can make. It’s super accessible and doesn’t really change your routine much. It’s simply being intentional about choosing one product over another. Once I finished my liquid body wash, I opted for bar soap wrapped in paper instead of the typical product I would reach for, liquid body wash in a plastic bottle. Sometimes bar soap even comes unwrapped, and just like that, you’ve avoided one plastic bottle.


2. shampoo and conditioner

The next change I made was to buy my shampoo and conditioner in bulk with old shampoo and conditioner bottles. I brought my bottles to a bulk pop-up market in Toronto and was able to get them filled up. Another option to have less waste/no waste is to use a shampoo bar. These can be found at larger conventional stores like Lush or maybe smaller local soap companies or makers. I may try this route next time, once I’m done all my current product.

The next two changes are some fun DIY projects I did, which to be honest, not everyone has time for, and I completely understand. I thought it would be interesting to push myself a little and see how I could reduce waste even if it inconveniences me a little. These products are completely homemade with natural ingredients and a bit of elbow grease. I’ve also shared my specific recipes below, but there are tons of recipes on the internet if mine don’t work for you.

3. exfoliant

My brain is often filled with thoughts on how to reduce waste in my life. One morning I had been making my cup of coffee to start the day and as I was about to dump the used coffee grinds, I remember reading somewhere about reusing coffee grinds to make a body scrub. The kitchen is one of the most wasteful places of many households, mine included, so I was excited at the idea of being able to repurpose something that was otherwise just going to be dumped (of course in the compost). I had watched countless videos and read many different recipes before but I honestly did not follow a recipe for this scrub. I knew the general gist of how to create this scrub so I just went for it and here’s what I came up with.

zerowasterecipes-4.jpg

Let’s DIY!

Mix together approximately 2-3 tablespoons of coffee grinds (about 16g of coffee beans) with 2 tbsp of coconut oil, or as much as you need to get a smooth paste consistency. Next I added about 1 tbsp of brown sugar to the scrub. Mix everything together until smooth and then store in an air-tight container. I made a very small batch because I wanted to test this recipe out before making a huge batch and not like it or have a reaction to it, therefore not being able to finish it. Another reason I think making small batches of these all natural DIY products is better because the “shelf-life” is not as long as conventional products that sit on shelves in stores. The shelf life of this scrub is about 6-9 months. I would recommend leaving a small facial towel beside it to dry your hands before using the scrub to avoid getting water in your container, as this would most likely reduce the shelf life of the product.

I’ve already received some questions about whether it is okay to use on your face. I’ve used it on mainly on my body and I’ve tried it a few times on my face. For reference, I have quite very dry skin and my face is dry - combination. I definitely wouldn’t recommend you using it on your face if you have oily skin as I have read that coconut oil can block pores and cause blackheads. If you do choose to use this scrub on your face, make sure you test it on a small patch of skin first and also be sure to rinse well. I have also used this scrub as a lip scrub and it works really well for that!

coffeescrub-1.jpg

What are the benefits?

Coffee: powerful antioxidants, exfoliating properties help increase blood flow and therefore may improve skin brightness
Coconut Oil: moisturizing properties, reduce inflammation
Brown Sugar: hydrating, gentle exfoliant

The finished concoction of scrub smells delectable with hints of sweetness in the sugar mixed with coconuty-goodness and the awakening scent of coffee. I’m a night shower kind of person myself, but I’d imagine this scrub would be amazing in the morning to help wake up your senses. Why caffeinate by consuming coffee when you can literally bathe in it?


4. Body Butter

The final zerowaste product I experimented with was this shea butter and coconut oil body butter. Essentially DIY body butters are some combination of organic, natural oils mixed together. This is probably the simplest DIY body butter out there, feel free to add any other oils you want, for example sweet almond oil, argan oil, avocado oil, etc.

Let’s DIY!

Start by measuring 1/2 shea butter and 1/4 coconut oil. Melt the two ingredients in a double boiler until smooth and liquid. Place the melted ingredients into the fridge to harden up ever so slightly. Finally whip it up with a whisk or electric hand mixer to get the whipped body butter texture. Store in an air tight jar or container. Shelf life for this product is about a 9-12 months. Feel free to add different essential oils to your body butter, but be aware that the essential oils may shorten the shelf life of your body butter.

what are the benefits?

Shea butter: contains vitamins A and E, soothes and moisturizes skin, reduces inflammation
Coconut oil: see above

I’ve been using this whipped body butter for almost a month in the dead of winter and it has been really wonderful for my extremely dry skin. I think I’ve grown to like this product over time. The first few times I used it I loved it initially but found that overnight my skin would still be a bit dry in the morning. I have still yet to find a body moisturizer that keeps my skin moisturized over night. However, I’ve found that the more I used this body butter daily before bed, my skin has gotten softer and smoother in the past few weeks. When you first use it it is quite oily compared to regular conventional body butters. However, just be patient and let the oils sink into your skin.

 
bathroomlineup-4.jpg

I store both of these DIY products just beside the shower in my bathroom and I personally love to pair this body butter with the coffee scrub. They are the perfect duo for a little skin pampering on a quiet night in.

I hope my current product lineup has been encouraging to you, to help you have a more low-waste bathroom. The more I discover and experiment with low-waste living, the more I realize that it is very intentional and “slow”. It’s not about convenience and is often about planning and being intentional with my decisions. I hope I can continue to make these products and be intentional with my low-waste bathroom.

Let me know below what kind of changes you are hoping to make to your bathroom product lineup and please share this with a friend you’d want to make these DIY pampering products with!