june 2-2.jpg

Journal

Winter Capsule Round-up & Spring Inspiration
winter capsule wardrobe

Winter Capsule Round-up

a recap

Taking a look back

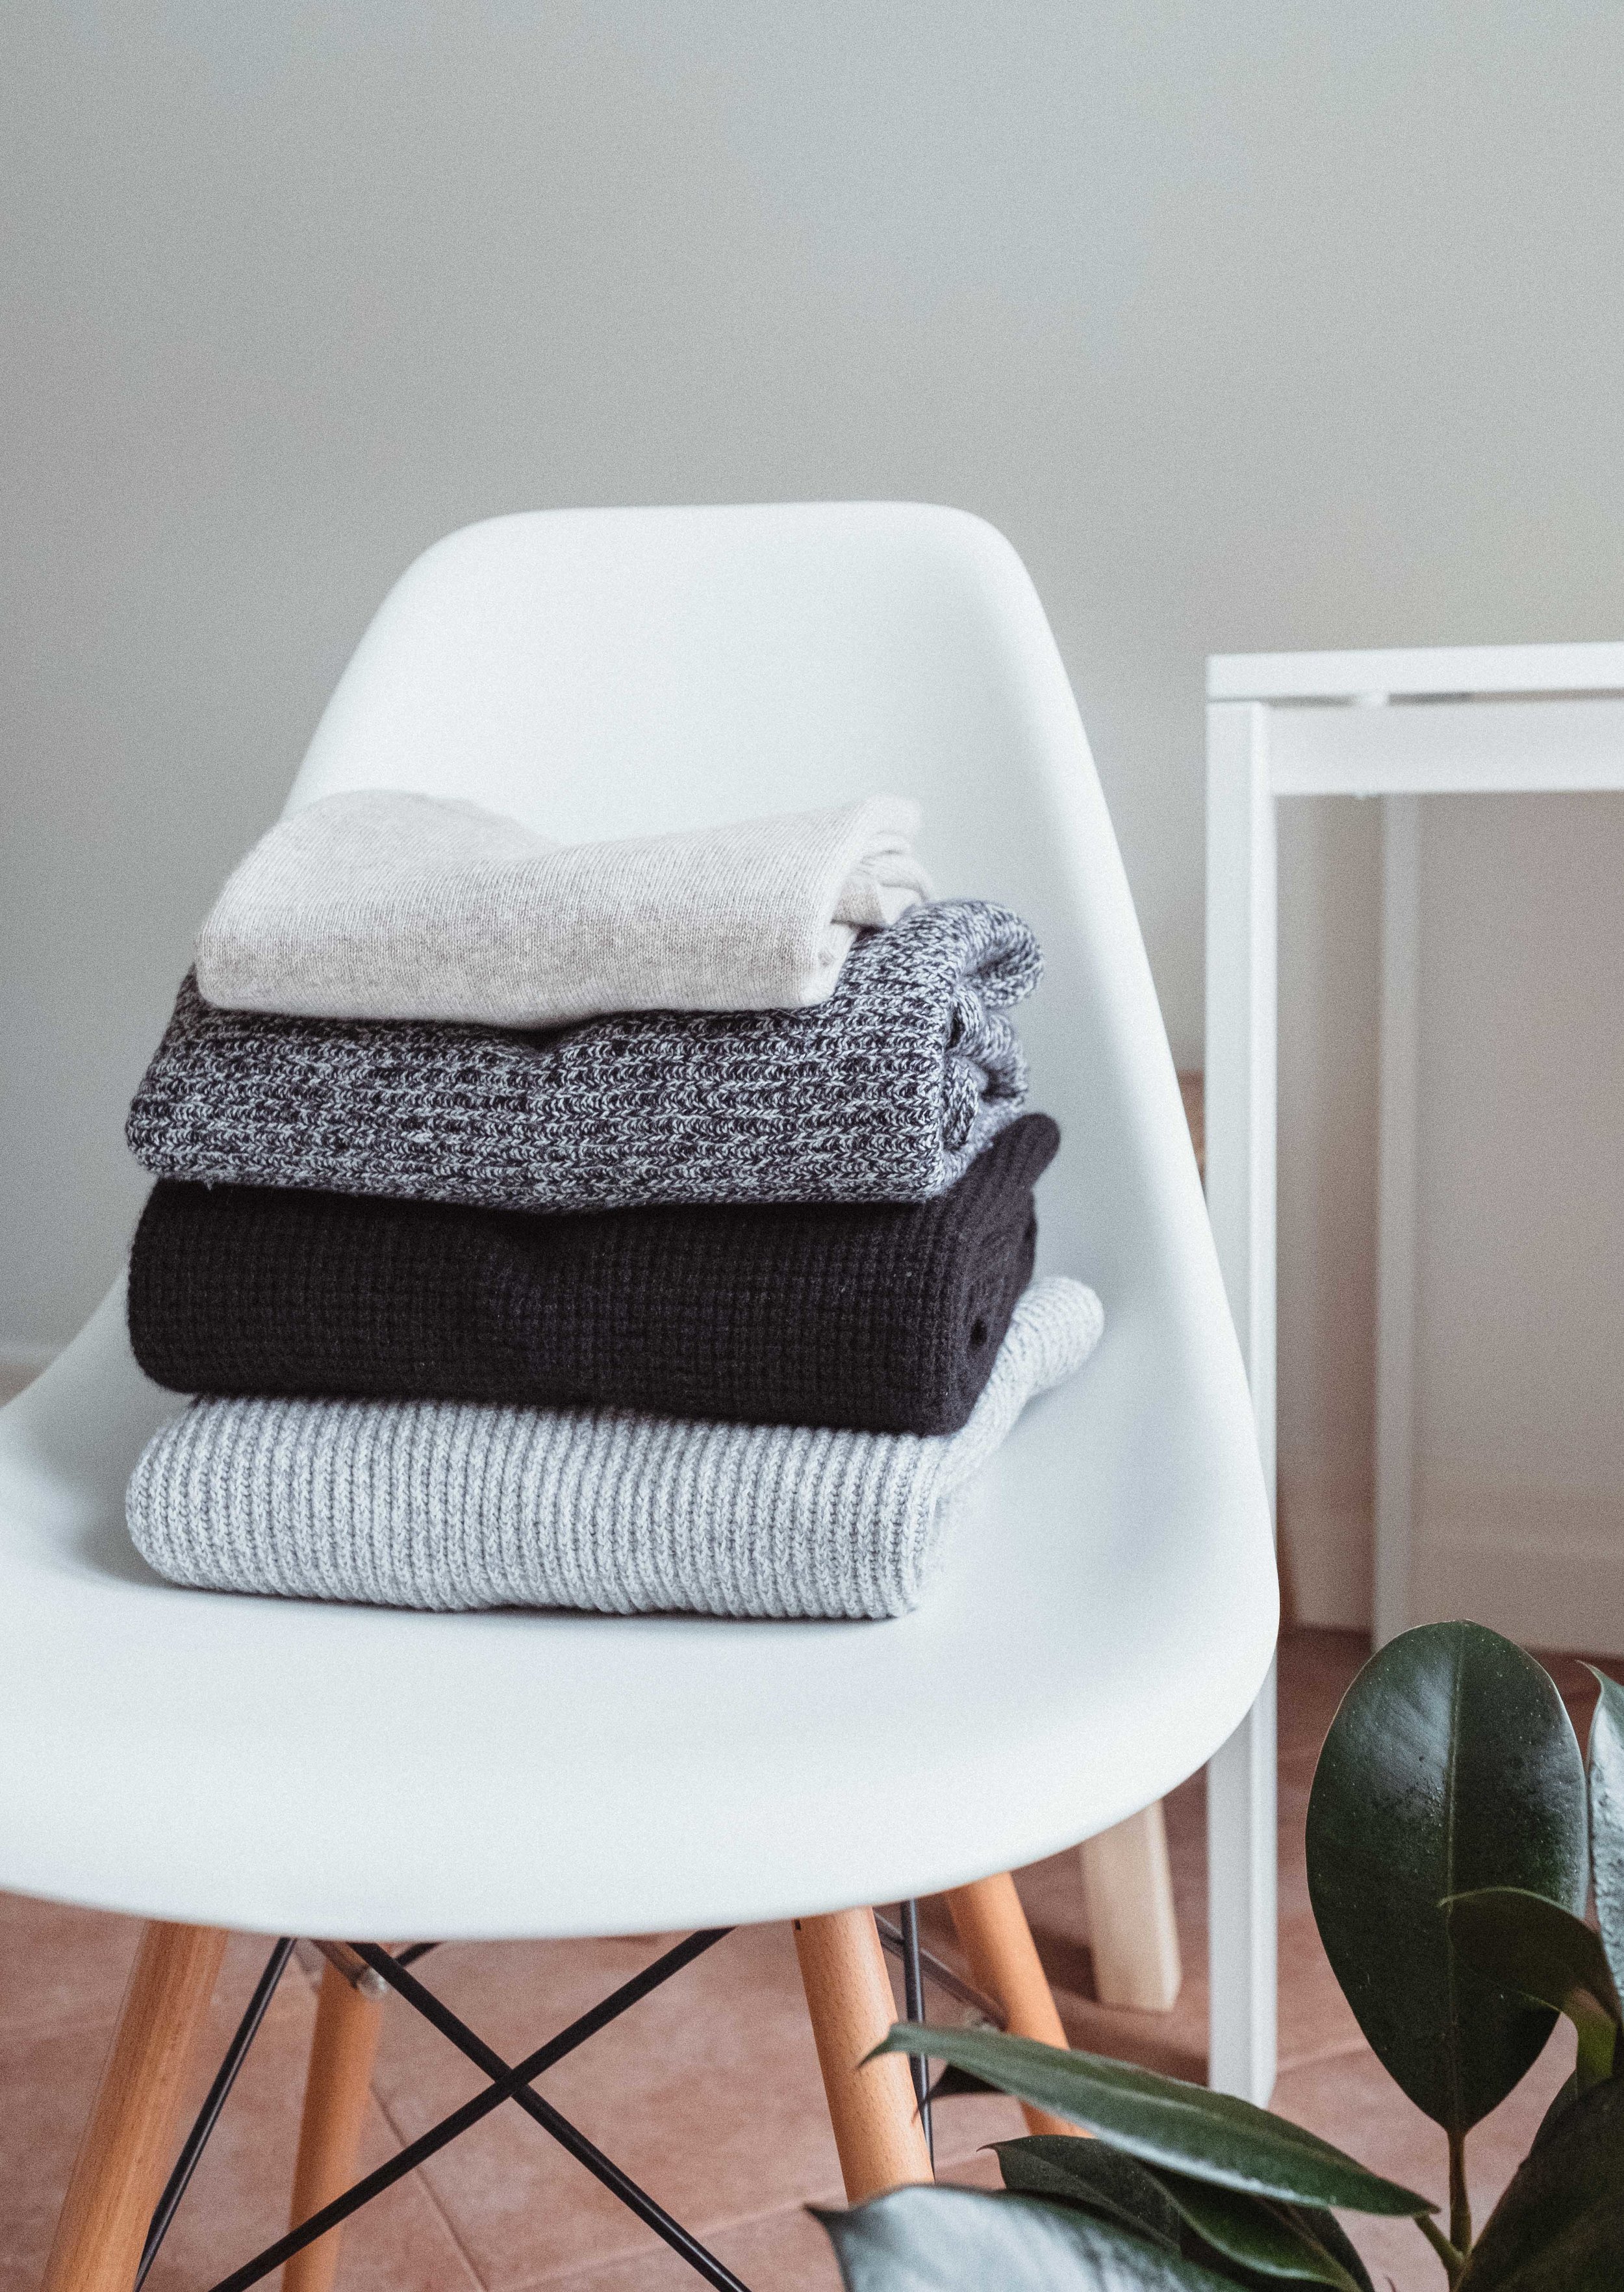
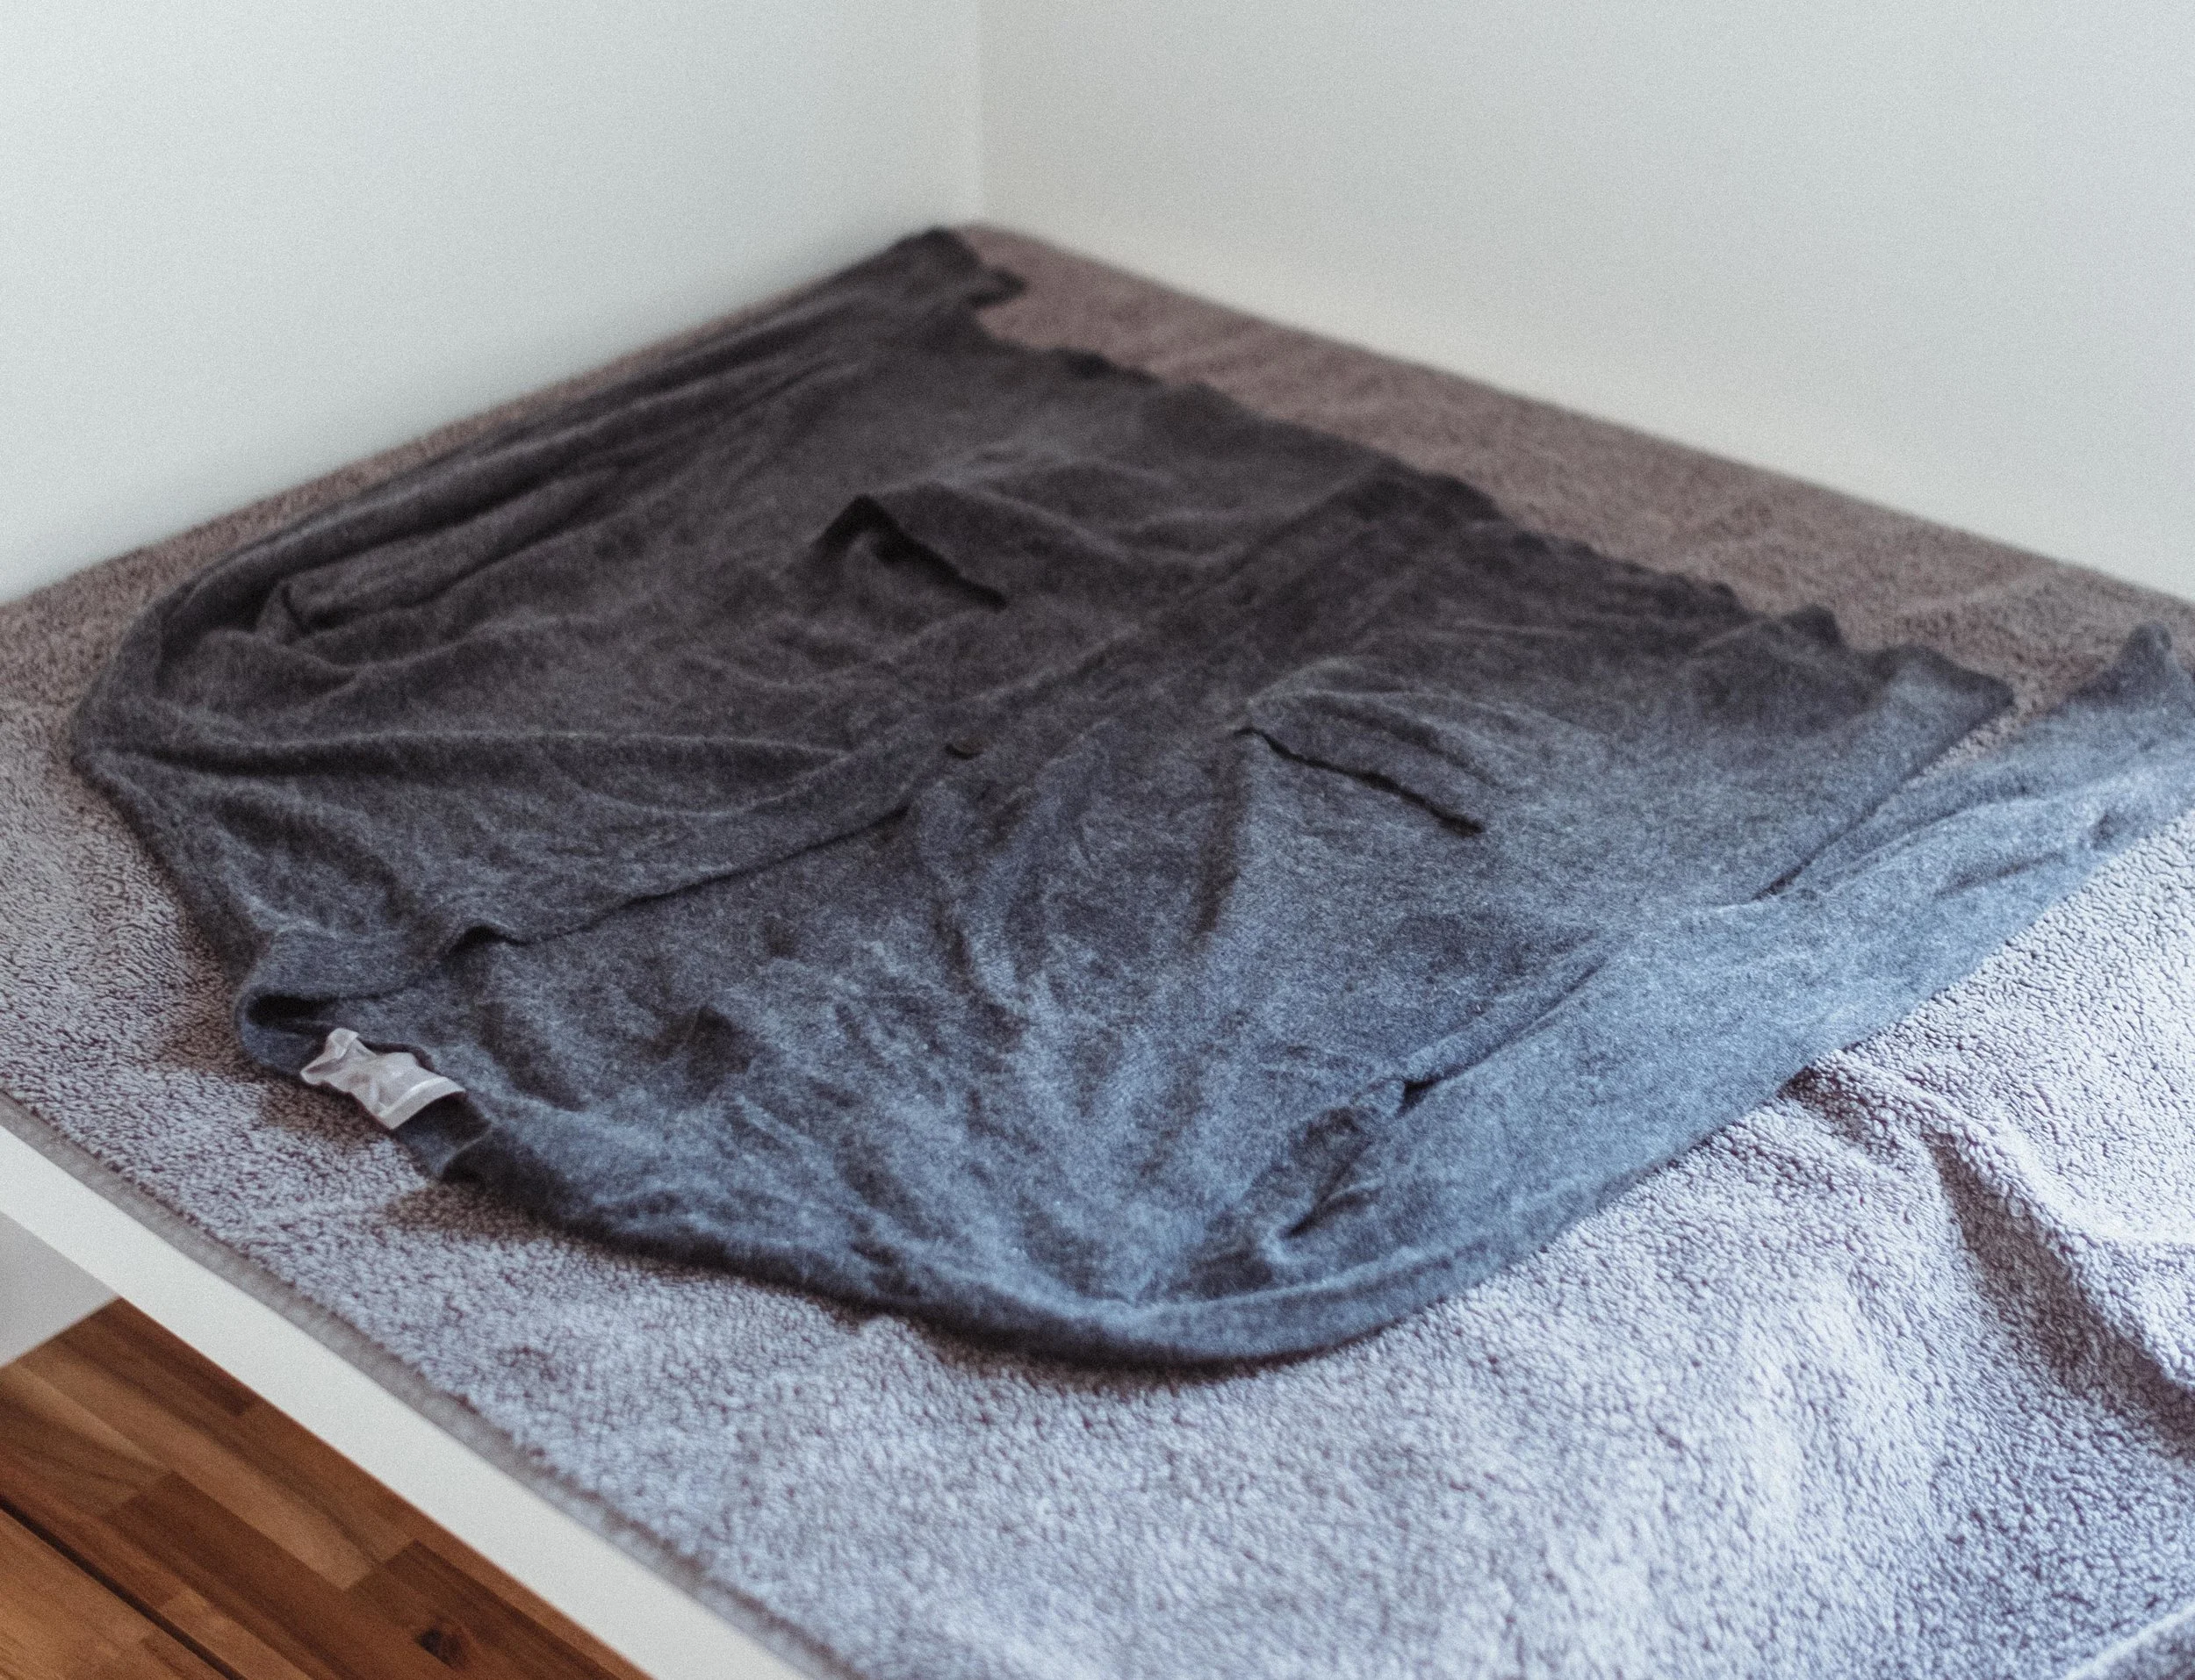
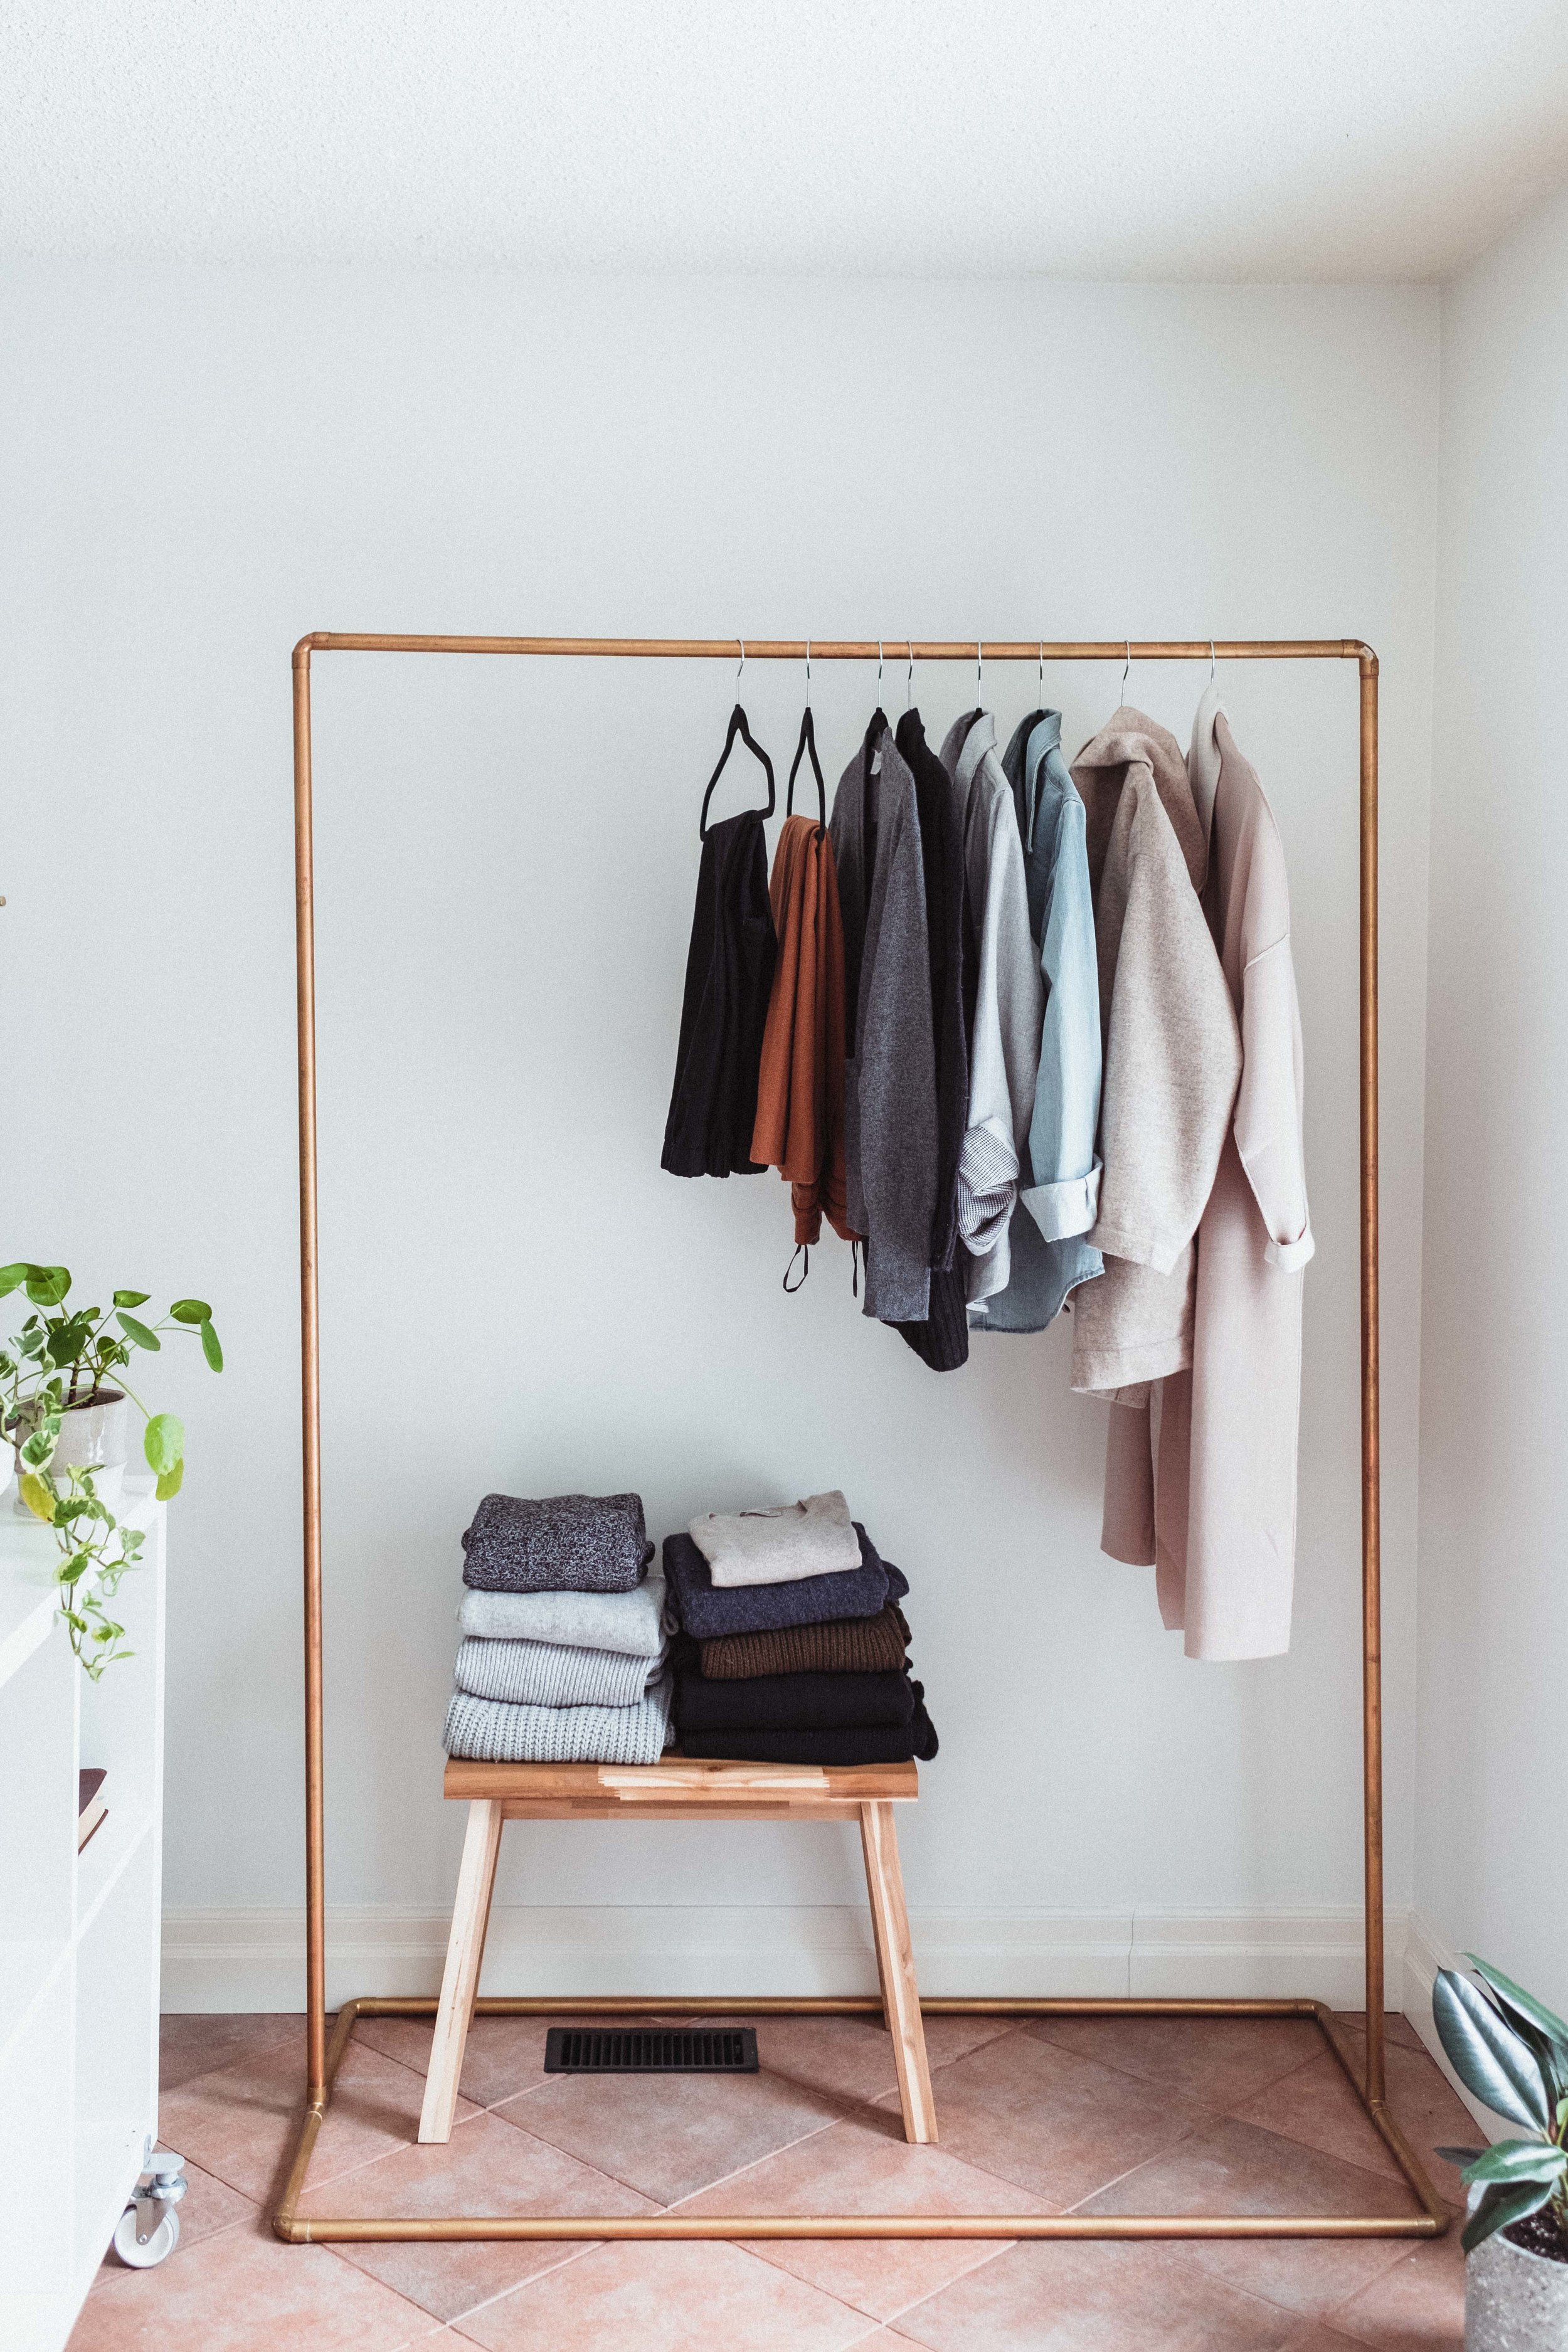
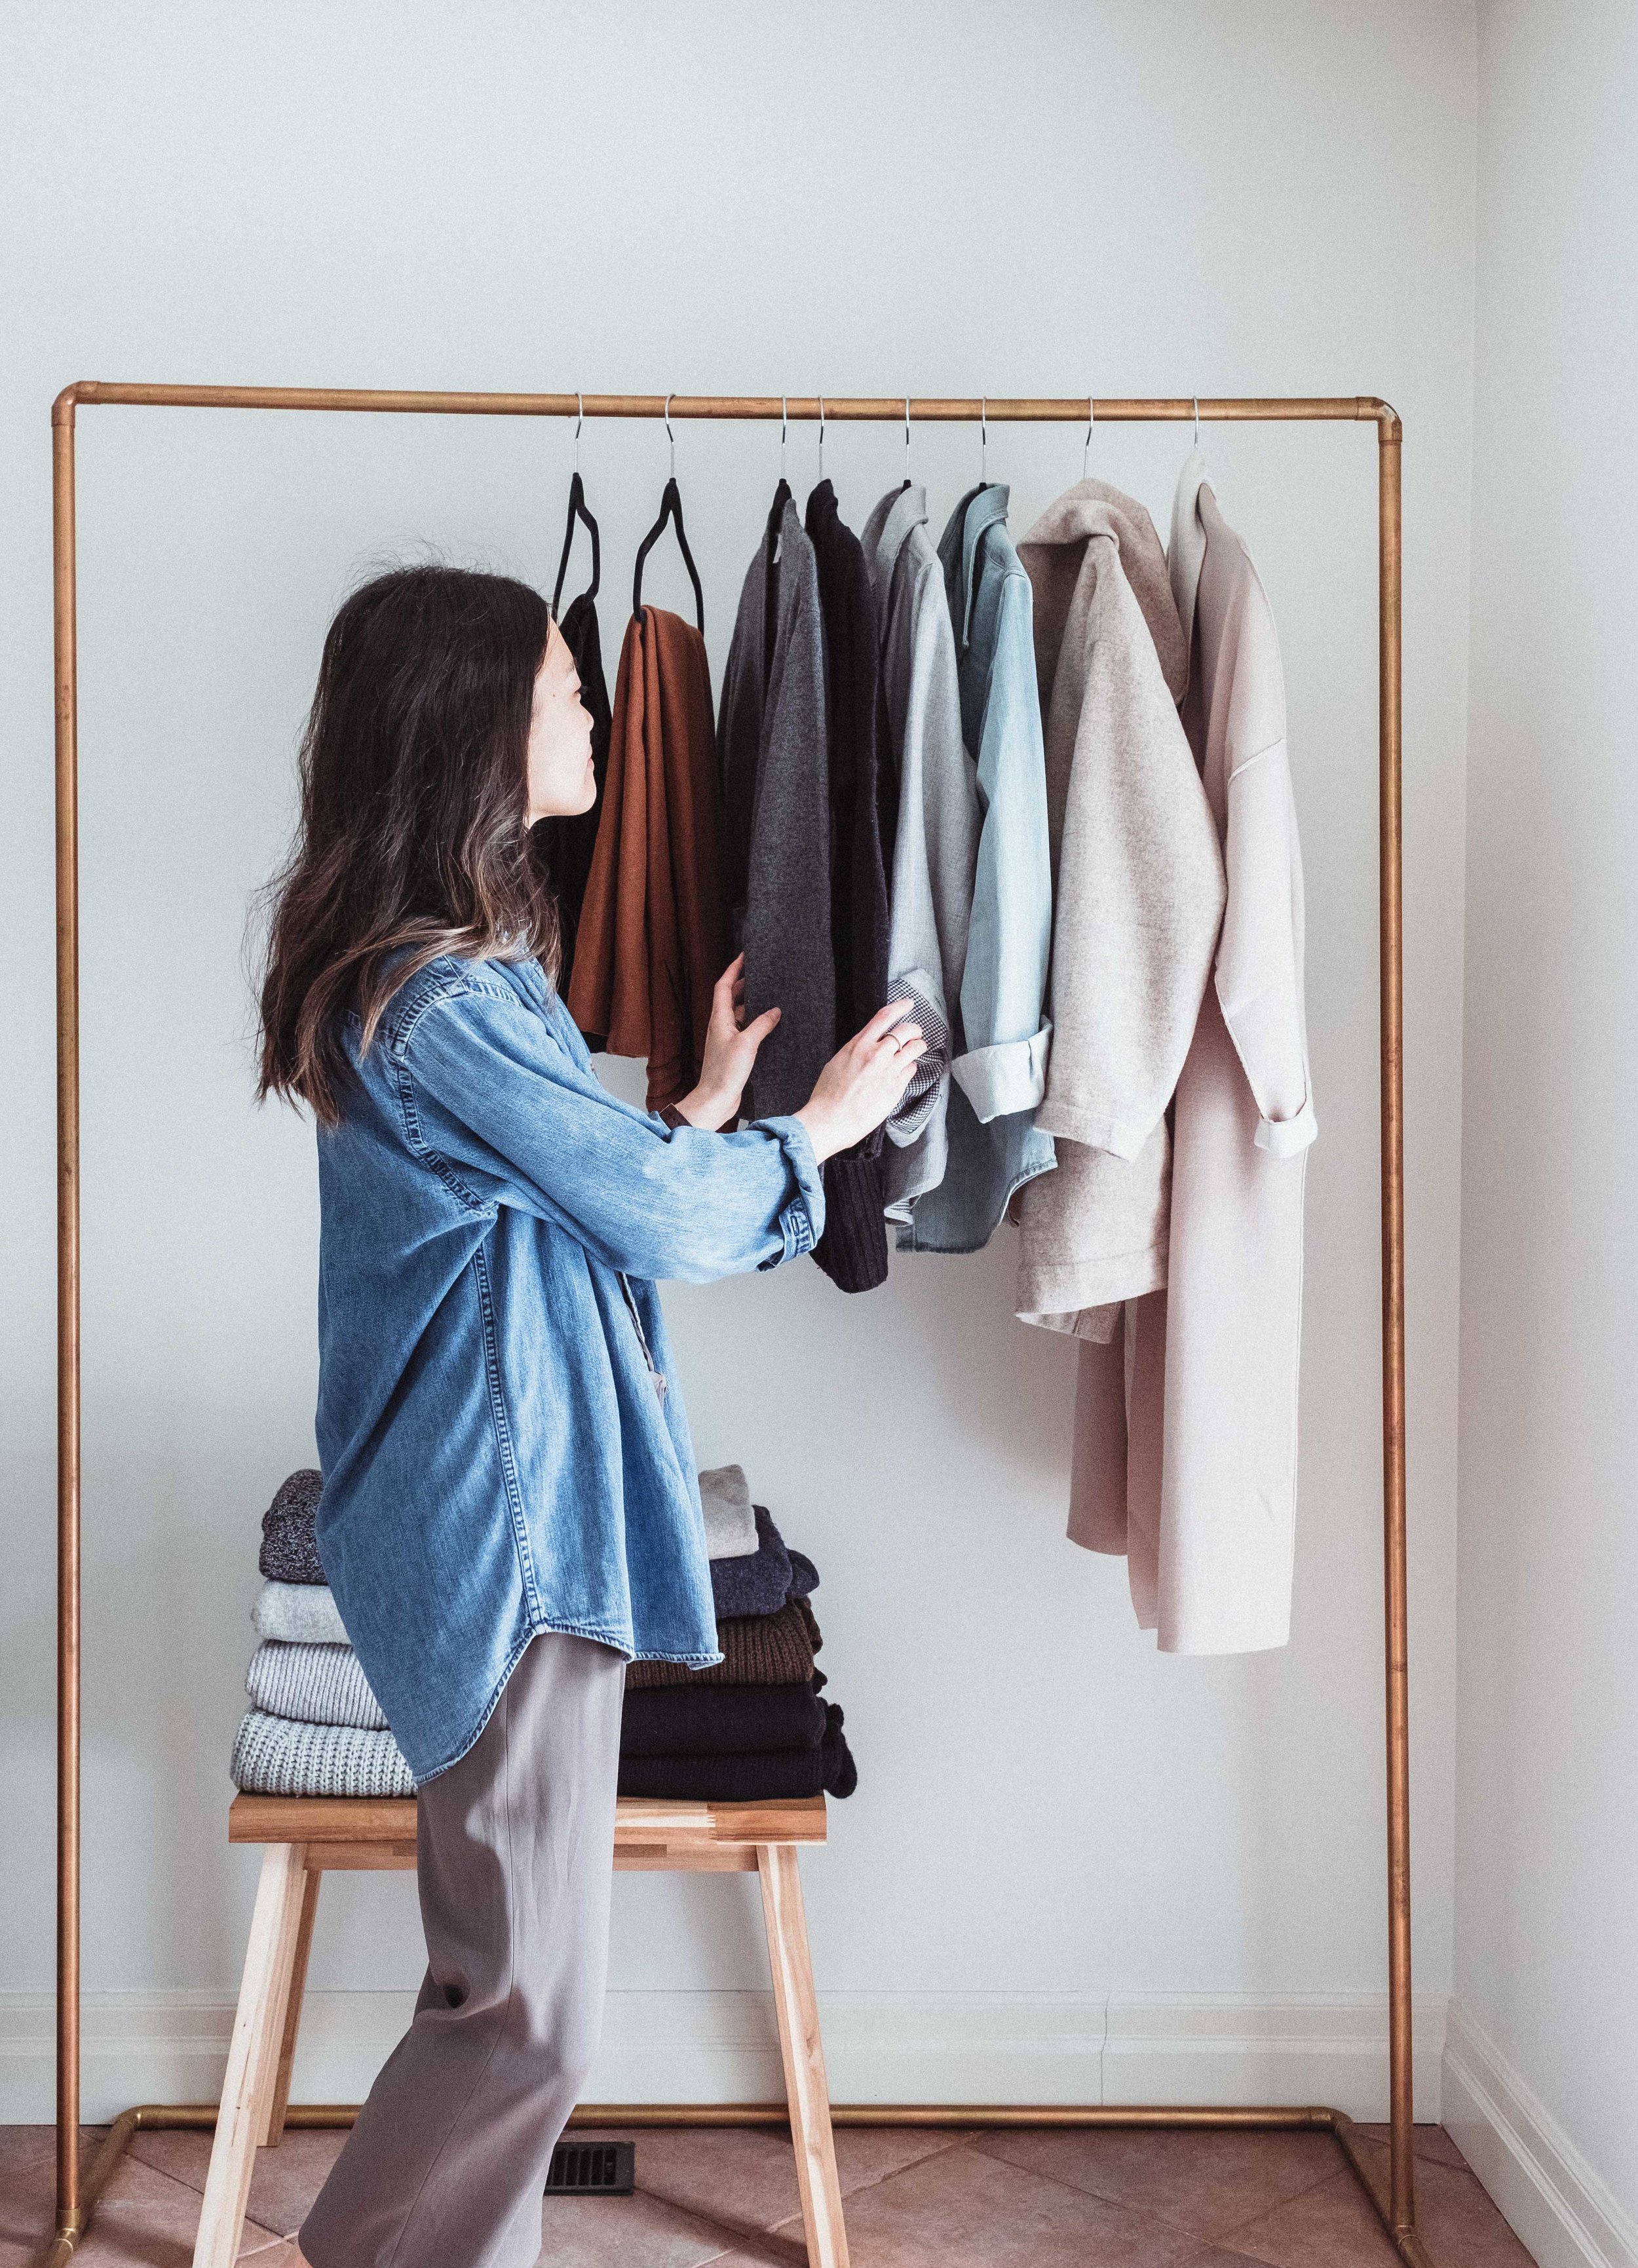
With all the snow lately, I don’t think Spring is anywhere in sight yet. Despite that, I’m definitely in Spring mode and am so ready to transition to my Spring capsule wardrobe. Before I share my inspiration for Spring, let’s take a look back at my current Winter capsule wardrobe. If you read my post about my Core Capsule, you would know that I have a basic capsule that I wear year-round and then I add on a seasonal capsule that has more appropriate pieces for the particular season I’m in. I’ve found this to be helpful especially living in Canada since we have very distinct four seasons. Pictured here is my Winter Capsule that I’ve been styling and wearing for the past few months. In this capsule I included lots of chunky knits, some wool pants, a few cardigans and shirts.

wintercapsuleroundup-1.jpg

Winter Capsule Evaluation

1. Identify low-wear pieces

At the end of a season, I like to go through my capsule and decide which pieces are staying in my closet and which pieces, if any, need to go. This may seem like a tedious process but it’s actually rather fast and can be helpful for you to identify which pieces you are actually wearing. Although I have a relatively minimal closet, there are still pieces that don’t get much wear. This winter season, I picked out three pieces that didn’t get as much wear as I had hoped.

2. identify reasons for low-wear

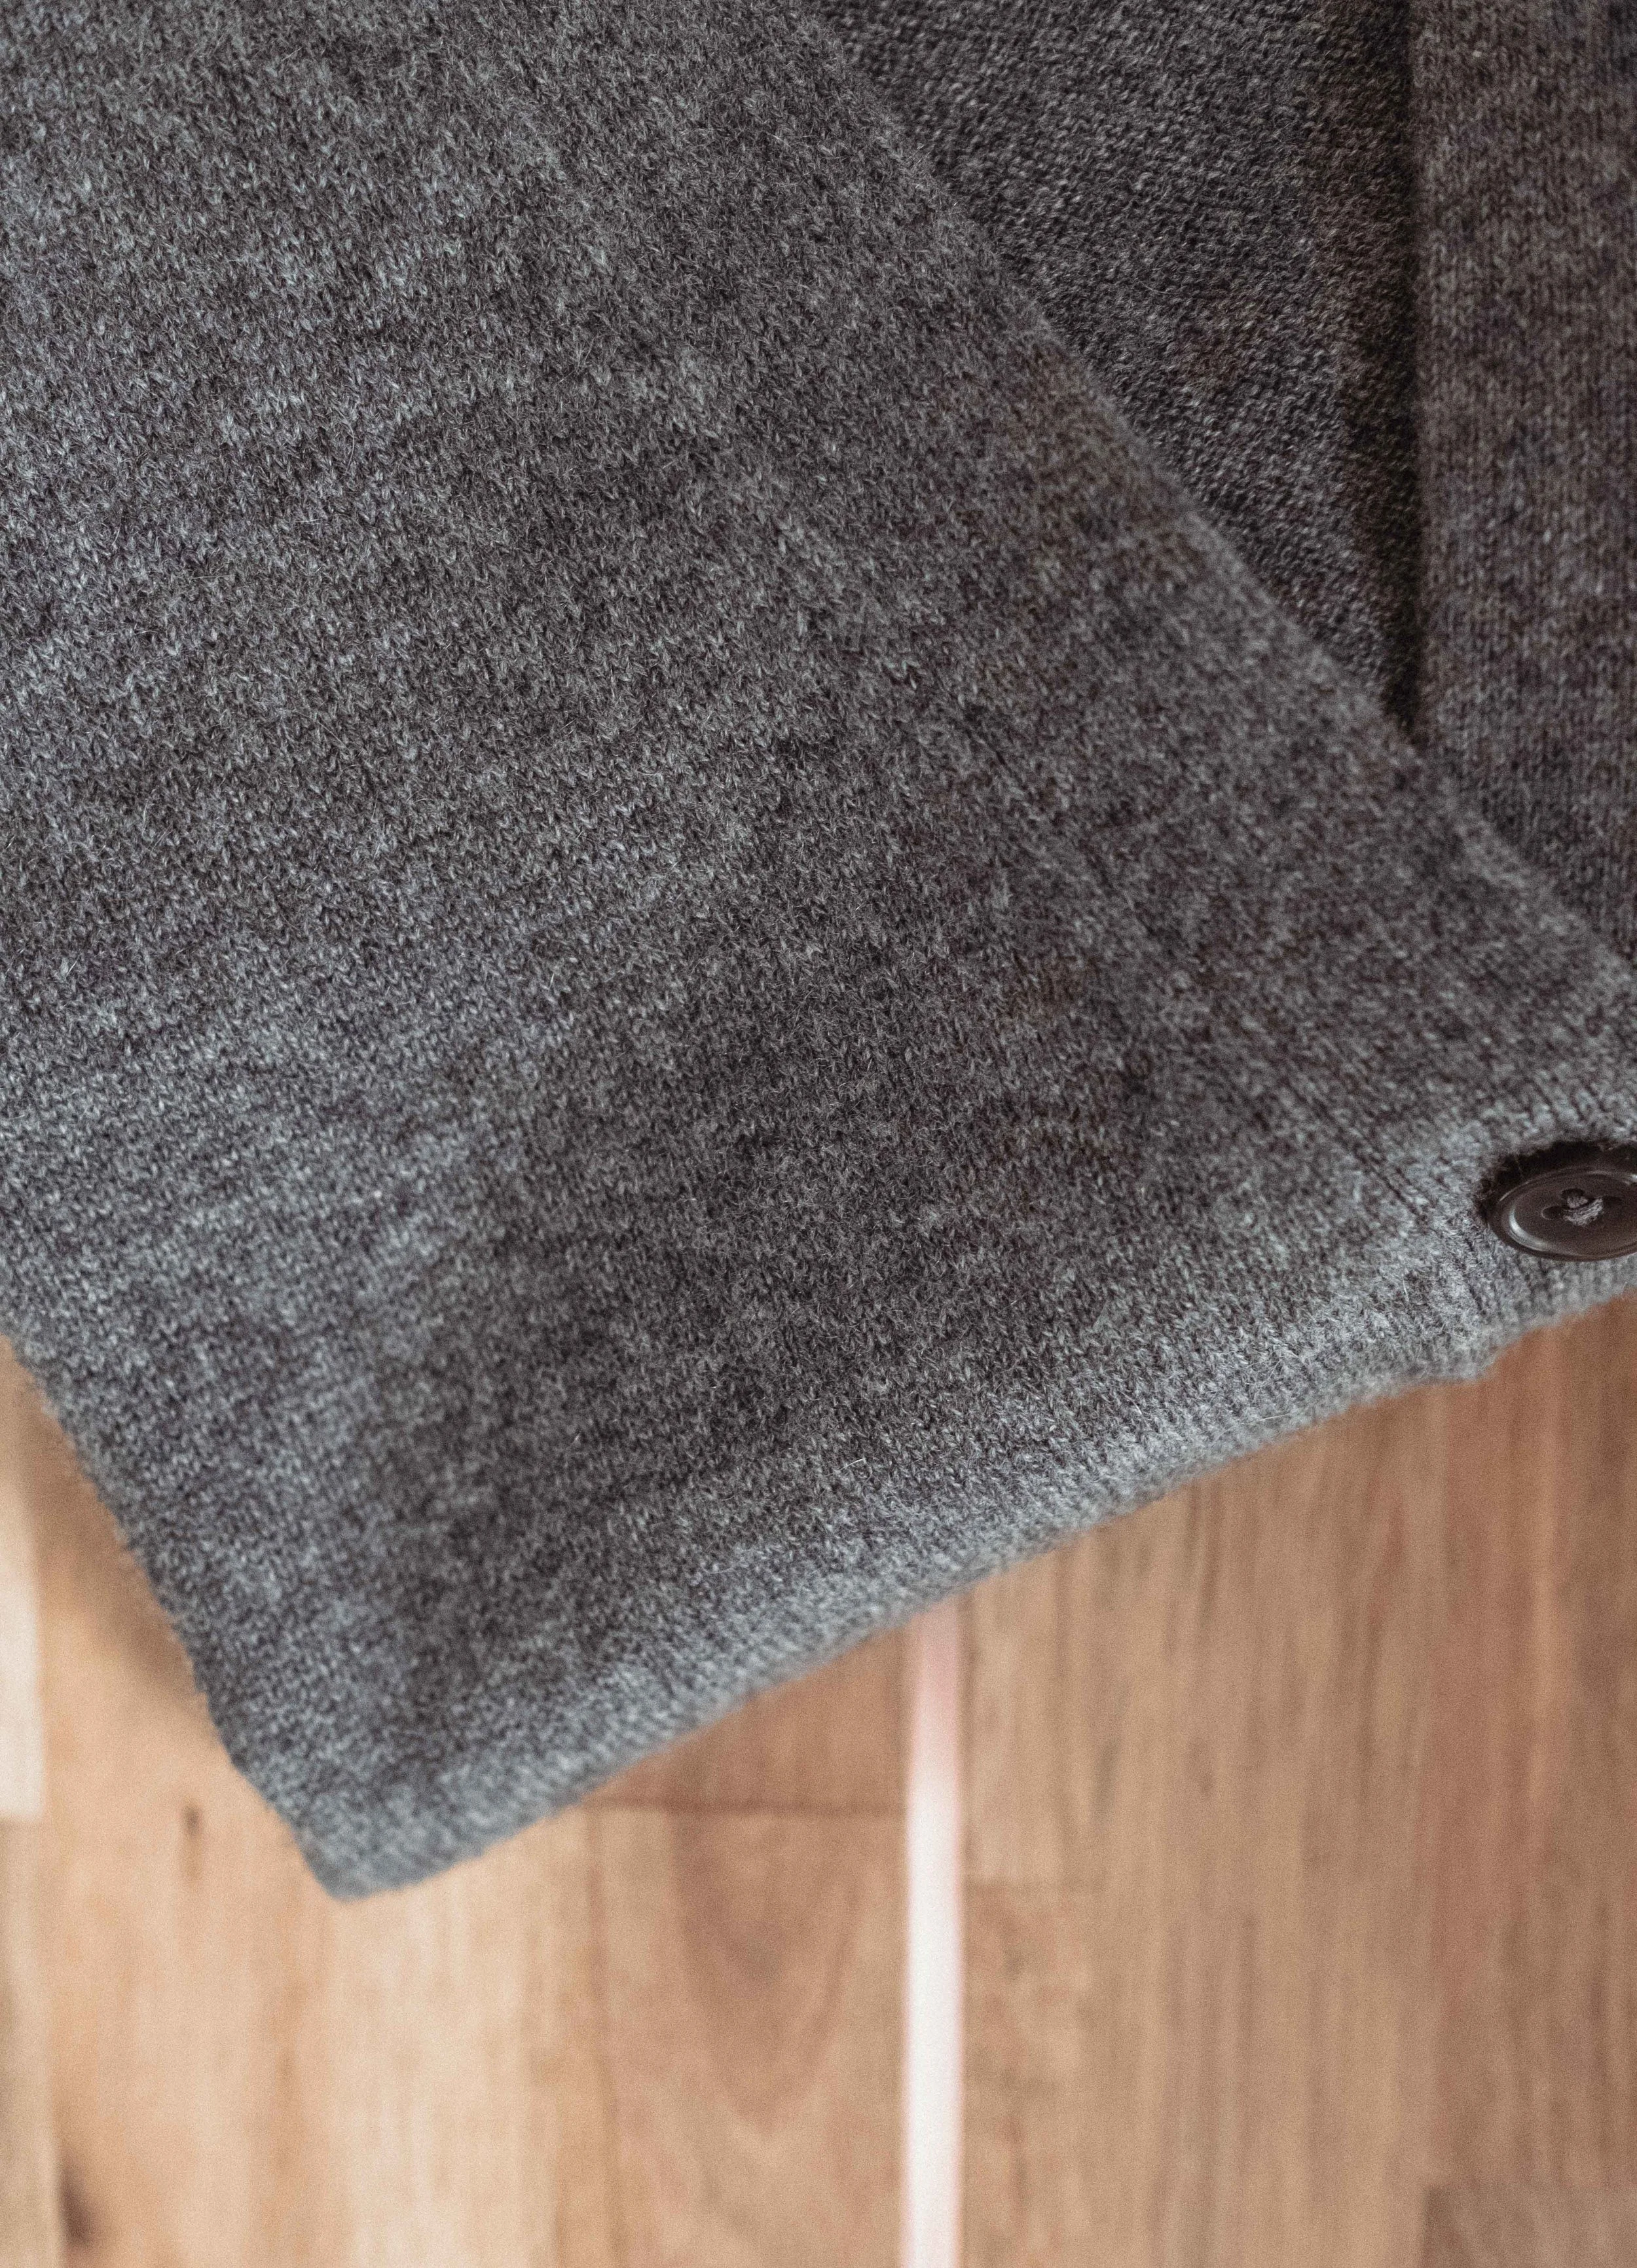
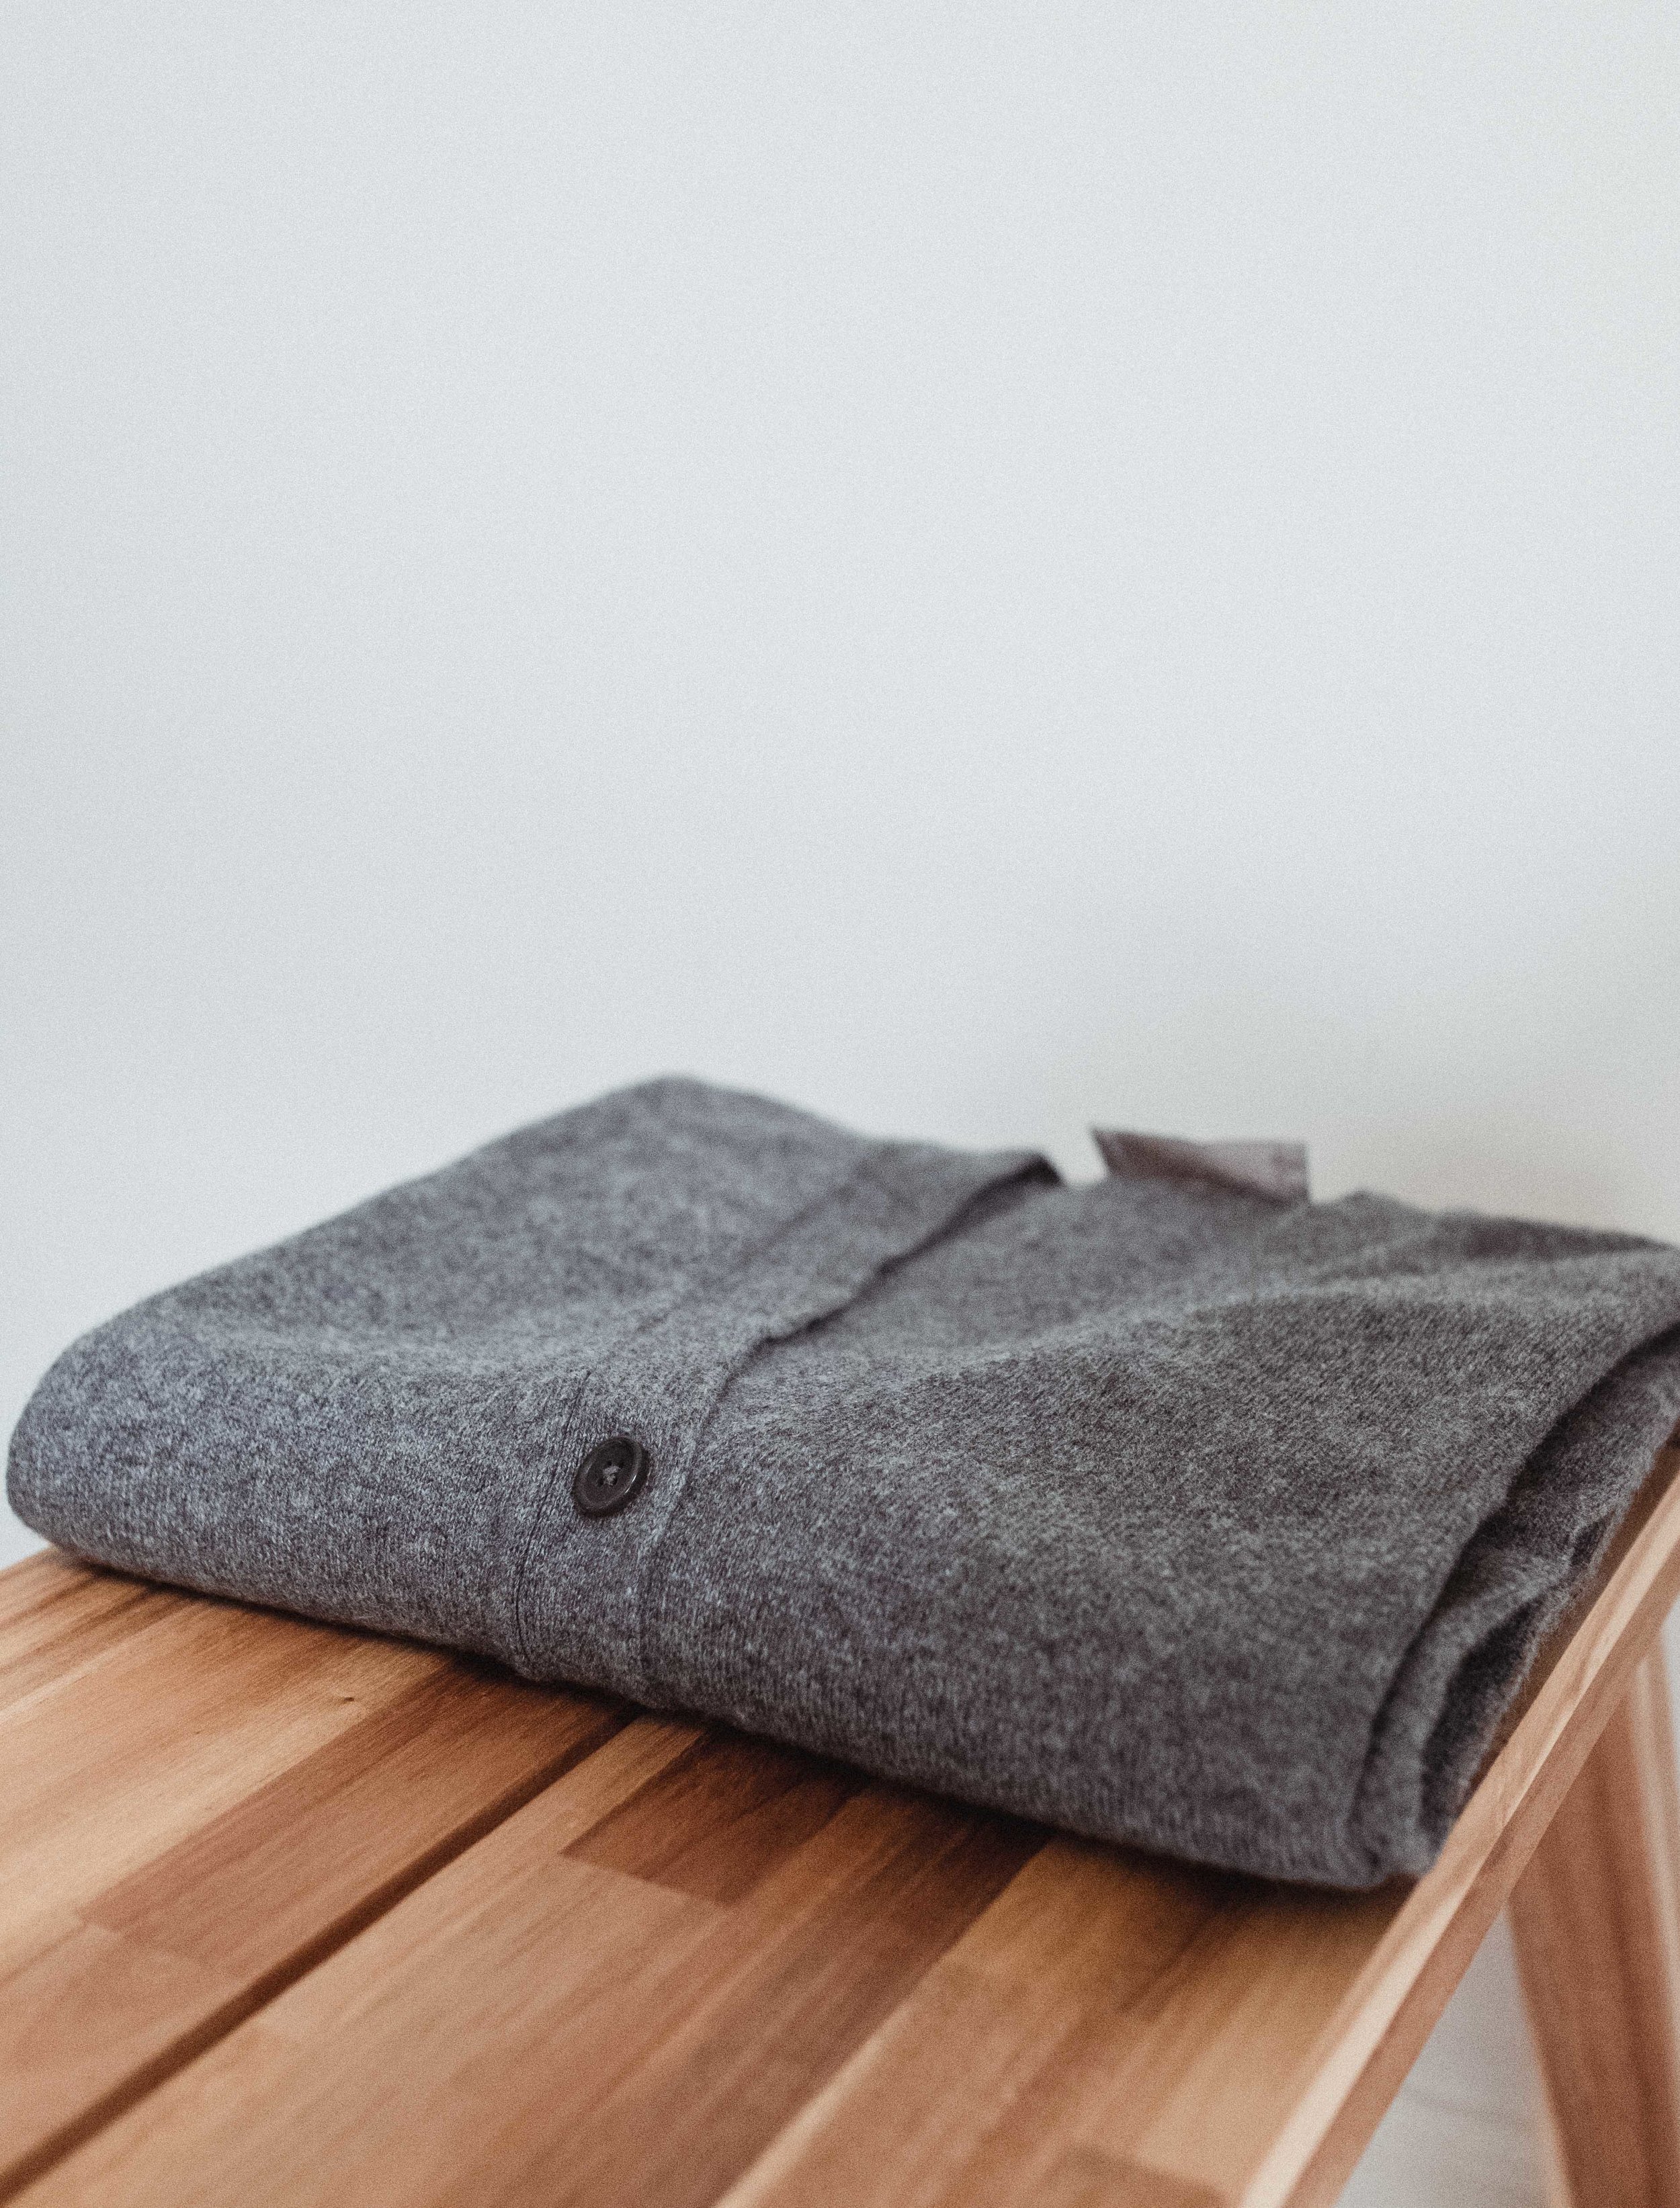
There may be many reasons why pieces in your closet aren’t worn as much. For me it mostly came down to material and practicality of the pieces. The three items I decided to take out from my winter capsule are: a denim shirt, a black cardigan, and an olive knit.

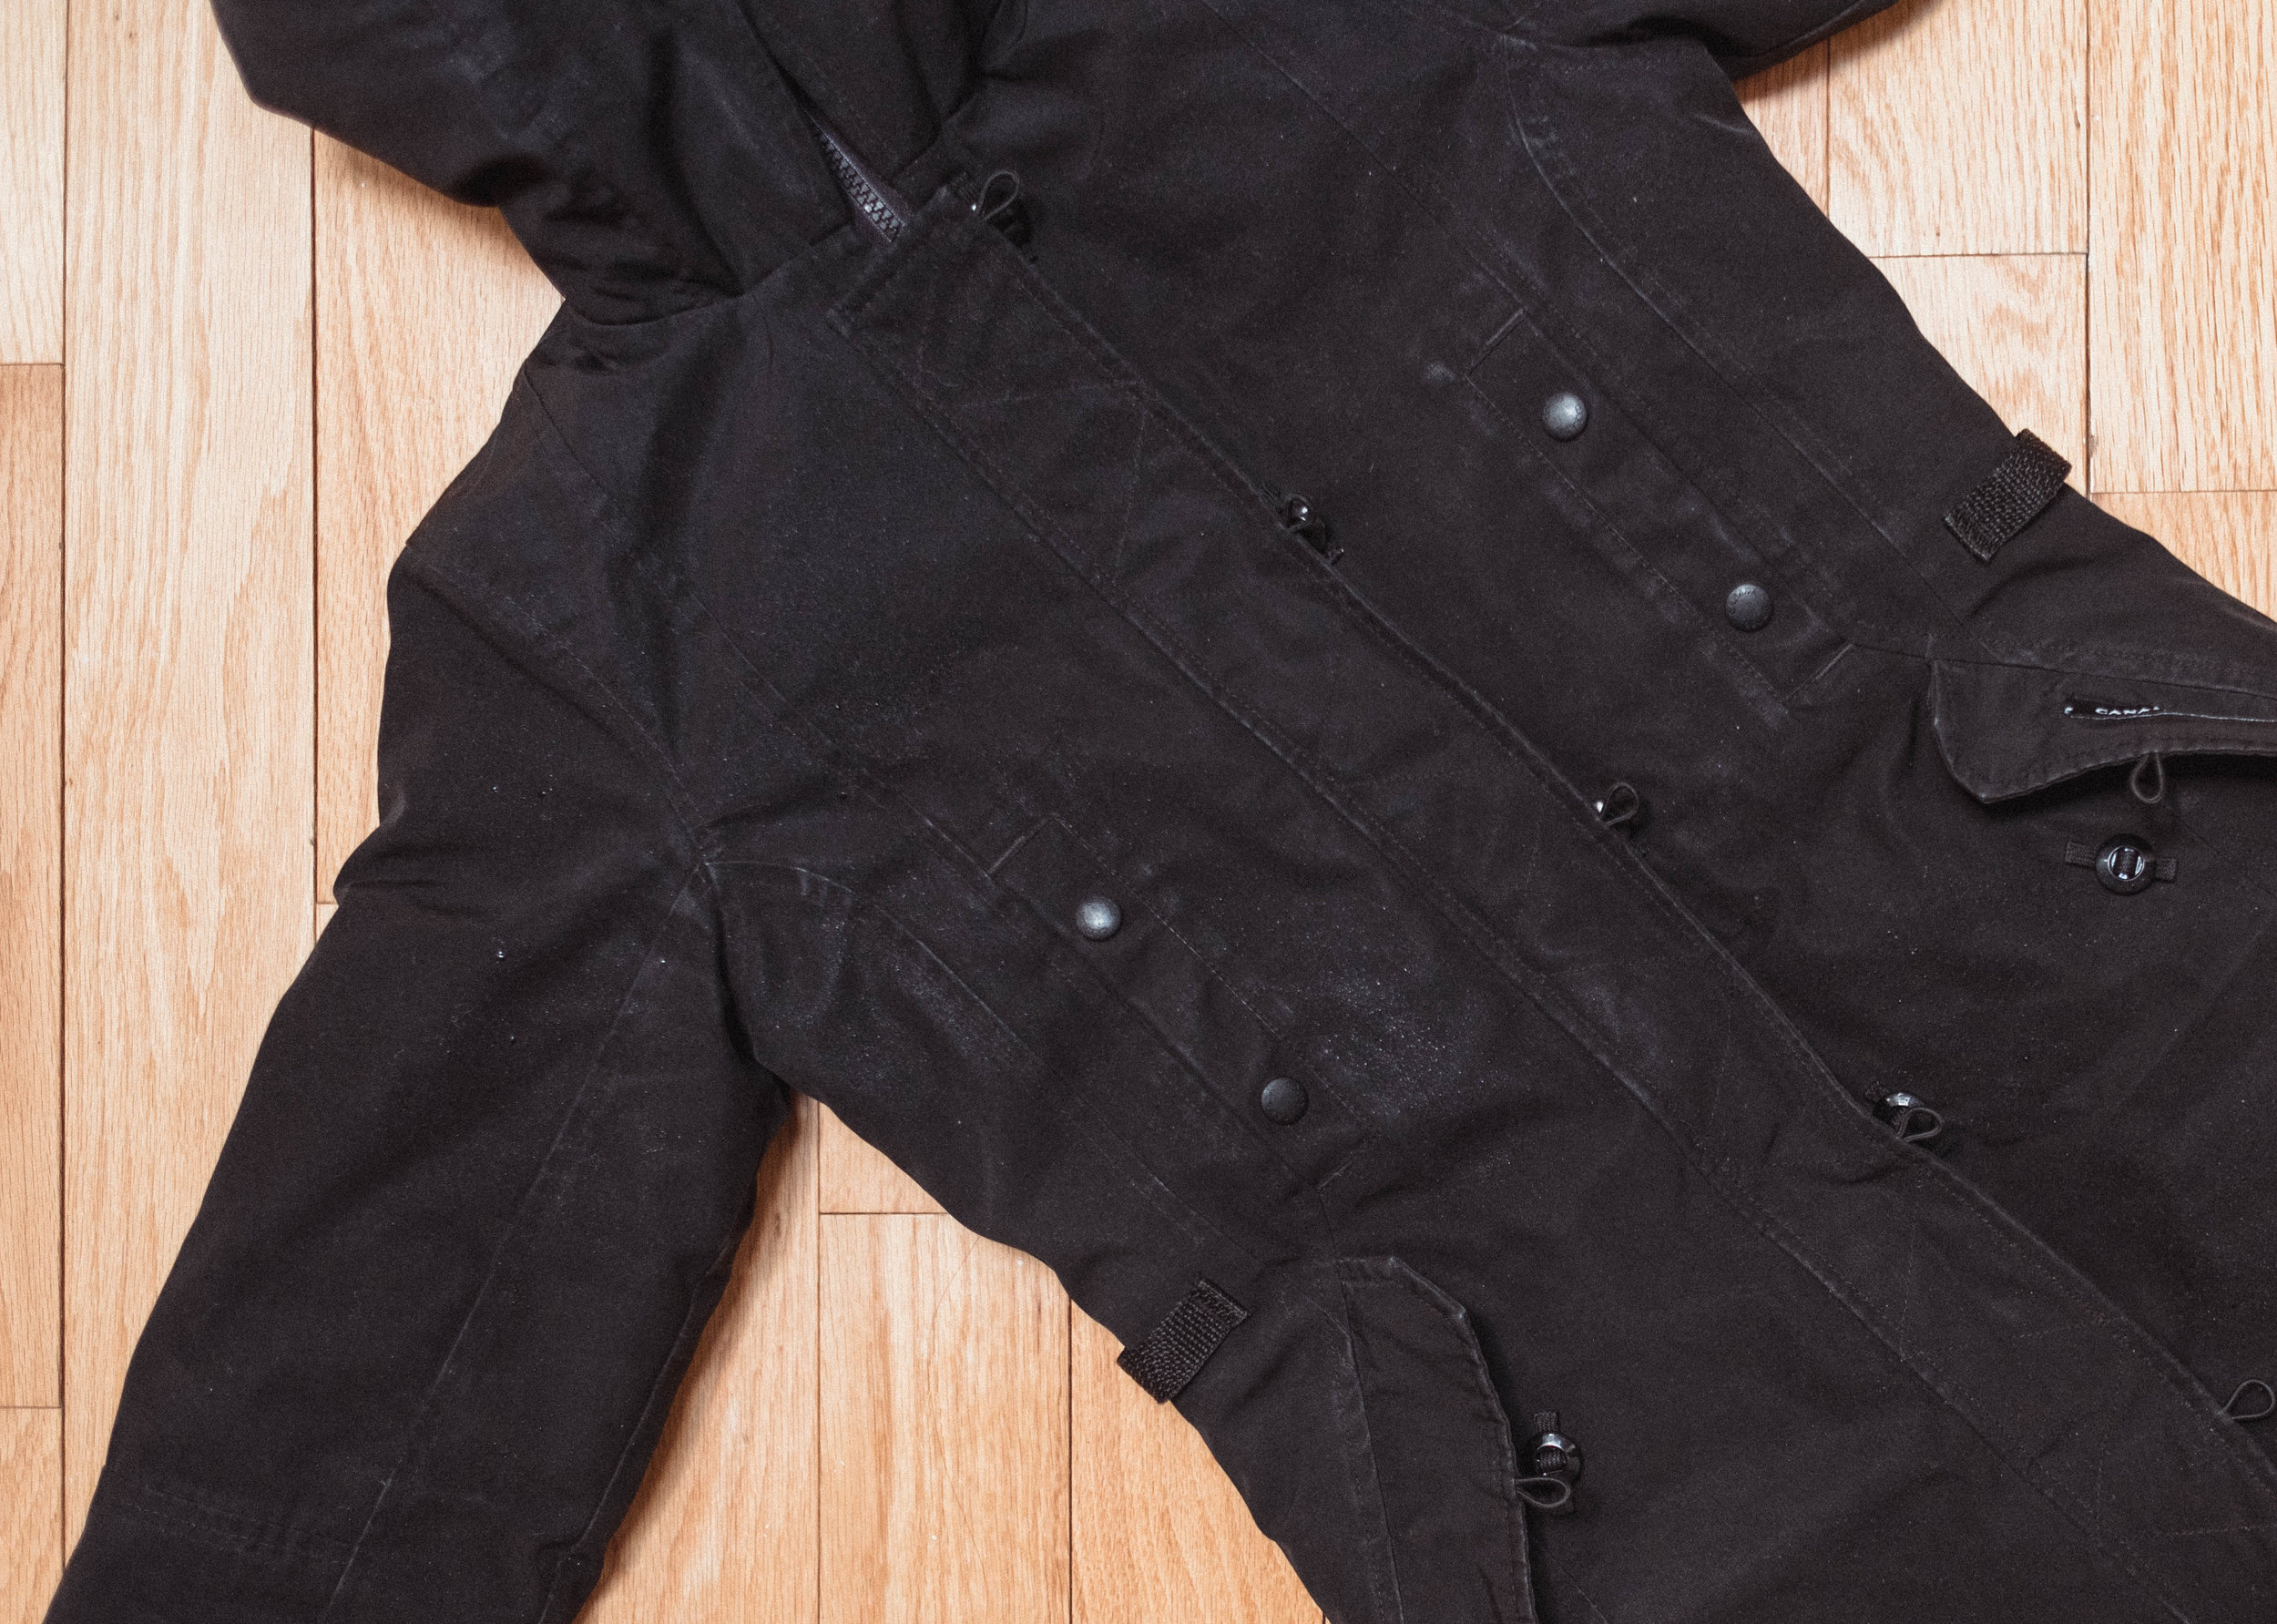
  • denim shirt: This denim shirt is made of cotton and although it’s a great piece, I just found myself gravitating to my dad’s old denim shirt instead. This light denim shirt that I had in my winter capsule is a lot more structured and a tougher material. I think the reason why I often chose my other denim shirt is because of comfort.

  • black cardigan: This black cardigan I’ve had in my wardrobe since my uni days was once a really well-loved piece in my wardrobe. This season however, I didn’t find myself wearing it much. Again I think the reason is because of comfort and practicality of the piece. It fits a little tighter on the arms whereas I often like to choose more oversized pieces.

  • olive knit: This olive knit, though a beautiful design and fit, is just plain itchy. This is probably the only knit I have that I find itchy. The reason this didn’t get much wear is fairly obvious - it was just not comfortable to wear because of the material.

3. declutter or give it another go?

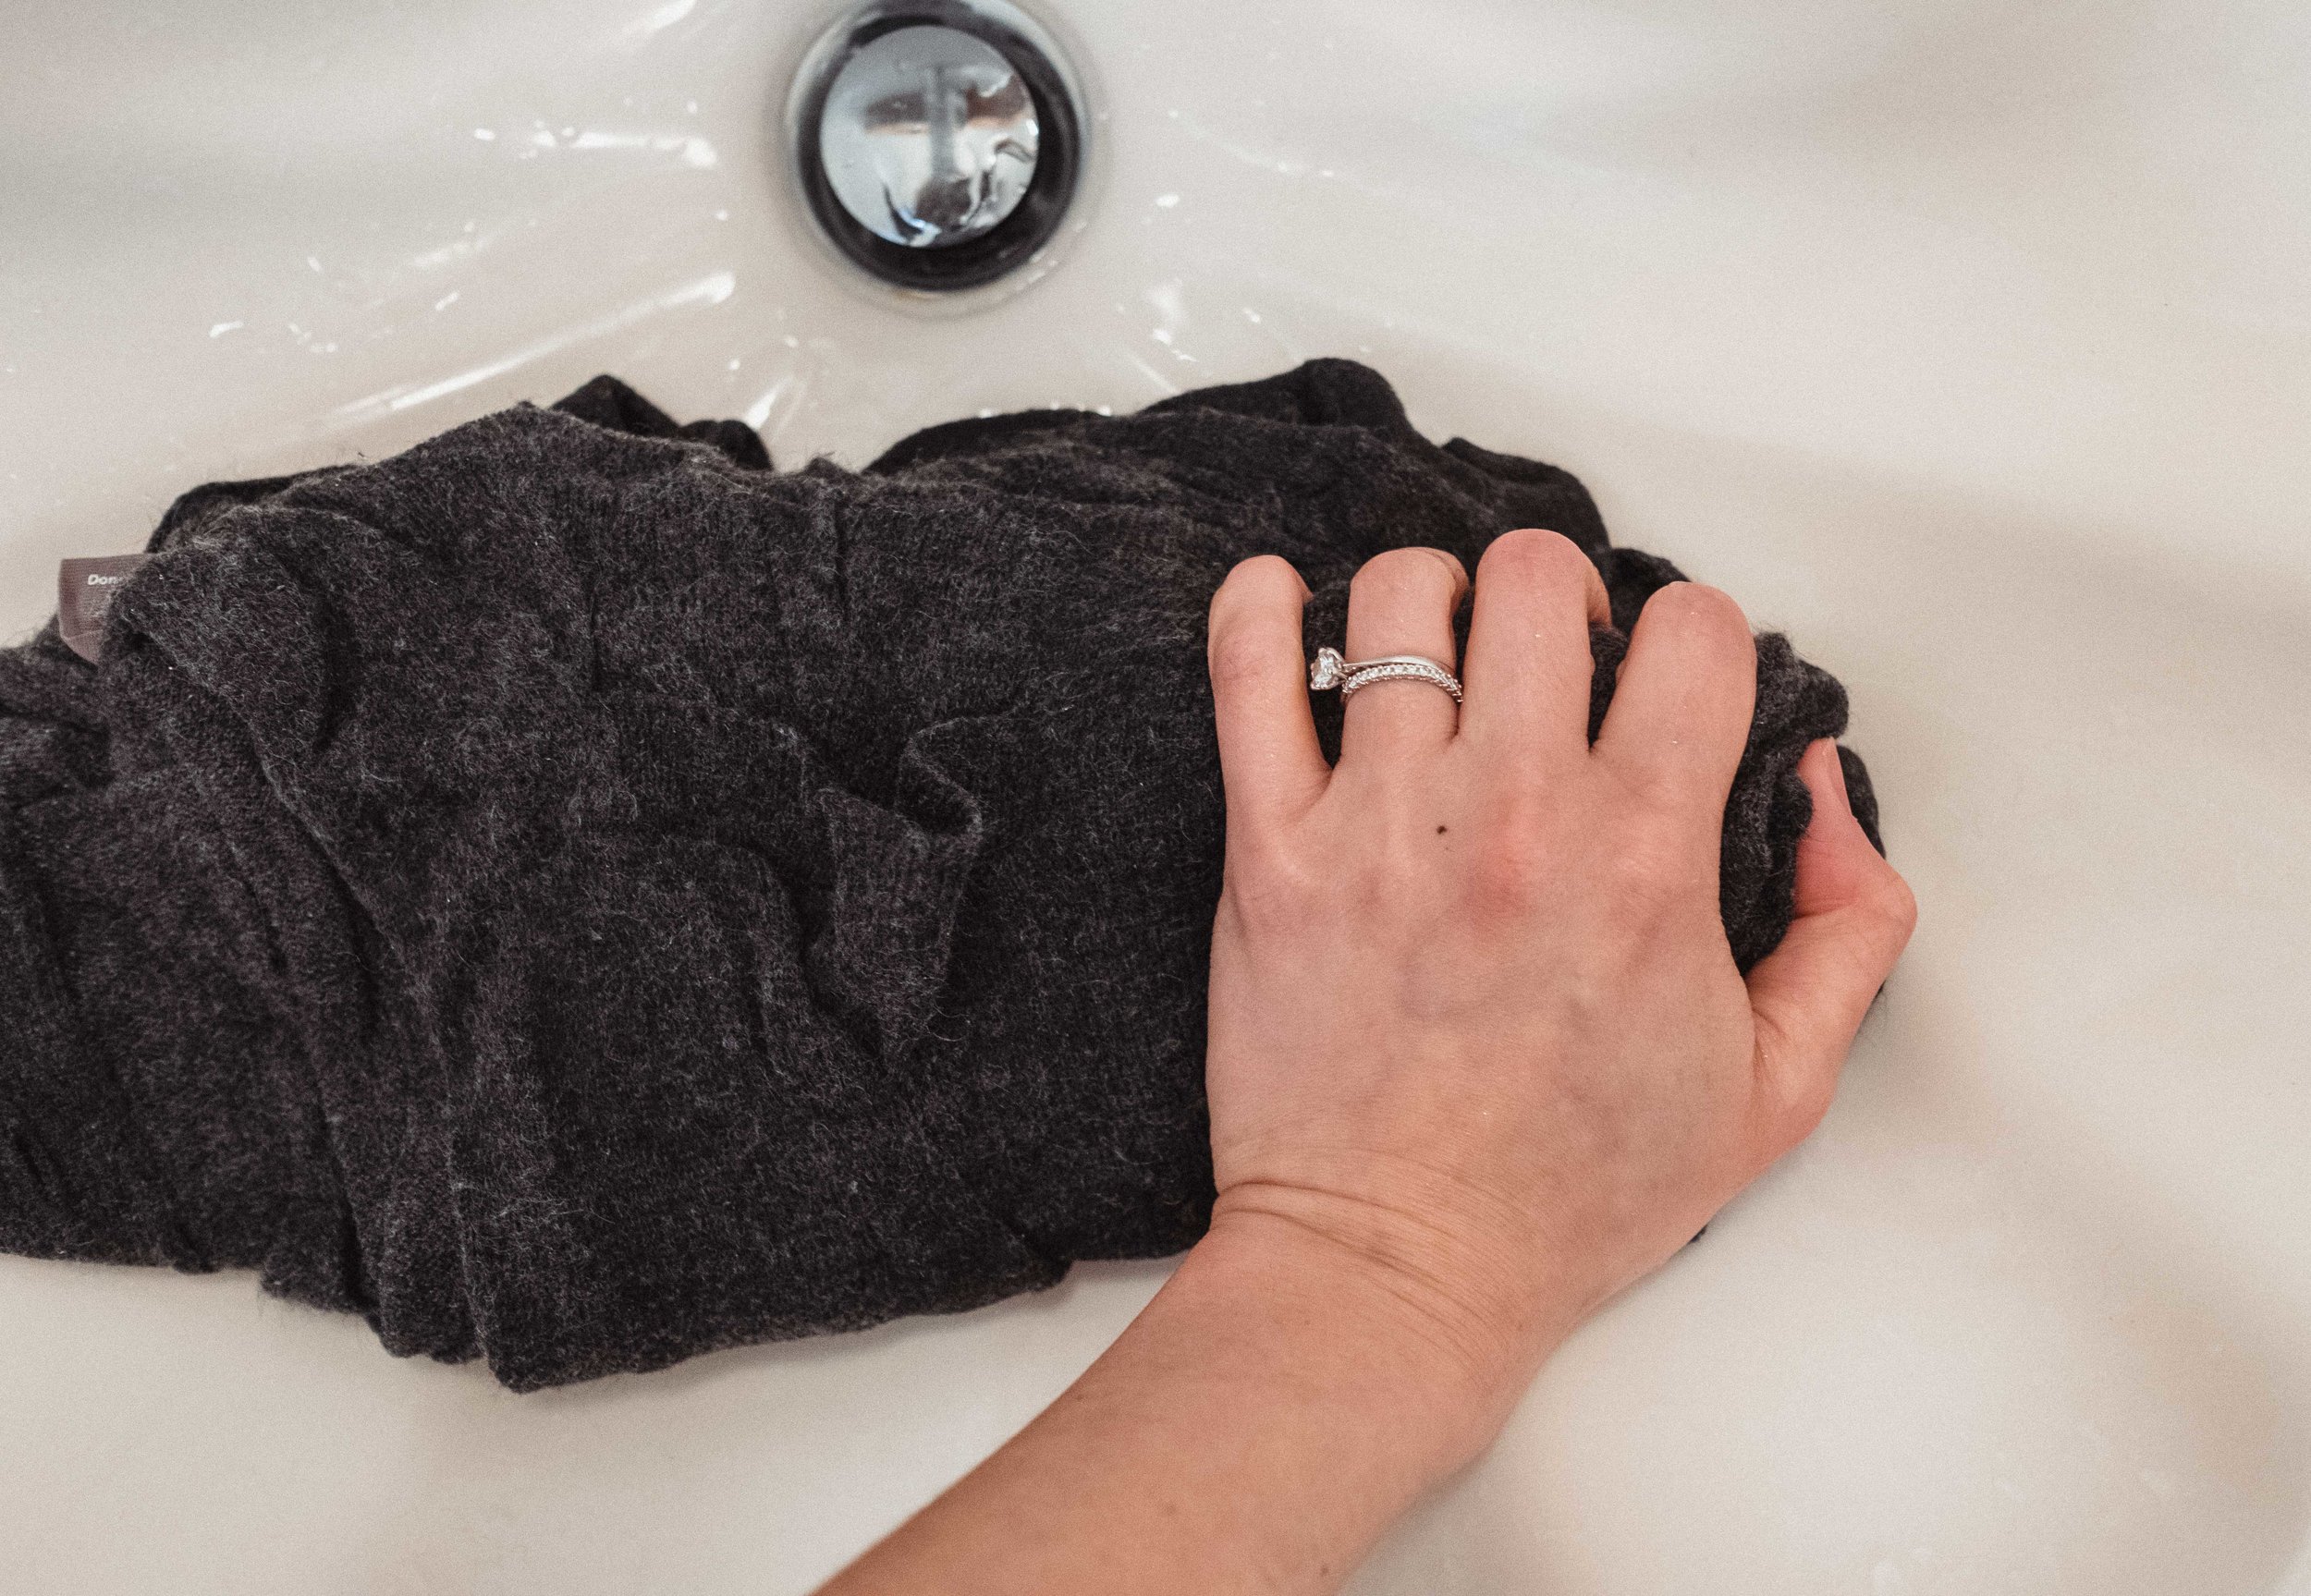
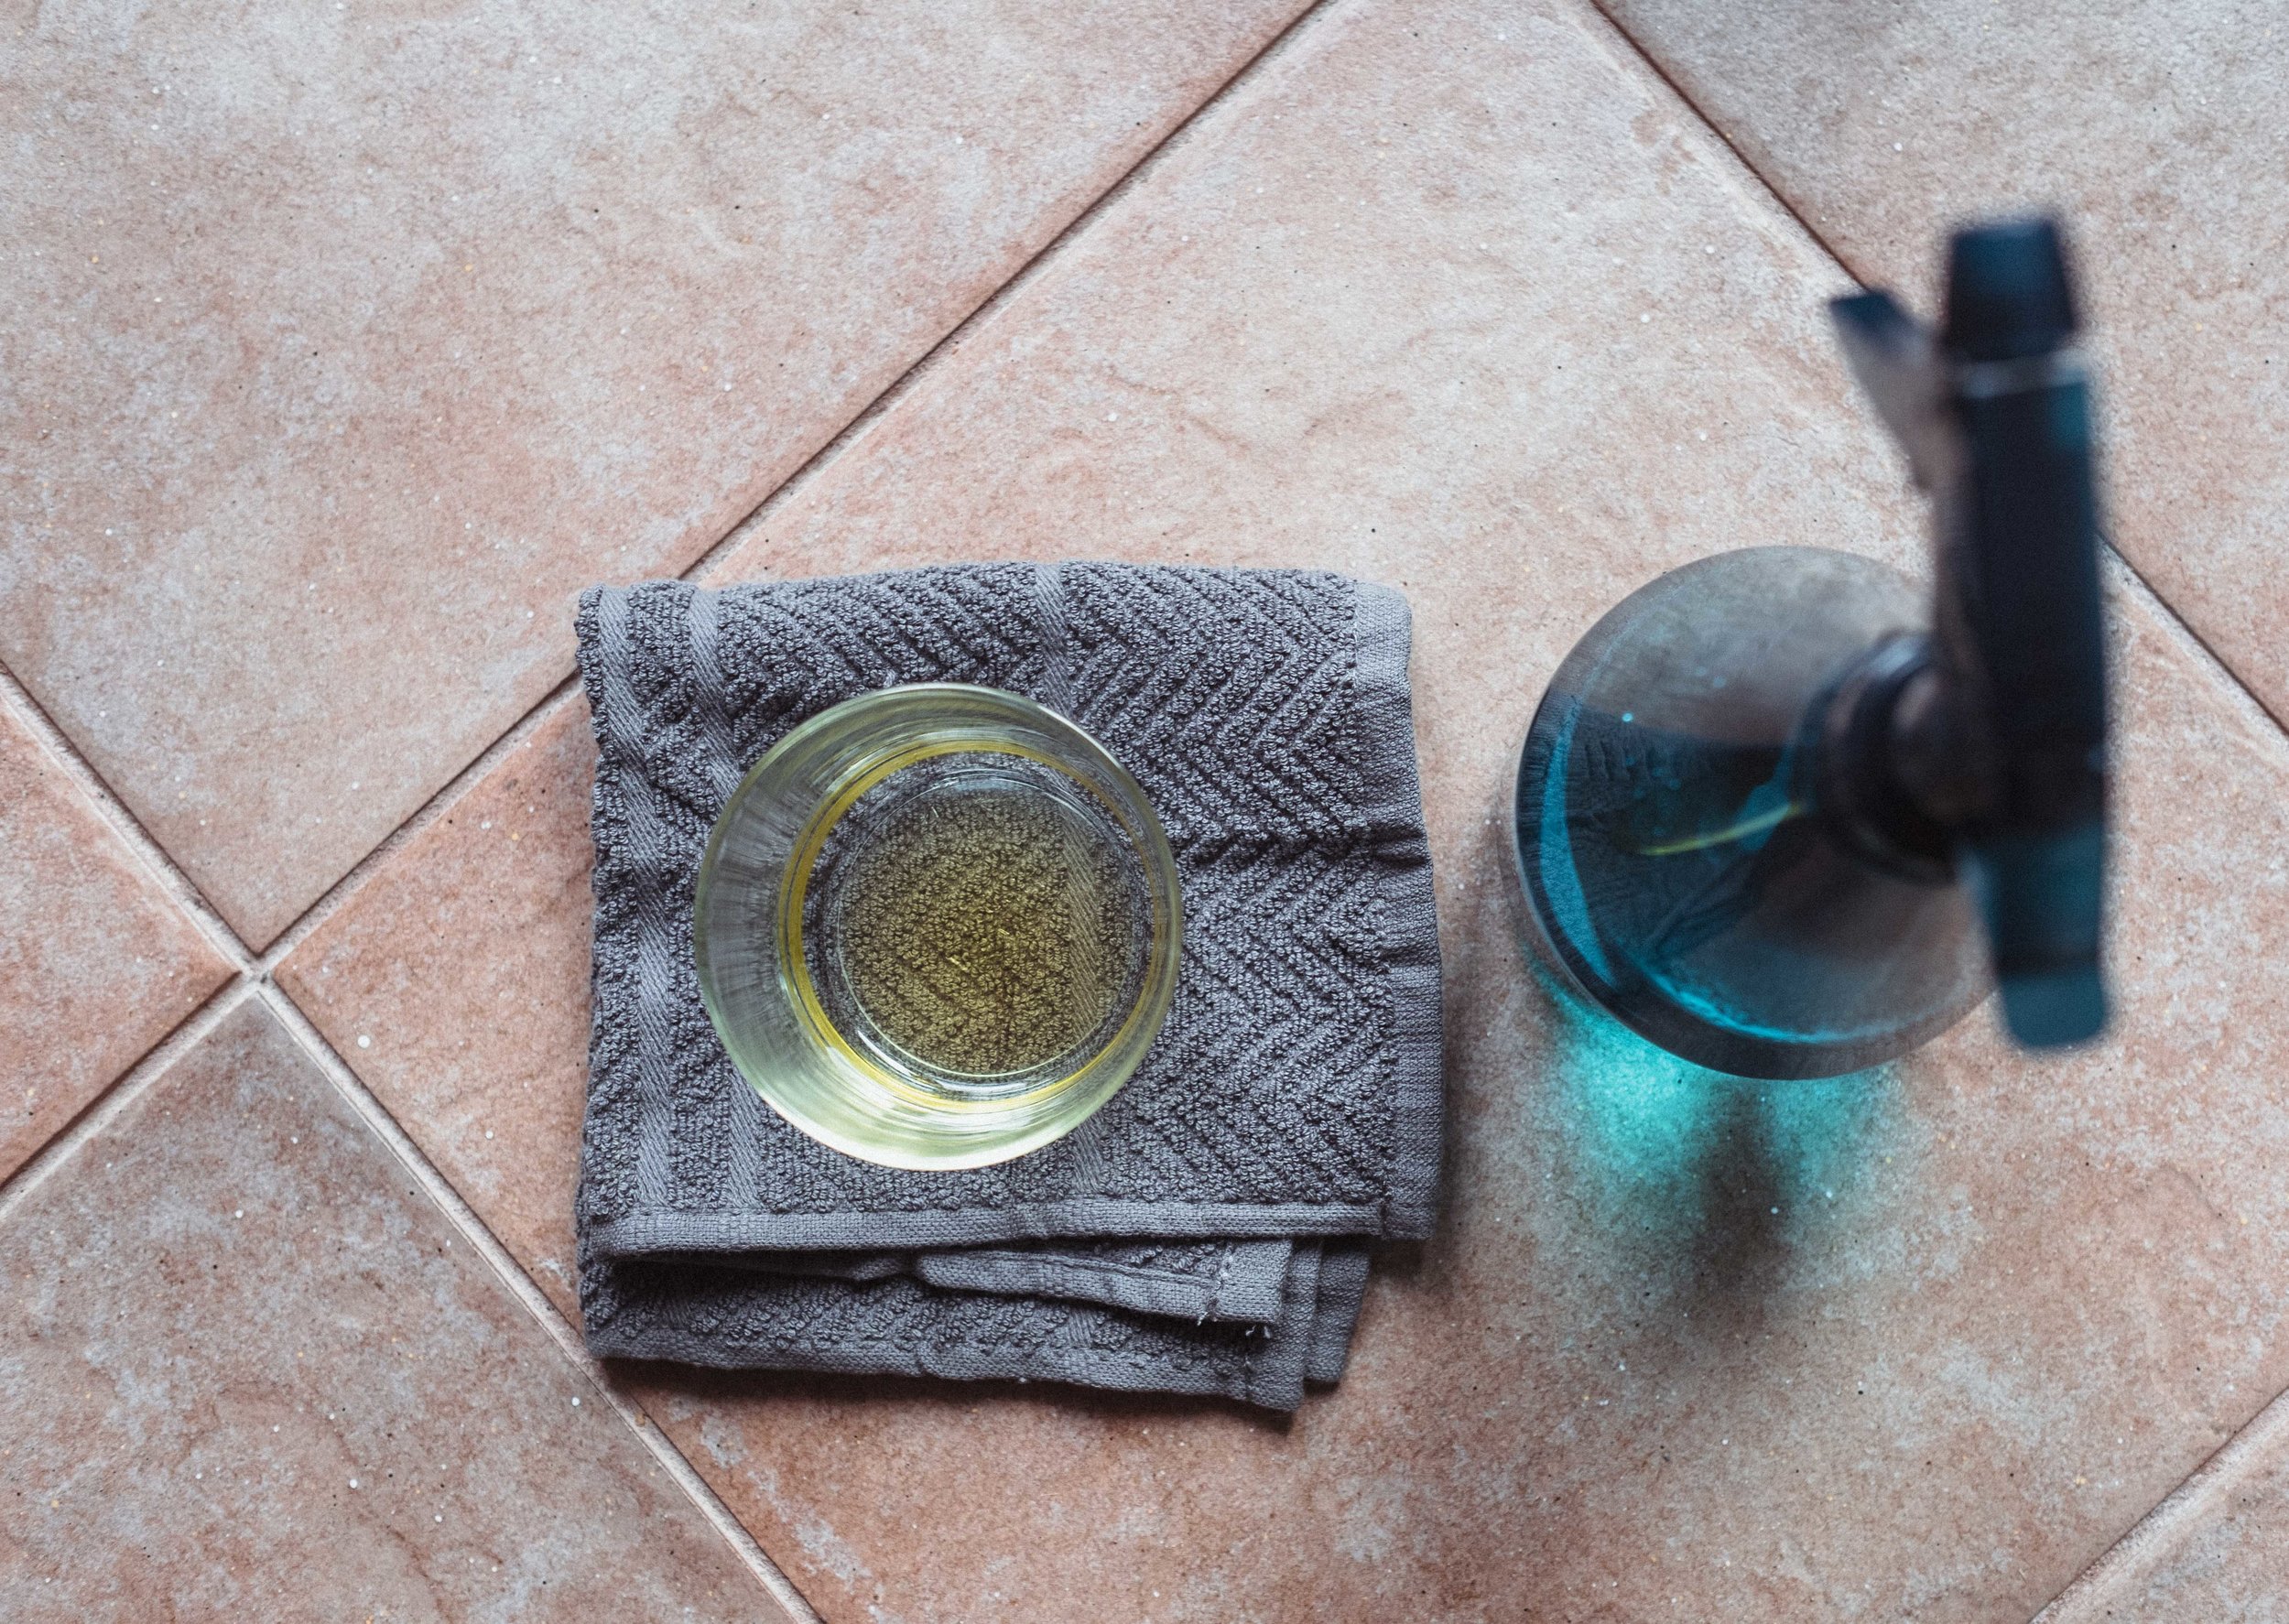
Next I decided whether I would declutter these low-wear items or save it and give it another chance. For these three, I decided to declutter two and save one. I’ll talk more about declutter sustainably another time!

Changes to my Core Capsule

After living in my core capsule and winter capsule for a season, I decided to make some changes to my core capsule. This is probably going to continue to change as I live with it for a longer period of time. It’s still something I’m experimenting with. In my core capsule, I had a ton of turtlenecks which I find I wear a lot in the winter, but as I think about spring and summer, I don’t think I’ll be wearing those at all. I also had two tank tops in my core capsule which I wear a lot in the spring/summer seasons but I didn’t wear at all in the winter, so I think I’ll be taking those out of my core capsule. Those are probably more seasonal items that should be added to the season specific capsules. I’ll just do a bit of shifting with my core capsule pieces.

My Core Capsule now stands at about 15 pieces made of mostly denim and trousers that are worn year-round, a white and a black tee, and a few other basic pieces.

Spring Inspiration

Now after all that talk about my winter capsule, let’s dive in a little into my Spring Inspiration. I’m foreseeing that this may be a long discussion so I’ve broken it down for you in case you want to jump straight to a particular topic.

  • A look at my Pinterest board: personal style guidelines

  • How I determine which old or new pieces to bring into my capsule

  • Creating a capsule for your body type

  • A sneak peek at Spring 2019

A look at my Pinterest board

I first start off my slowly gathering inspiring images on my Pinterest board. I received many questions on Instagram asking how I decide what to pin and how I choose pieces for my capsule. It’s not as complicated as it may seem. A capsule wardrobe is just about choosing the styles you love and want to wear, after all, it’s your closet. That’s what I love about fashion, the ability to be creative and expressive with beautiful garments. So the main point is not to stress over whether the piece is right for your capsule wardrobe, you’ll know if you like something. I personally have a few guidelines that help me decide what to pin and choose for my capsule. These guidelines are things that just came naturally to me and I have found for my particular style, that it helps me have a consistent and functional style.

My Style Guidelines:

  • look for pieces that are comfortable and functional for my lifestyle

    • For example, if you take a look at my board, this season I’m really loving the whites and soft linen materials. However, if I was at a different stage in life, maybe with kids, I probably wouldn’t choose as much white or silk materials because those are delicate fabrics that would probably get ruined.

  • look for materials that fit the season

    • For winter I chose a lot of wool and cashmere, thicker materials, and for Spring, I’m looking at a lot of linen, tencel, and cotton materials that are more breathable for the warmer months.

  • look for photos that have pieces that you already own in your wardrobe

    • The reason I do this is so that I can be inspired to style something I already own in various ways. Maybe you’ll come across a particular outfit that you love with a piece that you already have and it could inspire you to wear that garment a different way. You’d be able to recreate a look you love with what you already have.

  • look at styles that I like

    • This one is so simple. I often just pin photos that inspire me or is a style that I am trying to achieve with my own wardrobe.

This season I’m really inspired by lightweight, organic materials such as linen and cotton. I love the laidback, natural toned outfits. Colours that I’m really drawn to are whites, beiges, tans, with pops of burnt rust and denim. I love a lighter more neutral colour palette for the warmer seasons and they also pair well with my basic colours of black, grey, and navy that I wear a lot. Style-wise, I’m inspired by oversized, light-weight cardigans as well as button-downs and wrap tops. I’ve made a simple wish list that may or may not be filled during the season, but either way, it’s nice to be intentional about what I may want to bring into my wardrobe this season. I love making Pinterest boards and find them very helpful when putting together capsules for different seasons. I hope you’ll take a look through my Pinterest board and see if anything inspires you to create a mood board of your own!

My Wish List:

  • either a top or pair of linen pants in rust

  • a linen wrap top

How do you determine what goes in your capsule?

Similar to my style guidelines, I decide whether something goes into my capsule first based on functionality and comfort. If the piece isn’t practical, I probably won’t wear it. I also consider fit, which is related to comfort. If something doesn’t fit properly or isn’t the right size, I probably won’t wear it much because it will be uncomfortable or it will look strange on my body.

For Spring and Summer in particular, I’ve been trying to be intentional about including more pieces with natural fabrics like linen, cotton, and hemp. Materials are definitely something I consider before bringing something into my seasonal capsule.

Finally I always think about longevity and versatility of a piece. Can this piece be styled in multiple ways? Is this piece bad quality? Will this garment break down after a few wears? Is this a classic style or is it a trendy piece that I’m not going to like after one season? Not to say, you can’t include trendy pieces in your wardrobe, I personally love a classic, minimalist aesthetic, but there are definitely still some trends that I give into. For example, the wide leg pant. If you look at my board, you can clearly see I’m in love with wide-leg pants haha!

In summary, consider functionality, versatility, fit, material, quality, and longevity.

How do you create a capsule for your body type?

I get asked this question quite frequently and it’s actually a difficult question to answer because I can really only speak for my own body type. I think this is somewhat related to my style guidelines of functionality, versatility, fit, etc. Creating a capsule should not be any different for someone with my body type or someone with a different body type. I personally create a capsule that I will always want to return to so, I build my capsule in a way that fits my lifestyle, versus trying to fit trendy pieces, that may not look good on my body type, into my wardrobe.

For example, I will probably never wear low-waisted pants again, whether they come back in trend or not, simply because I don’t find them comfortable. It all comes down to wearing what is comfortable, functional, and makes you confident. I think ultimately you don’t make a capsule wardrobe for others, or even for social media, you make it for yourself.

A Sneak Peek at Spring 2019

I’m still working on it and things may change, but for now here’s a little sneak peek at some of the items I’ve chosen for my upcoming Spring Capsule.

Do you want to see a full break down of all the pieces?

springcapsule2019-3.jpg

Alright, you’ve made it to the end. There were some other great questions and suggestions, but I think I will have to continue those conversations in another post or this is never going to end haha! Let me know if you want me to discuss anything further or if you have any other suggestions or things you’re curious about.

As always, thank you so much for your support and constant encouragement as I continue to explore this sustainability journey.

Winter Wardrobe Care
stack of sweaters

how to:

winter wardrobe care

It’s almost that time of the year again when we turn the clocks forward and the days get a little longer and the air smells a little more fresh. I seriously can’t wait for Spring to roll around. As much as I think snow is beautiful and it’s wonderful to experience 4 seasons, I’m ready for a bit of warmer weather. I have been wearing my winter capsule for about 3 months now and all of my pieces are still holding up very well. A huge part in having a sustainable wardrobe and one that lasts longer is determined by how well we take care of the garments that we own. The fast fashion industry has created a mindset in us that feeds our desires of wanting to fit in with the latest trends and buying quantity over quality. We want to fill our gigantic walk-in closets till they are beaming with the latest styles and we have countless outfit combinations. I’m not saying that all fast fashion pieces are poor quality, but the majority of them are. However, if you have a lot of fast fashion pieces, the most sustainable thing to do is to take care of those pieces too. I still own a few pieces from fast fashion brands that are holding up well because of proper garment care.

Today I’m here to share how I care for my winter wardrobe. Winter wardrobes often include things like heavy-weight knits, delicate knitwear that needs to be dry-cleaned only, winter boots, and parkas. If you take care of these items, they will definitely last you a long time and hold up for many more winters.

knitwear

First, let’s talk knitwear because we all love knitwear, but honestly, who has the time to bring all their delicate knits to the dry cleaners! I sure don’t and taking care of them at home is much cheaper and really isn’t as difficult as you think. It’s not as simple as throwing them in the wash and will require a bit of work on your part, but it’s worth it to keep your garments in good condition. When I first tried out the Everlane cashmere this past season, I received many DMs and comments about how I wash my cashmere and wool sweaters. It’s always a little daunting to wash those delicate pieces because I’m sure many of us have had the experience of tossing something in the wash and it coming out 3 times smaller! Story time: Growing up, one of my chores was to do the laundry, and so the first time I learned this lesson was unfortunately with one of my mom’s wool sweaters. I’m thankful for a gracious mom, but I sure felt horrible to have shrunken her sweater small enough to fit a child! Anyone else have a shrunken sweater story? Share yours in the comments below! To avoid any more shrunken sweater stories, I’ve shared step by step, how I wash my knits.

Step 1: fill tub or your sink with COLD water (temperature of water is very important!) Not only is laundering with cold water better for the environment, warm water is often what shrinks knitwear.

Step 1: fill tub or your sink with COLD water (temperature of water is very important!) Not only is laundering with cold water better for the environment, warm water is often what shrinks knitwear.

Step 2: add a few drops of your laundry detergent. Here I’m adding a few drops of Castille soap to the water.

Step 2: add a few drops of your laundry detergent. Here I’m adding a few drops of Castille soap to the water.

Step 3: completely submerge your sweater in the water. As gently as possible, start to agitate the sweater in the water by continuously pushing the sweater under the water and gently pressing it down. It’s important not to wring out the sweater at a…

Step 3: completely submerge your sweater in the water. As gently as possible, start to agitate the sweater in the water by continuously pushing the sweater under the water and gently pressing it down. It’s important not to wring out the sweater at any point in this process.

Step 4: after you have drained the water, keeping the sweater in its natural shape, gently squeeze out the water. Again, do NOT wring out the sweater. It does not have to be completely dry at this point and wringing the sweater will cause stretching…

Step 4: after you have drained the water, keeping the sweater in its natural shape, gently squeeze out the water. Again, do NOT wring out the sweater. It does not have to be completely dry at this point and wringing the sweater will cause stretching in the material.

Step 5: next, bring your sweater, along with a towel to a flat surface

Step 5: next, bring your sweater, along with a towel to a flat surface

Step 6: reshape the sweater and lay it on a flat surface on top of a towel

Step 6: reshape the sweater and lay it on a flat surface on top of a towel

Step 7: begin to roll the sweater up in the towel like a burrito

Step 7: begin to roll the sweater up in the towel like a burrito

Step 8: once you’ve rolled up your sweater in the towel, push down to squeeze some water out into the towel

Step 8: once you’ve rolled up your sweater in the towel, push down to squeeze some water out into the towel

Step 9: finally, reshape your sweater again and lay it out on the towel to dry

Step 9: finally, reshape your sweater again and lay it out on the towel to dry

Step 10: once your sweater is dry, give it a quick gentle steam and fold up properly for storage

Step 10: once your sweater is dry, give it a quick gentle steam and fold up properly for storage

Everlane: Square V-neck Cardigan Here’s a final look at my freshly cleaned and folded sweater!

Everlane: Square V-neck Cardigan
Here’s a final look at my freshly cleaned and folded sweater!

So what do you think? It is a little more time consuming than regular clothing that goes in the wash, but I think it’s a better alternative than going to the dry cleaners. Now to answer a few of my most FAQ other than how do I wash my knits haha!

FAQ:

How often do you wash your knits?
I wash my knits about once or twice a season. Delicate knits like wool and cashmere should not be washed so frequently as that will cause the fabric to wear down faster. I also don’t sweat that much on a day to day basis and my knits don’t get filthy dirty so they don’t need as frequent washing.

How do you store your knits?
I store my knits either in my chest of drawers or on stacked flat on a shelf inside my closet. Always, always, always fold your knits to avoid stretching and disfiguration.

How do you de-pill your sweaters?
I’ve read of many different ways to remove pilling from sweaters, however, I actually haven’t ever de-pilled my sweaters. My sweaters have not accumulated that much pilling that I feel the need to do so. The ways I’ve read about are to use a sweater comb, an old razer, or a sweater shaver. I think that frequently removing pilling from your knits may cause the fabric to wear down quicker so I would recommend only do it once every season before you wash your knits.

Boots

Depending on the state of how dirty or salt-stained your boots are, my may or may not work for you. I always recommend wiping away salt stains frequently throughout the winter to avoid having to scrub tough stains at the end of a season. For boot care, I keep it fairly simple. I use a simple all-purpose cleaner that I use around the home made of 1 part vinegar to 2 parts water and a bit of olive oil to shine my leather boots. I spritz a bit of the vinegar mixture on an old rag and clean up the salt stains and water stains. I then go in with a bit of olive oil on an old rag to shine up any leather boots.

Far left: Frye Middle: Alice + Whittles Right: Sorel

Far left: Frye
Middle: Alice + Whittles
Right: Sorel

These are the three pairs of boots I own and they have really been great this past winter! There honestly isn’t too much wear and tear or stains on my boots, but it’s still a good idea to clean them before putting them away in storage. My pair of short leather ankle booties (far left) have lasted me about 9 years and are still as good as new, only better because the leather has molded to my feet.

Alice + Whittles rain boots all cleaned up, but will probably carry me through Spring too! If you’re interested in a good pair of sustainable rain boots for Spring, check them out. You can use my discount code CANDICE 10 for 10% off!

Alice + Whittles rain boots all cleaned up, but will probably carry me through Spring too! If you’re interested in a good pair of sustainable rain boots for Spring, check them out. You can use my discount code CANDICE 10 for 10% off!

outerwear

This past winter I mainly wore my two parkas. An old Canada goose that I’ve had for about 8-9 years now and the Everlane ReNew puffer. Similar to knitwear, I only wash my parkas once a season or once every 2 seasons. For my parka, I usually bring it to my dry cleaners unless it says it’s machine washable. I have yet to find a way to clean my parka at home. I recommend spot cleaning your outwear frequently or whenever you notice a big stain. There honestly wasn’t too much grime on my two coats and just a bit of spot cleaning and a gentle steam seemed to do the trick!

Here I’ve laid out my coat on the floor to do spot cleaning. There is discolouration and some light water stains on the front pockets.

Here I’ve laid out my coat on the floor to do spot cleaning. There is discolouration and some light water stains on the front pockets.

winterwardrobecare-26.jpg
winterwardrobecare-25.jpg
Everlane: ReNew Long Puffer

After cleaning all these items, I typically store them away until winter rolls around again. For delicate knitwear, I store out of season knits in a chest of drawers. My boots are stored back in the boxes they came in or whatever shoeboxes are available often stuffed with their original paper stuffing to keep their shape. Finally, my outerwear is hung up in my closet stored with a dust bag and on a sturdy hanger.

I hope this little run-down on my winter wardrobe care has helped you or given you ideas on how to better care for your wardrobe to make your quality garments last long. I really believe if you take care of your items well, they will hold up for many, many seasons. Let me know your thoughts on wardrobe care below!


This post is not sponsored but contains some gifted items and affiliate links. If you decide to shop through the links above, I make a small commission that helps support this blog. I only share products and brands I love and support. All opinions are my own. Thank you for supporting Candice Tay!

 
Current Low-waste Bathroom Lineup
zerowaste bathroom

Current Low-waste Bathroom Lineup

shower edition

I’m excited to say that my current bathroom lineup is the most eco-conscious and low waste it’s ever been. Let me tell you, my hair and bath products were definitely not always low waste. In fact, for most of my life, I was worried mostly about whether the product worked and whether it smelled good or not. I did not care if it wasn’t natural, if it had a ton of packaging, or whether I’d be able to finish the product. When I started on this lifestyle change I looked at different areas of my life that I found to be the most wasteful and started to take small steps from there. In terms of beauty and hair products, I have never been the type that had a billion products nor do I wear a ton of makeup. I like my getting ready routine to be simple and fuss-free. The simplest first step I took towards having a more low waste bathroom lineup was to stop buying or stocking up on products and to just finish what I was currently using. After I finished all the products, I slowly began to move in a more low waste direction. Starting with body wash.

bathroomlineup-2.jpg

1. soap and body wash

This is one of the simplest changes that honestly anyone can make. It’s super accessible and doesn’t really change your routine much. It’s simply being intentional about choosing one product over another. Once I finished my liquid body wash, I opted for bar soap wrapped in paper instead of the typical product I would reach for, liquid body wash in a plastic bottle. Sometimes bar soap even comes unwrapped, and just like that, you’ve avoided one plastic bottle.


2. shampoo and conditioner

The next change I made was to buy my shampoo and conditioner in bulk with old shampoo and conditioner bottles. I brought my bottles to a bulk pop-up market in Toronto and was able to get them filled up. Another option to have less waste/no waste is to use a shampoo bar. These can be found at larger conventional stores like Lush or maybe smaller local soap companies or makers. I may try this route next time, once I’m done all my current product.

The next two changes are some fun DIY projects I did, which to be honest, not everyone has time for, and I completely understand. I thought it would be interesting to push myself a little and see how I could reduce waste even if it inconveniences me a little. These products are completely homemade with natural ingredients and a bit of elbow grease. I’ve also shared my specific recipes below, but there are tons of recipes on the internet if mine don’t work for you.

3. exfoliant

My brain is often filled with thoughts on how to reduce waste in my life. One morning I had been making my cup of coffee to start the day and as I was about to dump the used coffee grinds, I remember reading somewhere about reusing coffee grinds to make a body scrub. The kitchen is one of the most wasteful places of many households, mine included, so I was excited at the idea of being able to repurpose something that was otherwise just going to be dumped (of course in the compost). I had watched countless videos and read many different recipes before but I honestly did not follow a recipe for this scrub. I knew the general gist of how to create this scrub so I just went for it and here’s what I came up with.

zerowasterecipes-4.jpg

Let’s DIY!

Mix together approximately 2-3 tablespoons of coffee grinds (about 16g of coffee beans) with 2 tbsp of coconut oil, or as much as you need to get a smooth paste consistency. Next I added about 1 tbsp of brown sugar to the scrub. Mix everything together until smooth and then store in an air-tight container. I made a very small batch because I wanted to test this recipe out before making a huge batch and not like it or have a reaction to it, therefore not being able to finish it. Another reason I think making small batches of these all natural DIY products is better because the “shelf-life” is not as long as conventional products that sit on shelves in stores. The shelf life of this scrub is about 6-9 months. I would recommend leaving a small facial towel beside it to dry your hands before using the scrub to avoid getting water in your container, as this would most likely reduce the shelf life of the product.

I’ve already received some questions about whether it is okay to use on your face. I’ve used it on mainly on my body and I’ve tried it a few times on my face. For reference, I have quite very dry skin and my face is dry - combination. I definitely wouldn’t recommend you using it on your face if you have oily skin as I have read that coconut oil can block pores and cause blackheads. If you do choose to use this scrub on your face, make sure you test it on a small patch of skin first and also be sure to rinse well. I have also used this scrub as a lip scrub and it works really well for that!

coffeescrub-1.jpg

What are the benefits?

Coffee: powerful antioxidants, exfoliating properties help increase blood flow and therefore may improve skin brightness
Coconut Oil: moisturizing properties, reduce inflammation
Brown Sugar: hydrating, gentle exfoliant

The finished concoction of scrub smells delectable with hints of sweetness in the sugar mixed with coconuty-goodness and the awakening scent of coffee. I’m a night shower kind of person myself, but I’d imagine this scrub would be amazing in the morning to help wake up your senses. Why caffeinate by consuming coffee when you can literally bathe in it?


4. Body Butter

The final zerowaste product I experimented with was this shea butter and coconut oil body butter. Essentially DIY body butters are some combination of organic, natural oils mixed together. This is probably the simplest DIY body butter out there, feel free to add any other oils you want, for example sweet almond oil, argan oil, avocado oil, etc.

Let’s DIY!

Start by measuring 1/2 shea butter and 1/4 coconut oil. Melt the two ingredients in a double boiler until smooth and liquid. Place the melted ingredients into the fridge to harden up ever so slightly. Finally whip it up with a whisk or electric hand mixer to get the whipped body butter texture. Store in an air tight jar or container. Shelf life for this product is about a 9-12 months. Feel free to add different essential oils to your body butter, but be aware that the essential oils may shorten the shelf life of your body butter.

what are the benefits?

Shea butter: contains vitamins A and E, soothes and moisturizes skin, reduces inflammation
Coconut oil: see above

I’ve been using this whipped body butter for almost a month in the dead of winter and it has been really wonderful for my extremely dry skin. I think I’ve grown to like this product over time. The first few times I used it I loved it initially but found that overnight my skin would still be a bit dry in the morning. I have still yet to find a body moisturizer that keeps my skin moisturized over night. However, I’ve found that the more I used this body butter daily before bed, my skin has gotten softer and smoother in the past few weeks. When you first use it it is quite oily compared to regular conventional body butters. However, just be patient and let the oils sink into your skin.

 
bathroomlineup-4.jpg

I store both of these DIY products just beside the shower in my bathroom and I personally love to pair this body butter with the coffee scrub. They are the perfect duo for a little skin pampering on a quiet night in.

I hope my current product lineup has been encouraging to you, to help you have a more low-waste bathroom. The more I discover and experiment with low-waste living, the more I realize that it is very intentional and “slow”. It’s not about convenience and is often about planning and being intentional with my decisions. I hope I can continue to make these products and be intentional with my low-waste bathroom.

Let me know below what kind of changes you are hoping to make to your bathroom product lineup and please share this with a friend you’d want to make these DIY pampering products with!