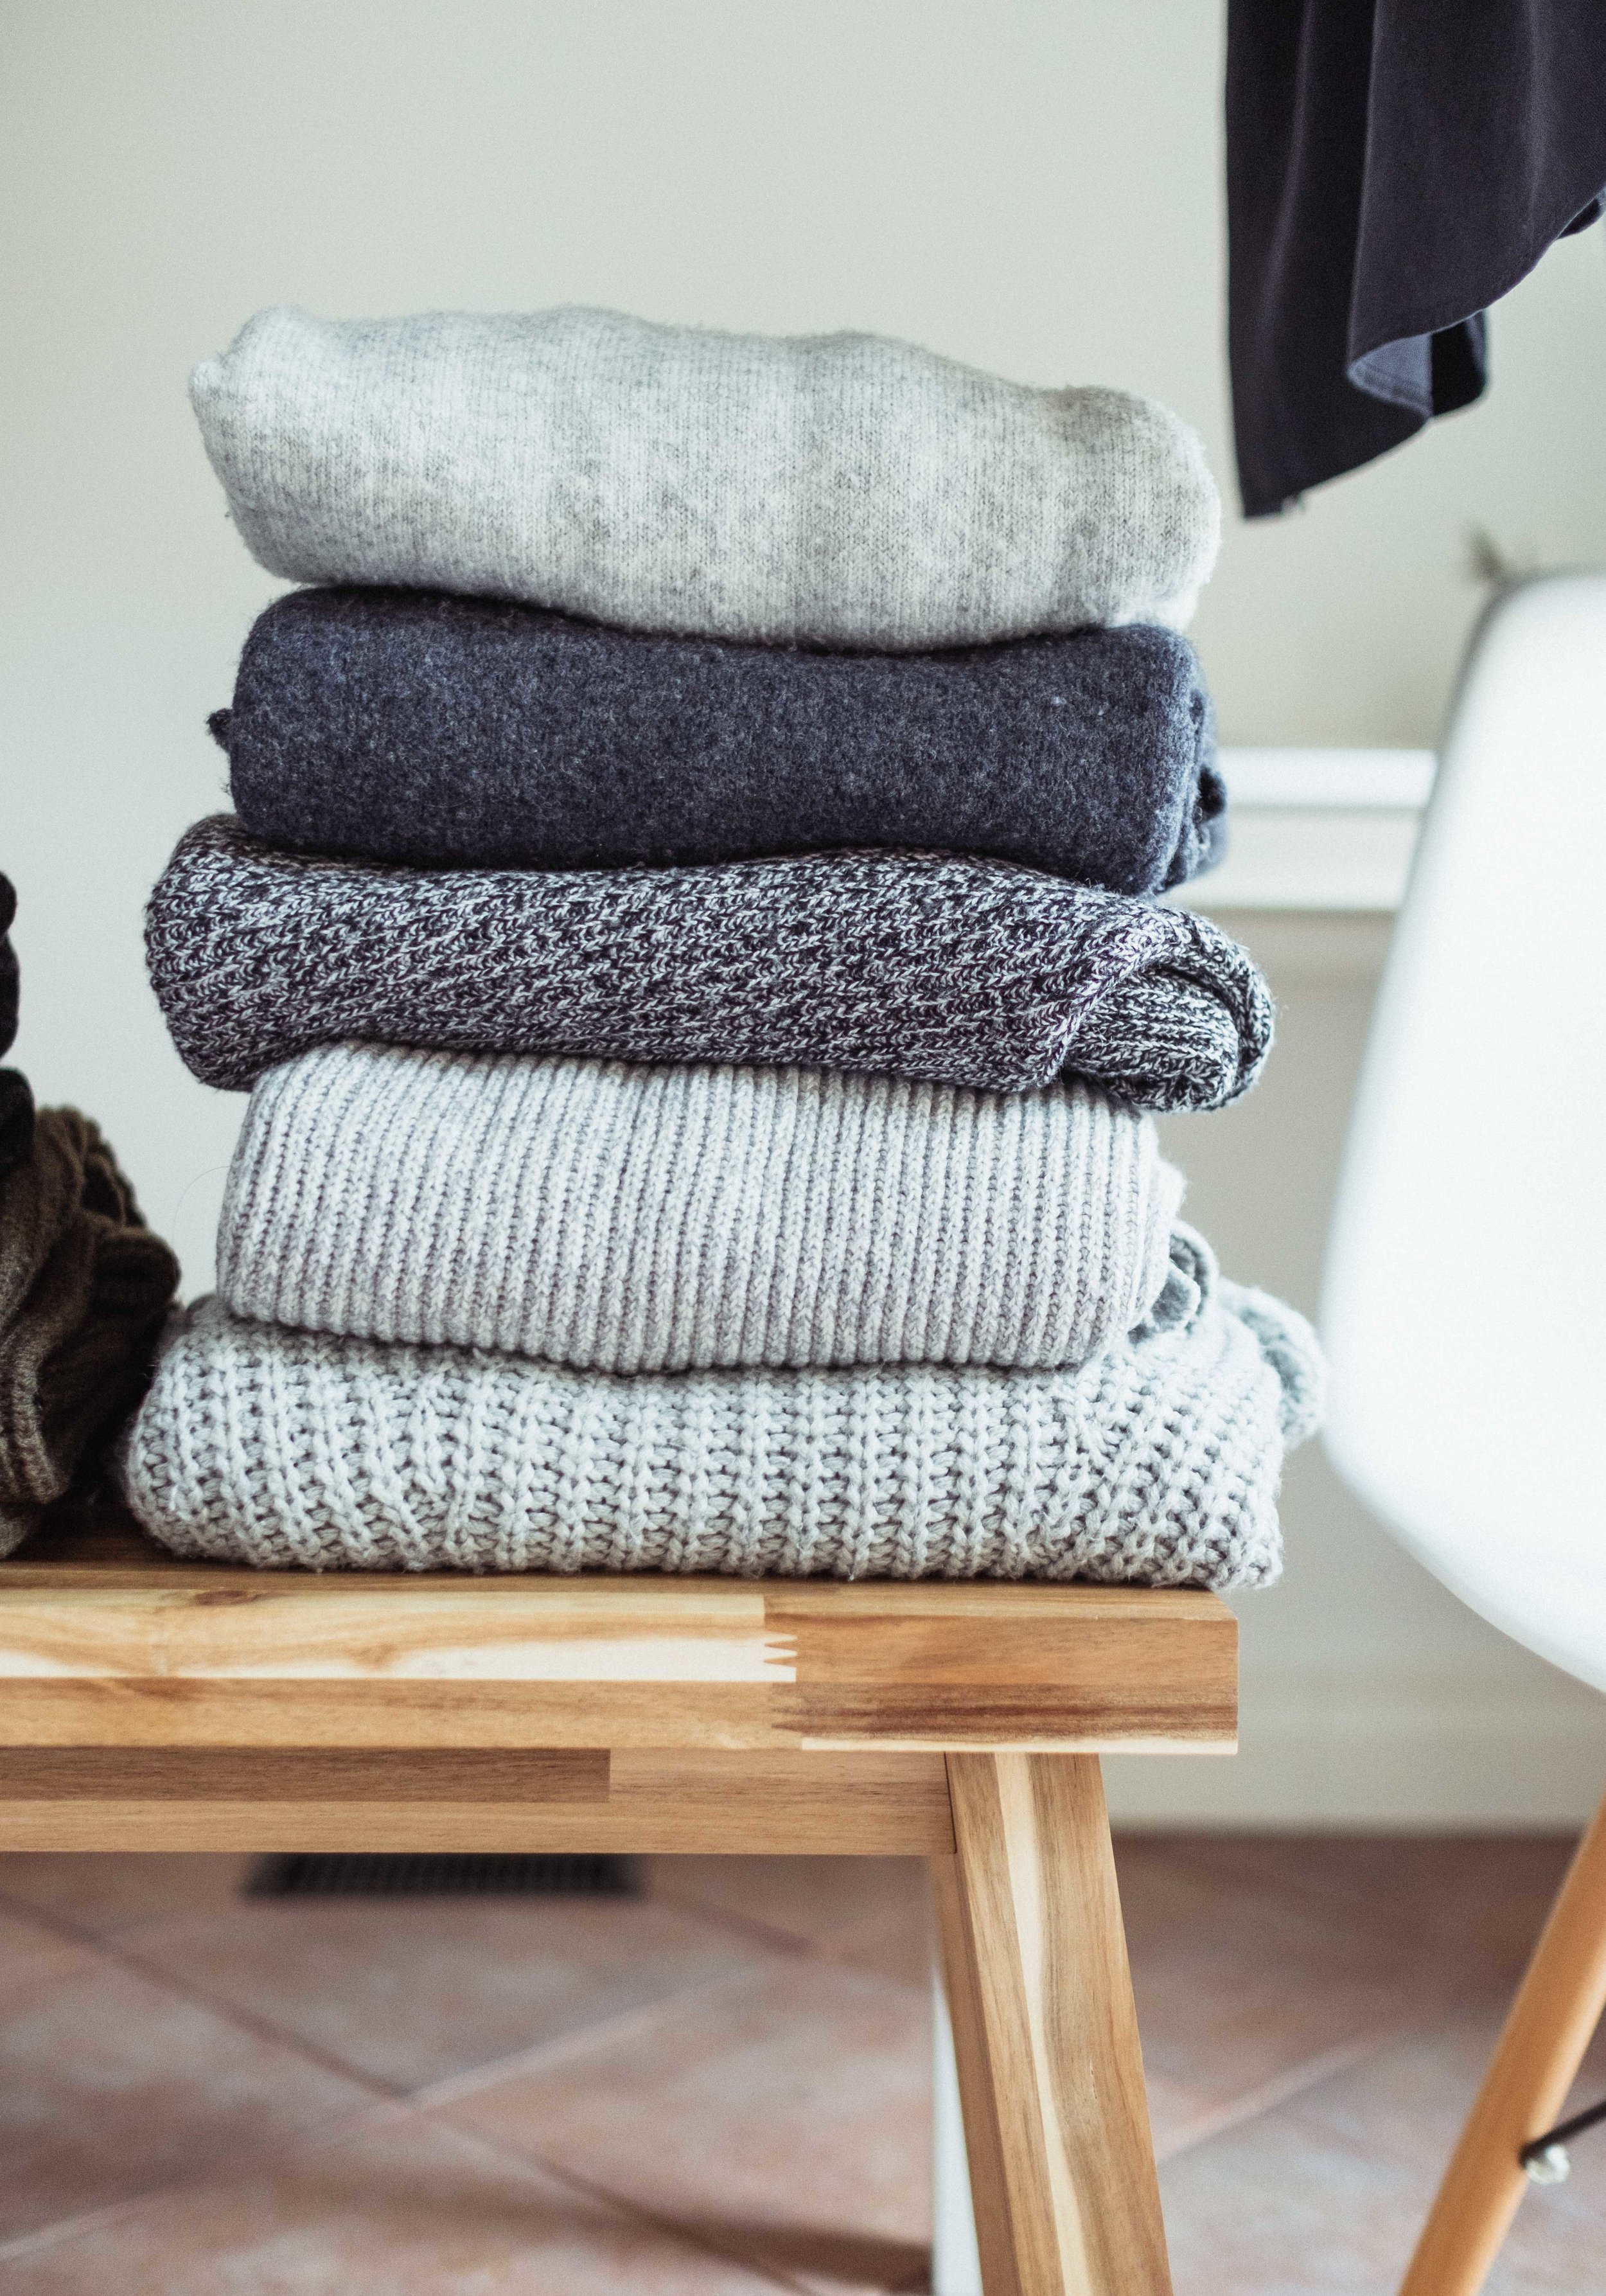
Current Low-waste Bathroom Lineup
shower edition
I’m excited to say that my current bathroom lineup is the most eco-conscious and low waste it’s ever been. Let me tell you, my hair and bath products were definitely not always low waste. In fact, for most of my life, I was worried mostly about whether the product worked and whether it smelled good or not. I did not care if it wasn’t natural, if it had a ton of packaging, or whether I’d be able to finish the product. When I started on this lifestyle change I looked at different areas of my life that I found to be the most wasteful and started to take small steps from there. In terms of beauty and hair products, I have never been the type that had a billion products nor do I wear a ton of makeup. I like my getting ready routine to be simple and fuss-free. The simplest first step I took towards having a more low waste bathroom lineup was to stop buying or stocking up on products and to just finish what I was currently using. After I finished all the products, I slowly began to move in a more low waste direction. Starting with body wash.

1. soap and body wash
This is one of the simplest changes that honestly anyone can make. It’s super accessible and doesn’t really change your routine much. It’s simply being intentional about choosing one product over another. Once I finished my liquid body wash, I opted for bar soap wrapped in paper instead of the typical product I would reach for, liquid body wash in a plastic bottle. Sometimes bar soap even comes unwrapped, and just like that, you’ve avoided one plastic bottle.
2. shampoo and conditioner
The next change I made was to buy my shampoo and conditioner in bulk with old shampoo and conditioner bottles. I brought my bottles to a bulk pop-up market in Toronto and was able to get them filled up. Another option to have less waste/no waste is to use a shampoo bar. These can be found at larger conventional stores like Lush or maybe smaller local soap companies or makers. I may try this route next time, once I’m done all my current product.
The next two changes are some fun DIY projects I did, which to be honest, not everyone has time for, and I completely understand. I thought it would be interesting to push myself a little and see how I could reduce waste even if it inconveniences me a little. These products are completely homemade with natural ingredients and a bit of elbow grease. I’ve also shared my specific recipes below, but there are tons of recipes on the internet if mine don’t work for you.
3. exfoliant
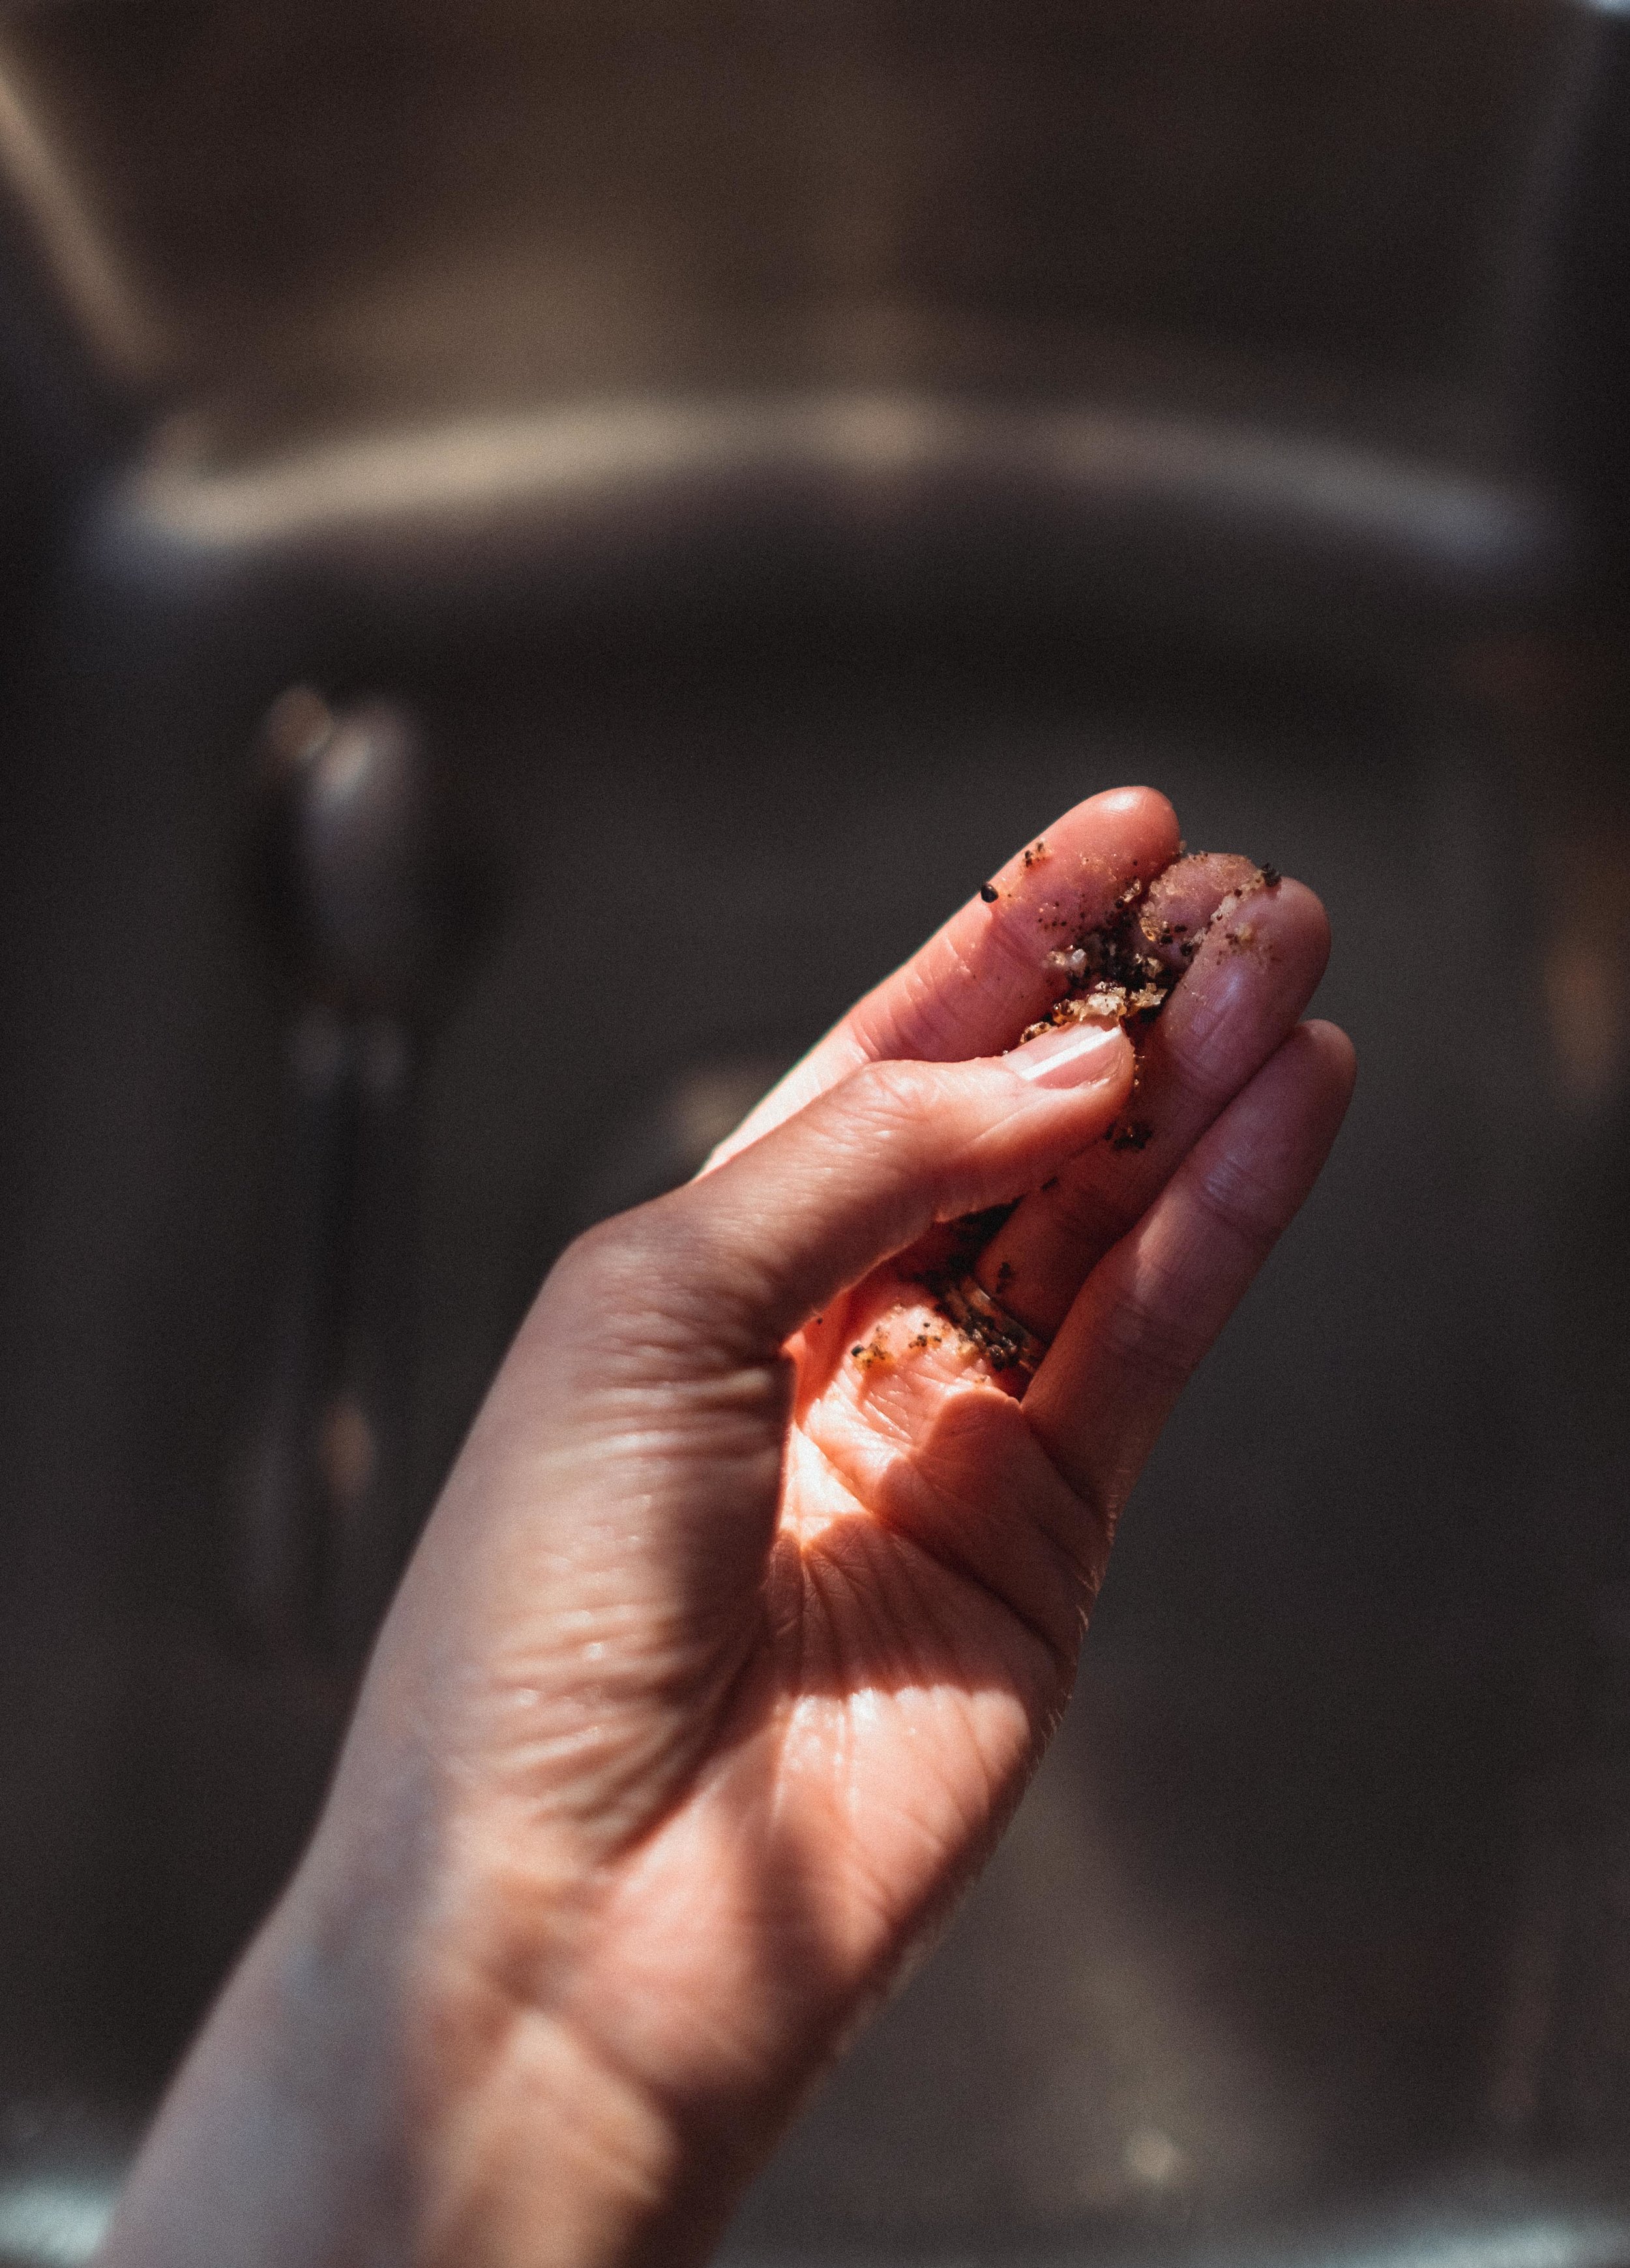
My brain is often filled with thoughts on how to reduce waste in my life. One morning I had been making my cup of coffee to start the day and as I was about to dump the used coffee grinds, I remember reading somewhere about reusing coffee grinds to make a body scrub. The kitchen is one of the most wasteful places of many households, mine included, so I was excited at the idea of being able to repurpose something that was otherwise just going to be dumped (of course in the compost). I had watched countless videos and read many different recipes before but I honestly did not follow a recipe for this scrub. I knew the general gist of how to create this scrub so I just went for it and here’s what I came up with.
Let’s DIY!
Mix together approximately 2-3 tablespoons of coffee grinds (about 16g of coffee beans) with 2 tbsp of coconut oil, or as much as you need to get a smooth paste consistency. Next I added about 1 tbsp of brown sugar to the scrub. Mix everything together until smooth and then store in an air-tight container. I made a very small batch because I wanted to test this recipe out before making a huge batch and not like it or have a reaction to it, therefore not being able to finish it. Another reason I think making small batches of these all natural DIY products is better because the “shelf-life” is not as long as conventional products that sit on shelves in stores. The shelf life of this scrub is about 6-9 months. I would recommend leaving a small facial towel beside it to dry your hands before using the scrub to avoid getting water in your container, as this would most likely reduce the shelf life of the product.
I’ve already received some questions about whether it is okay to use on your face. I’ve used it on mainly on my body and I’ve tried it a few times on my face. For reference, I have quite very dry skin and my face is dry - combination. I definitely wouldn’t recommend you using it on your face if you have oily skin as I have read that coconut oil can block pores and cause blackheads. If you do choose to use this scrub on your face, make sure you test it on a small patch of skin first and also be sure to rinse well. I have also used this scrub as a lip scrub and it works really well for that!

What are the benefits?
Coffee: powerful antioxidants, exfoliating properties help increase blood flow and therefore may improve skin brightness
Coconut Oil: moisturizing properties, reduce inflammation
Brown Sugar: hydrating, gentle exfoliant
The finished concoction of scrub smells delectable with hints of sweetness in the sugar mixed with coconuty-goodness and the awakening scent of coffee. I’m a night shower kind of person myself, but I’d imagine this scrub would be amazing in the morning to help wake up your senses. Why caffeinate by consuming coffee when you can literally bathe in it?
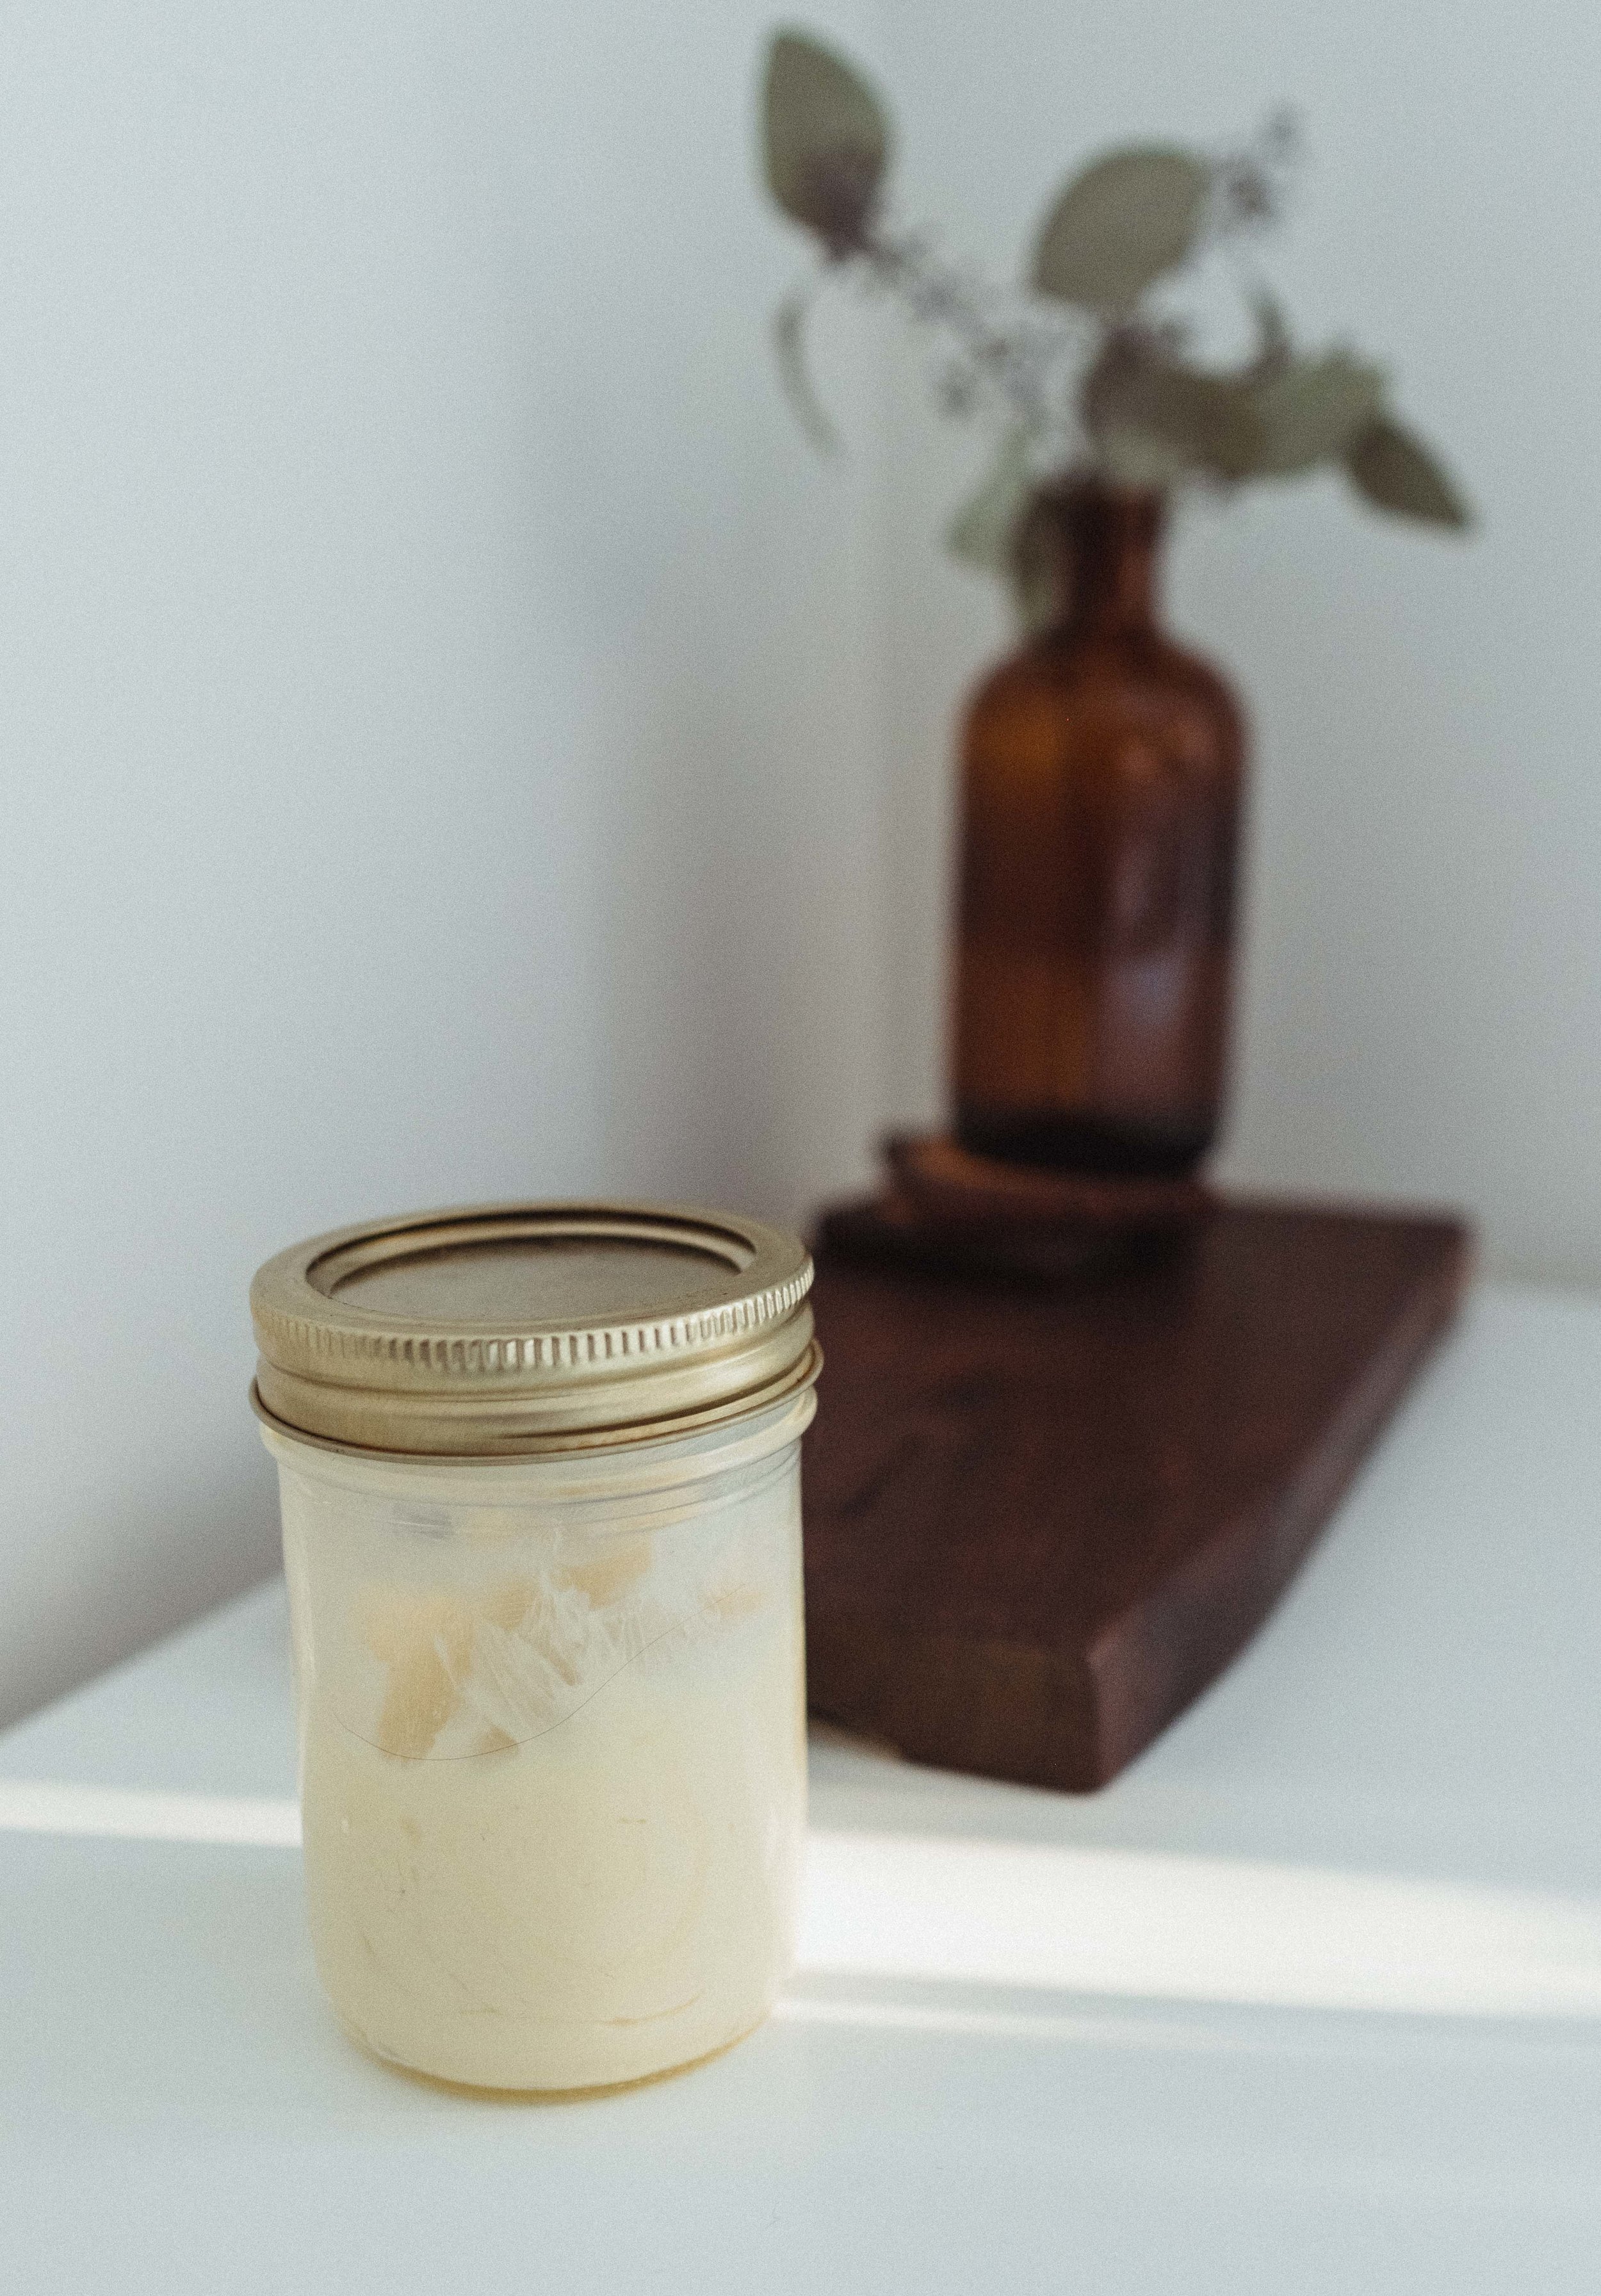
4. Body Butter
The final zerowaste product I experimented with was this shea butter and coconut oil body butter. Essentially DIY body butters are some combination of organic, natural oils mixed together. This is probably the simplest DIY body butter out there, feel free to add any other oils you want, for example sweet almond oil, argan oil, avocado oil, etc.
Let’s DIY!
Start by measuring 1/2 shea butter and 1/4 coconut oil. Melt the two ingredients in a double boiler until smooth and liquid. Place the melted ingredients into the fridge to harden up ever so slightly. Finally whip it up with a whisk or electric hand mixer to get the whipped body butter texture. Store in an air tight jar or container. Shelf life for this product is about a 9-12 months. Feel free to add different essential oils to your body butter, but be aware that the essential oils may shorten the shelf life of your body butter.
what are the benefits?
Shea butter: contains vitamins A and E, soothes and moisturizes skin, reduces inflammation
Coconut oil: see above
I’ve been using this whipped body butter for almost a month in the dead of winter and it has been really wonderful for my extremely dry skin. I think I’ve grown to like this product over time. The first few times I used it I loved it initially but found that overnight my skin would still be a bit dry in the morning. I have still yet to find a body moisturizer that keeps my skin moisturized over night. However, I’ve found that the more I used this body butter daily before bed, my skin has gotten softer and smoother in the past few weeks. When you first use it it is quite oily compared to regular conventional body butters. However, just be patient and let the oils sink into your skin.

I store both of these DIY products just beside the shower in my bathroom and I personally love to pair this body butter with the coffee scrub. They are the perfect duo for a little skin pampering on a quiet night in.
I hope my current product lineup has been encouraging to you, to help you have a more low-waste bathroom. The more I discover and experiment with low-waste living, the more I realize that it is very intentional and “slow”. It’s not about convenience and is often about planning and being intentional with my decisions. I hope I can continue to make these products and be intentional with my low-waste bathroom.
Let me know below what kind of changes you are hoping to make to your bathroom product lineup and please share this with a friend you’d want to make these DIY pampering products with!